Creating custom language packs enables you to change the language used in Brightspace to reflect your organization's branding or terminology. You can also create custom language packs to translate Brightspace into other languages or dialects.
Consider the following when you create a language pack:
- You must select whether the pack has a parent language to determine which language the system defaults to when a language term has no translation value.
- If you create a language pack based on a default language, the parent language is the language from which you translate terms.
- If you do not select a parent language during import, missing translation terms default to the system's native language.

|
Important: D2L strongly recommends that you create new language packs based on a parent language and edit them using the Manage Languages tool. If you need to import a language pack, it must be a .zip file containing .xml files that follow a specific format. Use the sample language file on the Import Languages page or export an existing language pack to ensure you meet our requirements.
|
Import a language pack
You can import a language back to introduce custom terms that may be different from terms included in our system language packs.
|
Important: When you import a language pack, you can use this functionality to create a backup of your custom language terms. To retain a backup of your previous terms, avoid replacing an existing language pack. Instead, create a new language pack with the same name and mark the older version as inactive. When importing, custom terms retain their custom value designation, allowing you to distinguish between custom overrides and original language pack values. Imported terms replace any existing custom values; if no custom value exists, the terms are added as new custom values. The Default Value column in the user interface displays the parent language's default value. For more information about creating custom language terms, refer to Customize language terms.
|
To import a language pack into Brightspace
- In the organization you want to import a language pack for, click Admin Tools > Language Management.
- Click Import Languages.
- In the Import File area, click Choose File, locate your .xml file, and click Open.
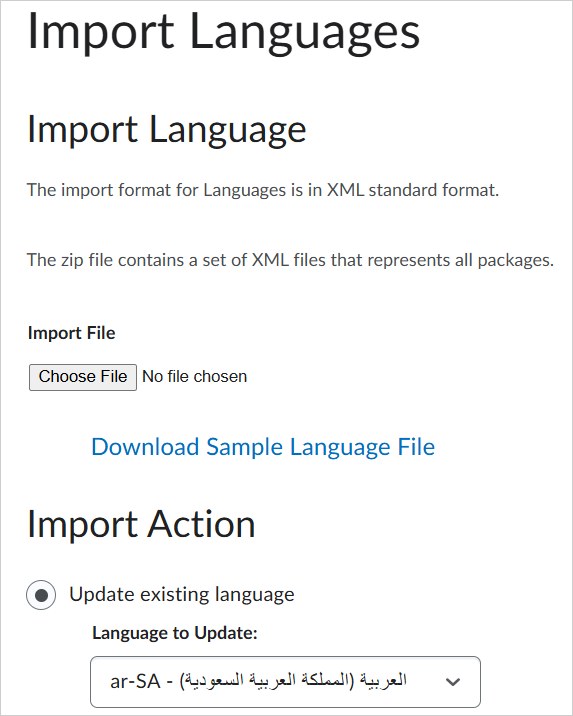
- To replace an existing language pack with the file you are importing, do the following:
- Select Update existing language.
- From the Language to Update drop-down list, select the language pack you want to replace.
- To create a new language pack with the file you are importing, do the following:
- select Create new language.
- In the Name field, enter your language's name.
- From the Parent Language drop-down list, select the parent language for the language pack.
- Click Import.
About exporting a language pack
Language packs are exported as .zip files containing .xml files for each of the tool packages. It is also possible for the zip file for new language packs to contain only updated (custom) terms within each XML file.
|
Important: The .xml files should follow these conditions:
- Only change the default value text. If you change other information, such as the tool, package, collection, or term name, the system will not know where to use the term.
- Do not change the names of .xml files
- Do not format text
- Do not add language terms
To avoid the risk of creating errors in the .xml files, D2L suggests editing language packs using the Language Management tool.
|
Export a language pack
It is possible to export all terms in a language pack, a selection of terms based on selected search terms, or the updated (custom) terms within each XML file.
Custom terms in the packages no longer become new default values; rather they retain custom value designation. As a result, you can differentiate between custom overrides and values that were part of the original language pack. Small language packs that contain only the custom language terms can help mitigate the disruptive impact of importing and exporting language packs.
Depending on the type of lang terms you want to export, you follow a different process.
To export a language pack
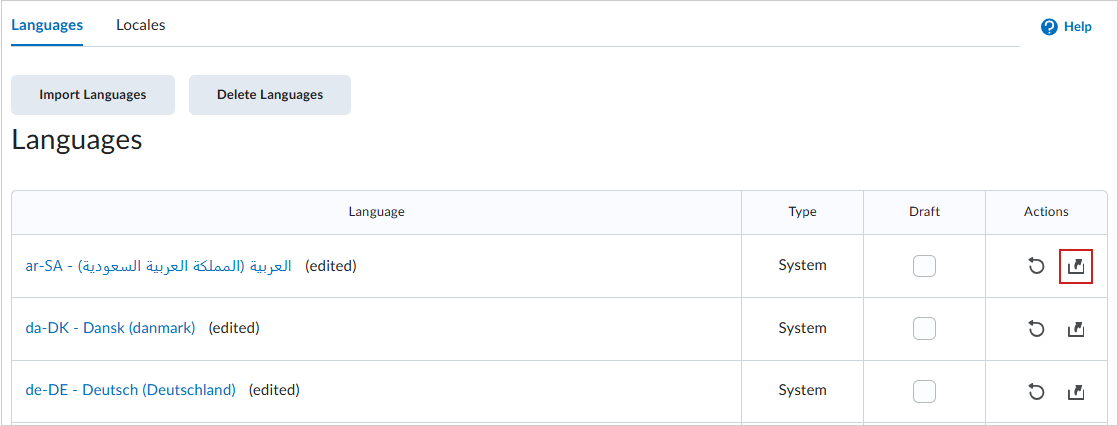
- In the organization where you want to export a language pack, click Admin Tools > Language Management.
- Click the Export Language icon for the language pack you want to download.
- Click the link for your .zip file. Then, save the .zip file to your computer.
To export custom values or specific terms
- In the organization where you want to export a language pack, click Admin Tools > Language Management.
- Click a language pack to open it.
- Under Custom Values, select Terms with custom values.
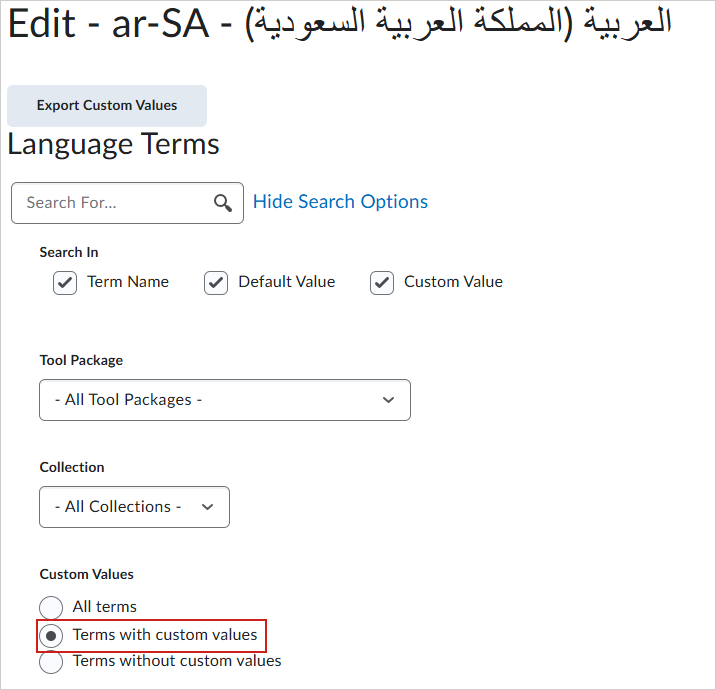
- To export specific terms, do the following:
- Enter a search term in the search field.
- Select the search parameters, tool package, and collection you want to export and click.
- Select the terms you want to include in the export package.
- Click Export.