Q: How do I make a product hidden but still purchasable from a shared link?
Products can be hidden from the front-end catalog but still active in the store. They cannot be accessed by browsing the store or searching. This is useful, for example, if you want to have a special product for a partner to sell.
To hide a product
- Log in to your Course Merchant store admin area at https://www.yourstore.com/storeadmin.
- Navigate to E-Store | Products.
- Locate the product you want to hide from the storefront catalog in the Products List and Edit it, or Add a new product.
- Ensure that the product's Active Item is set to Yes.
- Unselect Show in Catalog / Product Listing.
Figure: Unselect Show in Catalog / Product Listing.
- Click Save. The product is now hidden.
To link to a hidden product
- Navigate to E-Store | Products in the Course Merchant admin area.
- Locate the hidden product in the Products List.
- There are two options available to generate links to access the product:
Figure: Select the Button or View option.
- Button - Takes you to the Buy Now Links and Buttons page with embeddable links and buttons which you can place in a website or share on social media.
- View - Clicking this button takes you to the product in the catalog. You can copy and share this link. A person who follows the URL gets taken to the product where they can purchase it as usual.
Q: How do I make a category hidden but accessible from a shared link?
You can set a category to be active in the store yet hidden from the front-end catalog, making it inaccessible through navigation. This feature is useful for creating exclusive categories, such as one for partner products.
To hide a category
- Log in to your Course Merchant store admin area at https://www.yourstore.com/storeadmin.
- Navigate to E-Store | Categories.
- Locate the category you want to hide from the store front catalog and Edit it or Add a new one.
- Unselect Show in Main Menu.
Figure: Show in Main Menu is unselected.
Note: The category you want to hide must be a top-level category or its parent category must have Show Child Categories unselected.
Figure: Show Child Categories is unselected.
To link to the hidden category
- Navigate to the E-Store | Categories page in the store admin and find the category you want to link to.
- Right-click the View link and copy it, or follow the link then copy it from your browser's URL bar.
Figure: Click View.
- Send this link to users that you want to view and purchase products within the hidden category.
Q: How do I restrict a Voucher to a individual product or category?
An individual Voucher code can be restricted (constrained) so that it only applies at checkout to selected products in a selected category.
To restrict a voucher to an individual product or category
- Log in to your Course Merchant store admin area at https://www.yourstore.com/storeadmin.
- Navigate to E-Store | Vouchers.
- Decide whether you want to restrict your voucher to either a product or a category.
To restrict to a product
- Select Constrain to Product Code.
- In the dropdown menu, choose the product you want to restrict the voucher to.
Figure: Select Constrain to Product Code, then choose the product.
- Fill in the rest of the voucher settings and click Add. Your voucher is now restricted to the selected product.
To restrict to a category
- Select Constrain to Category.
- In the dropdown menu, choose the category you want to restrict the voucher to.
Figure: Select Constrain to Category, then choose the category.
- Fill the rest of the voucher settings and click Add. Your voucher is now restricted to the selected category.
Q: How do I set a product as Featured?
A featured product displays in special sections of the store, such as a front-page showcase for new arrivals or a section for products on special offer.
To set a product as Featured, do one of the following:
Q: How do I set a product to charge for shipping?
Course Merchant has a series of shipping options.
The amount charged for shipping depends on the number of shipping units in the basket at checkout and the type of shipping enabled.
To set a product to have a cost to ship, edit it and set the number of Units it costs to ship.
Note: If you have not had shipping setup as part of your store's build phase, contact Course Merchant Support.
Q: How do I add a product?
- Log in to the store admin at yourstore.com/storeadmin.
- Navigate to E-Store | Products.
- Scroll down and click one of the action buttons based on what kind of new product you want to add.
- Add Default - Add a product already populated with the data from the default product.
- Add Empty - Add an empty product.
- Copy Selected - Select an existing product and then click this button to add a new product already populated with the data from the selected product.
- Edit the new product.
Q: How do I add a product to a category?
- Log in to your Course Merchant store admin area at https://www.yourstore.com/storeadmin.
- Navigate to E-Store | Products.
- Find the product you want to add to a category in the products list.
- Edit the product.
- Scroll down to the end of the products editor until you see Categories and a drop-down.
- Select one or more categories you want this product to appear in.
- Select one individually from the drop-down then click Add.
- Repeat until the product is in all the categories you want it to display in.
- Check that the correct category is set as the primary category. A product inherits its template from its primary category.
- Click Save to record your changes.
Course Merchant can automatically enroll a customer on one or more LMS courses when they purchase a product.
- Log in to your Course Merchant store admin area at https://www.yourstore.com/storeadmin.
- Navigate to E-Store | Products.
- Find the product you wish to add an LMS product to in the Products List and Edit it, or Add a new product.
- Scroll down to the end of the products editor, until you see Courses and either a drop-down menu or a Browse Courses to link button.
- Select the course you wish to link from the drop-down and click Add or click Browse Courses to link and Add a course from the pop-up.
Note: If you do not see the course you want to link, click Refresh Course List to refresh the store-wide list of courses in the linked LMS. If you still do not see the course, check if it is correctly set up within your LMS.
- Click Save to save the product.
Q: How do I make a bundled product?
A bundled product is a Course Merchant product with multiple linked LMS courses.
You can link multiple courses to a Course Merchant product, allowing customers to be enrolled in all linked courses upon purchase.
To create a bundled product, follow the steps for How do I add an LMS course to a product? above but add all courses that the customer should be enrolled in upon purchasing the product.
Q: How do I track and Report on my sales?
You can use the built-in Sales Reports and Orders Reports for basic reporting and sales tracking. The Reporting Layer offers more advanced reporting capabilities, including the ability to report on learner data depending on which LMS Course Merchant is connected to.
If you don't have the Reporting Layer as part of your store, contact the team through Let's Talk.
Q: How do I know if I have a non-LMS product in store?
You can have products for sale in your store that do not have an associated LMS course, for example, DVDs or Books.
- Navigate to and log into the store admin at https://www.yourstore.com/storeadmin.
- Navigate to E-Store | Products.
- Look for products with No in the Courses column.

Figure: A product not linked to an LMS course.
Q: How do I change the way products in my store are displayed?
- Navigate to and log into the store admin at https://www.yourstore.com/storeadmin.
- Click E-Store and select Categories.
- Locate the category whose display you want to change and click Edit.
Q: What do the Products Display options look like?
The exact look of each layout depends on your customized template and how your store has been configured during the build phase. For questions or customization requests contact Course Merchant Support.
Below are examples from a demo store for reference.
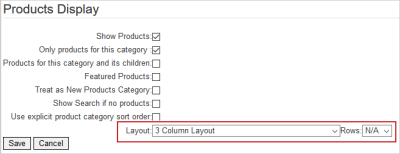
Figure: If you set Layout to N/A, it either inherits the layout from a parent category or use the store default layout.
The Rows setting controls the number of rows before a new page is added. For example, if it is set to "3", the 4th row becomes a new page. If it is set to "N/A", all the products in this category are displayed on one page.
Single Product Layout
A single column of products. Shows the full product listing including related products.
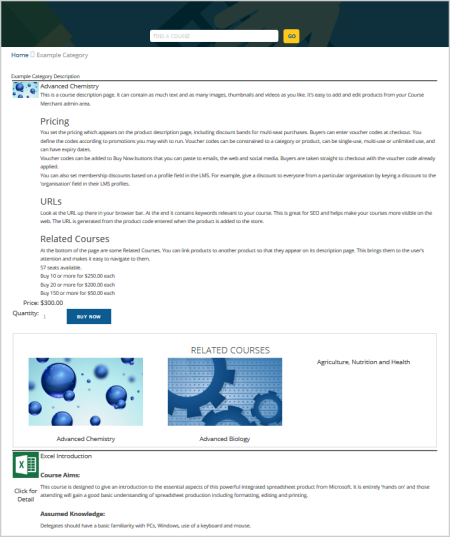
Figure: An example of a single product layout using one column.
Single Product Layout (No Images)
A single column of products with no thumbnail images. Shows the full product listing including related products.
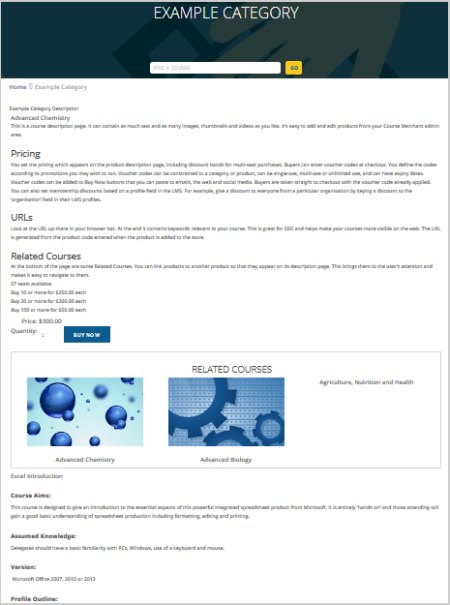
Figure: An example of a single product layout with no images and one column.
Double Product Layout
Two columns of products. Shows the full product listing including related products.
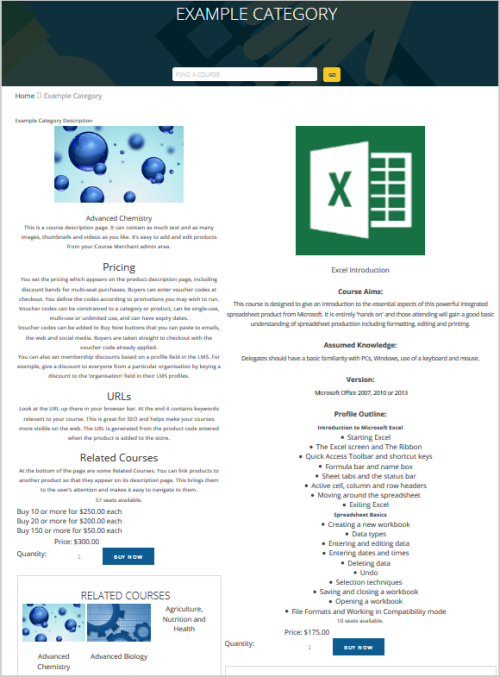
Figure: An example of a double product layout with two columns.
Triple Product Layout
Three Columns of products. Shows the full product listing including related products.
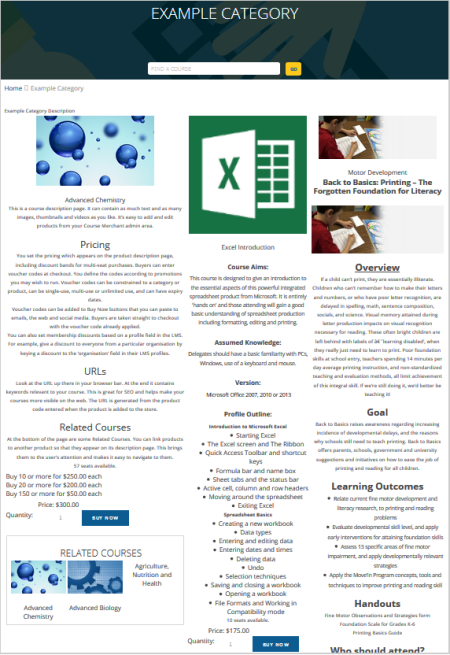
Figure: An example of a triple product layout with three columns.
2 Column Layout
Two columns of categories.
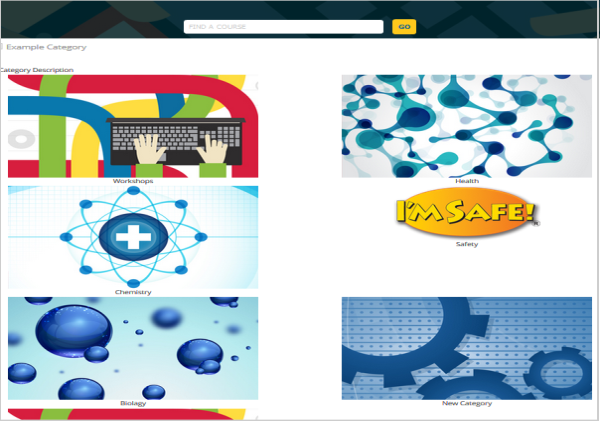
Figure: An example of a two column layout for categories.
3 Column Layout
Three columns of categories.

Figure: An example of a three column layout for categories.
4 Column Layout
Four columns of categories.
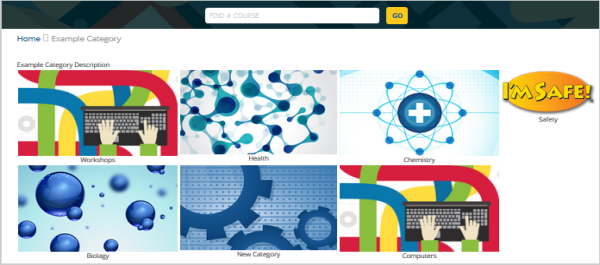
Figure: An example of a four column layout for categories.
6 Column Layout
Six columns of categories.
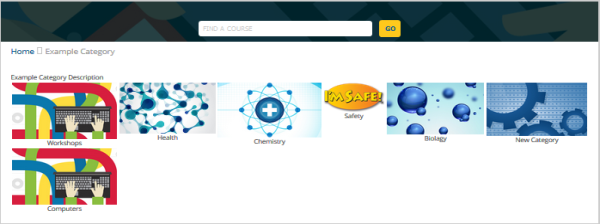
Figure: An example of a six column layout for categories.
Grid Listing (No Images)
A single column of categories.

Figure: An example of a grid listing with a single column of categories.