You can use the refunds reporting system to record and report on full and partial refunds. Details of the refund, such as the type of refund, number of refunds, refund amount, and quantity refunded are recorded under the Course Sale Payment panel of the Course Sale module. You can use the refund process in the Reporting Layer for credit card refunds (full and partial) and refunds of invoice orders.
Record a Refund
The process for a full refund is the same as for a partial refund, but you need to select the correct Payment Type (for example, Single, Full Refund, Partial Refund, Deposit and Balance, Adjustment). For a full refund, ensure that the Refund Quantity is equal to the Quantity in the original order.
The following is an example of the process of recording a partial refund (but the process is the same for a full refund):
- Open the Learning menu and select Course Sale.
Figure: Click the Learning menu and select Course Sale.
- Select the Course Sale record for the order you need to refund by clicking its Name. For example, CMO:16130424243662.
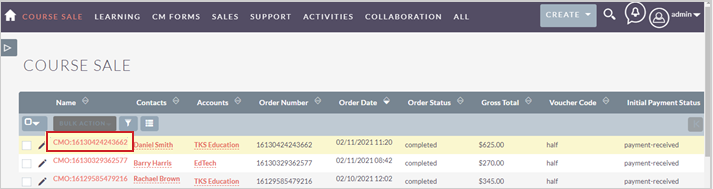
Figure: Click the name of a Course Sale record.
- Scroll down to the Course Sale Payment heading. Select the original Course Sale Payment.
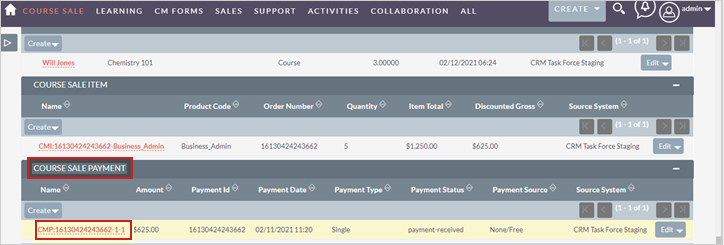
Figure: Navigate to Course Sale Payment and click the link for a Course Sale Payment record.
- Navigate to the Actions tab in the Course Sale Payment. Then click Duplicate. This creates a contra-entry to the original Course Sale Payment.
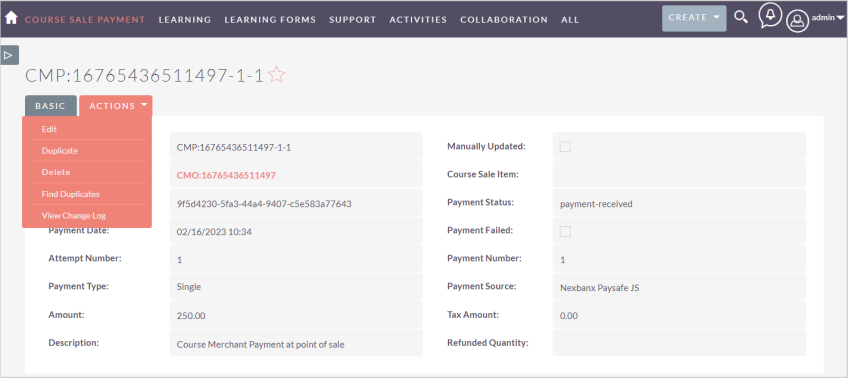
Figure: Click the Actions drop-down menu and select Duplicate.
- Change the name to describe the refund. In this example, we use the product code and number of seats refunded.
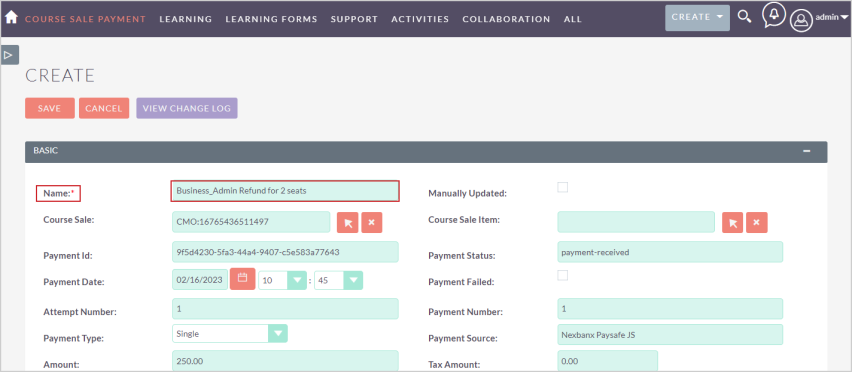
Figure: Enter a new name for a refund in the Name field.
- Click the arrow next to Course Sale Item and select the course you are refunding in the dialog.
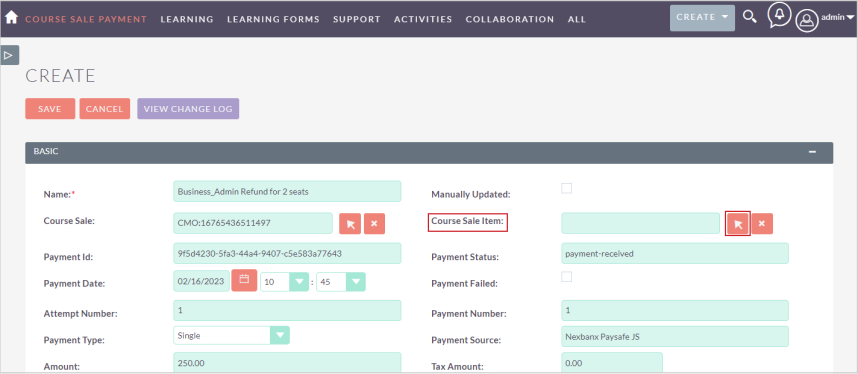
Figure: Click the arrow icon in the Course Sale Item field to select a course.
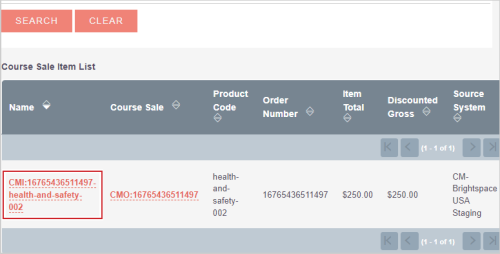
Figure: Click the name of the course in the Course Sale Item List.
- Enter a Payment ID.
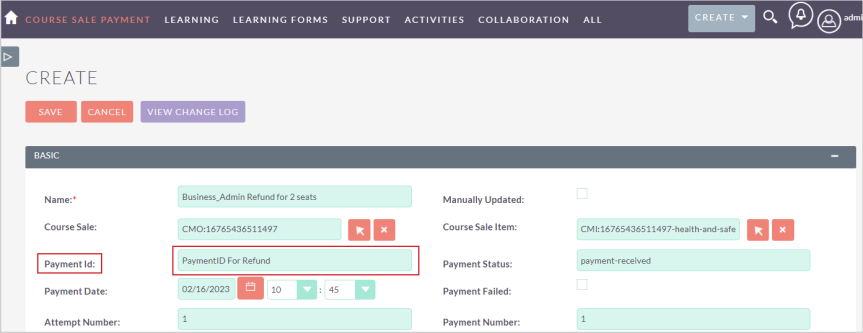
Figure: Enter a Payment Id for the refunded course.
- Change the Payment Date and Time to when the refund was sent.
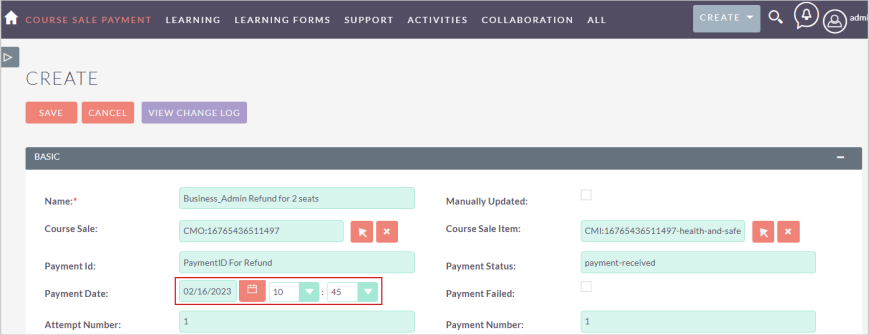
Figure: Select the date and time for the refund in the Payment Date field.
- Change the Payment Type. In this example, it is a Partial Refund.
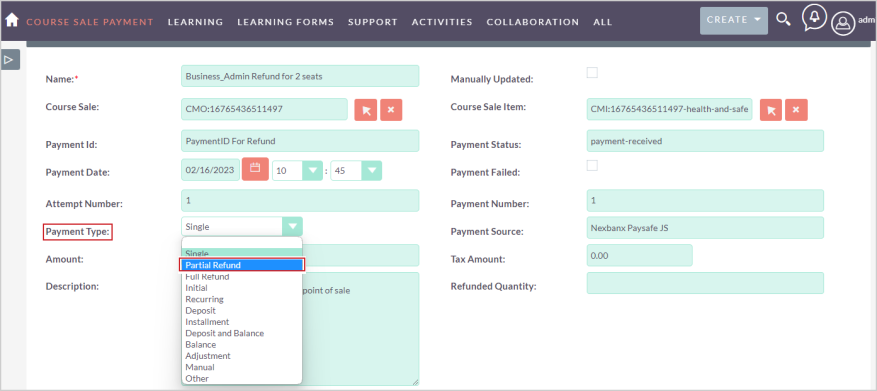
Figure: Click the Payment Type drop-down menu and select the type of refund.
- Change the Amount to the total being refunded. In this example, there is a refund for two seats ($50 each), so you need to enter 100.
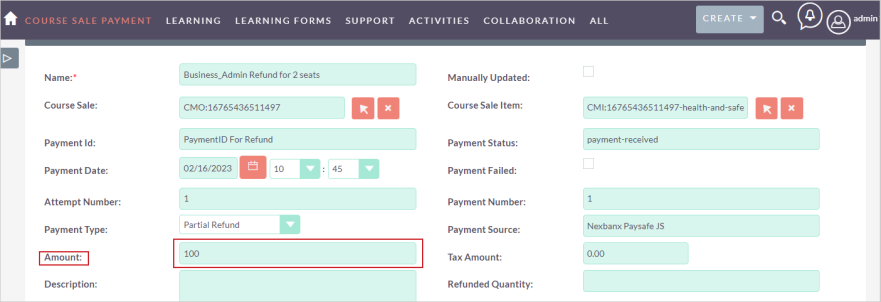
Figure: Enter the refunded amount in the Amount field.
- In the Refund Quantity field, enter the number of seats you are refunding. In this example, 2. Leave the Tax Amount as 0 and then enter a Description.
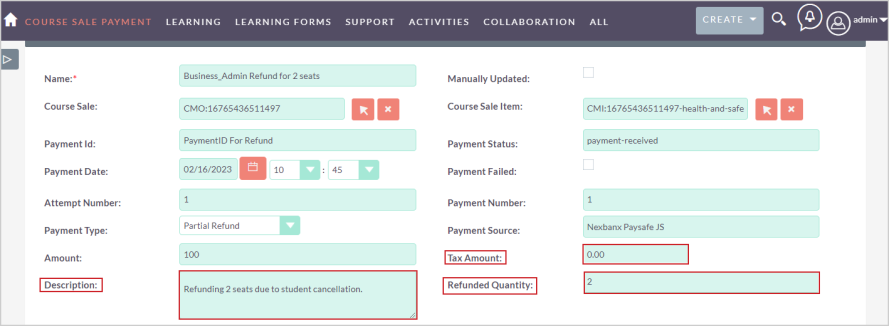
Figure: Enter a Description, Tax Amount, and the Refunded Quantity in the respective fields.
- When you have confirmed that the information you have entered is correct, click Save. It should look similar to the example below:
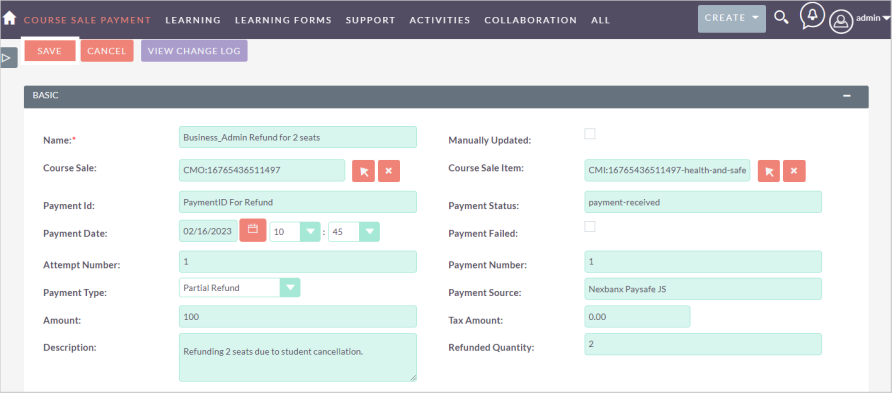
Figure: Confirm the refund details information and click Save.
- Check that the partial refund has been recorded by clicking the Course Sale link and scrolling down to the Course Sale Payment.
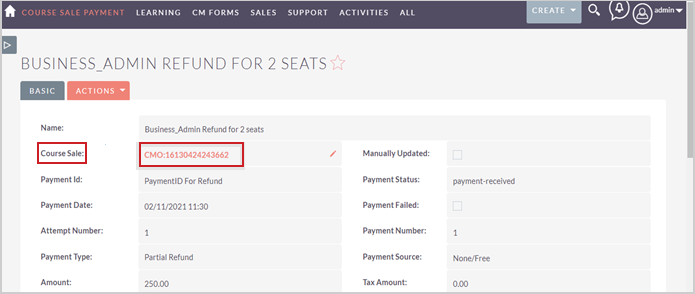
Figure: Confirm the refund in the Course Sale field.

Figure: Check the refund value for a course in Course Sale Payment.
Check that the Number of Refunds, Refund Amount, and other fields are filled in correctly. This completes the partial refund process for this order.