As an instructor, you can create and manage glossary terms to support your learners.
To access the Glossary tool
- Navigate to your course.
- From the course navbar, click Course Admin.
- Under Site Resources, select Glossary.
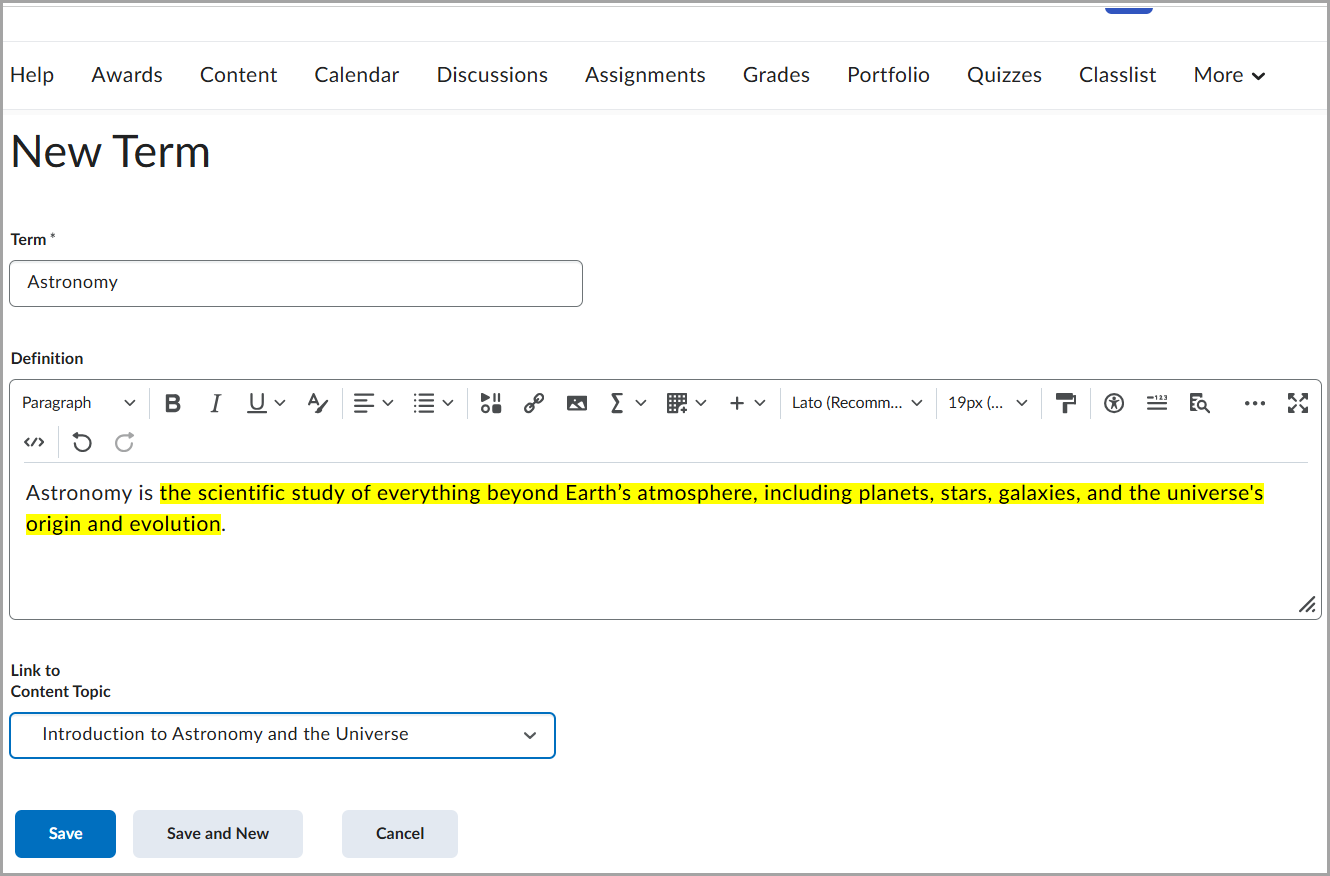
To create a glossary term
- Access the Glossary tool.
- Click New Term.
- Enter the Term name.
- Enter the Definition (optionally).
- Add Link to Content Topic (optionally).
- Click Save.
To edit a glossary term
- Access the Glossary tool.
- Locate the term you want to edit.
- Click the dropdown menu next to the term and select Edit Term.
- Update the term, definition, or link.
- Click Save.
To delete a glossary term
- Access the Glossary tool.
- Select the term you want to remove.
- Click the dropdown menu next to the term and select Delete.
- Confirm deletion by clicking Yes in the Confirmation window.
To import glossary terms
You can import multiple terms at once by uploading a CSV file, for example, when copying glossary terms from another course.

|
Important: The first cell in the first row must be called
Term and the second cell in the first row must be called Definition. All subsequent rows must contain the actual terms and definitions you wish to import.
|
- Access the Glossary tool.
- Click Import Terms.
- Click Choose File and upload your glossary file.
- Complete the import process.