The Media Library in Brightspace lets you create, upload, and manage audio,video, SCORM objects and other content in one place. Use it to record, organize, and insert media directly into your courses with ease.
Supported file types and limits
|
File Type
|
Extensions
|
|
Video
|
.mp4, .mov, .wmv
Generate Captions recommended for accessibility. Maximum file size 2GB and up to 720p output.
|
|
Audio
|
.mp3, .m4a, .ogg, .wav, .wma
Generate Captions recommended for accessibility. Maximum file size 1GB.
|
|
Images
|
.jpg, .jpeg, .png
|
|
Documents
|
.doc, .docx, .odt, .xls, .xlsx, .rtf, .pdf, .ppt, .pptx, .pps, .ppsx, .odp
|
|
SCORM packages
|
.zip (SCORM Only)
|
Upload assets to Media Library
Uploading assets to your Media Library allows you to reuse them across multiple courses, streamlining your content management. You can organize your assets by type or subject., and share them with other users by adding them as collaborators.
Note: Collaborators should only be added by administrators at this time.
To upload assets:
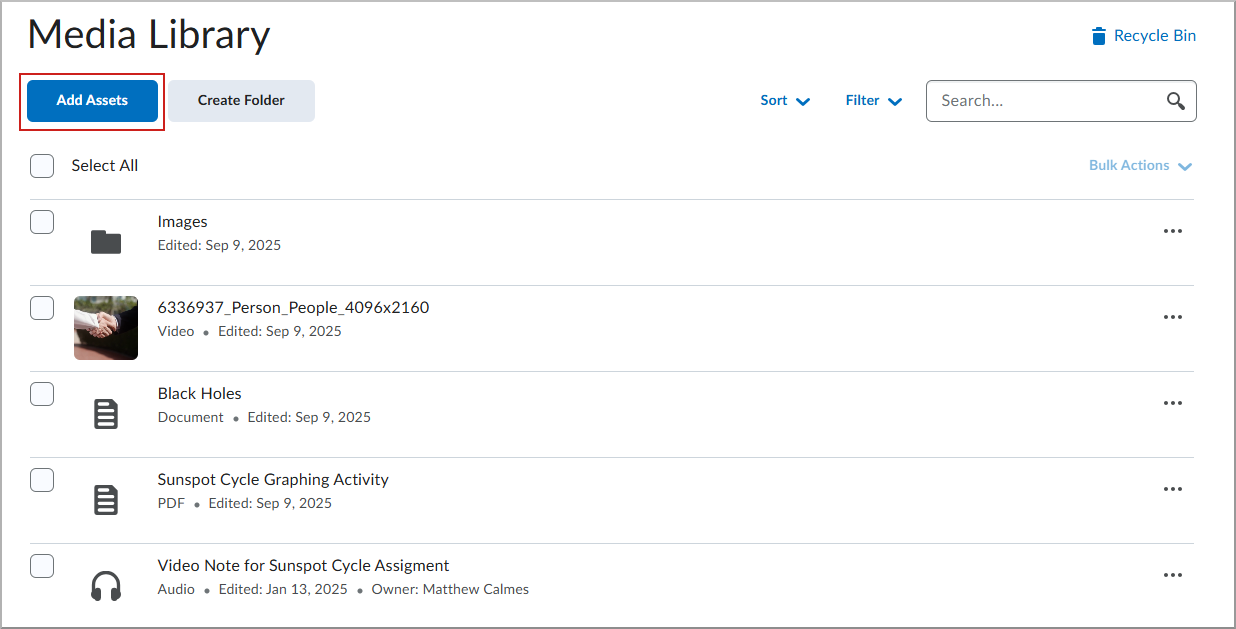
- From your course navbar, click Media Library.
- Click Add Assets.
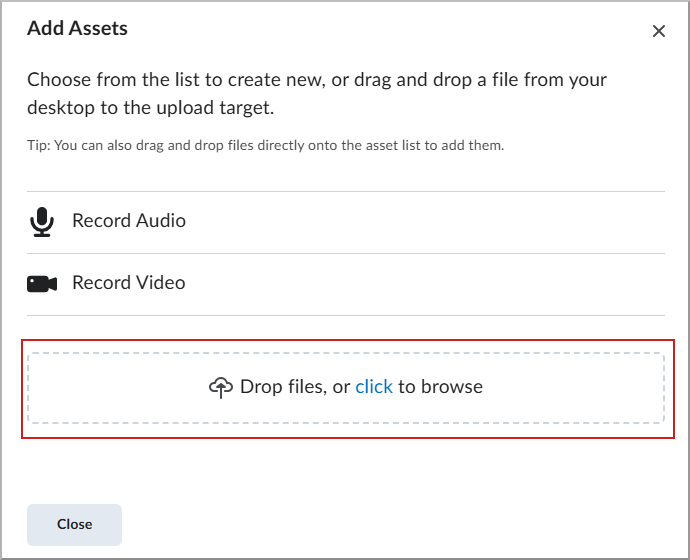
- Drag and drop your file to the Drop files box or click to browse and select a file from your computer.
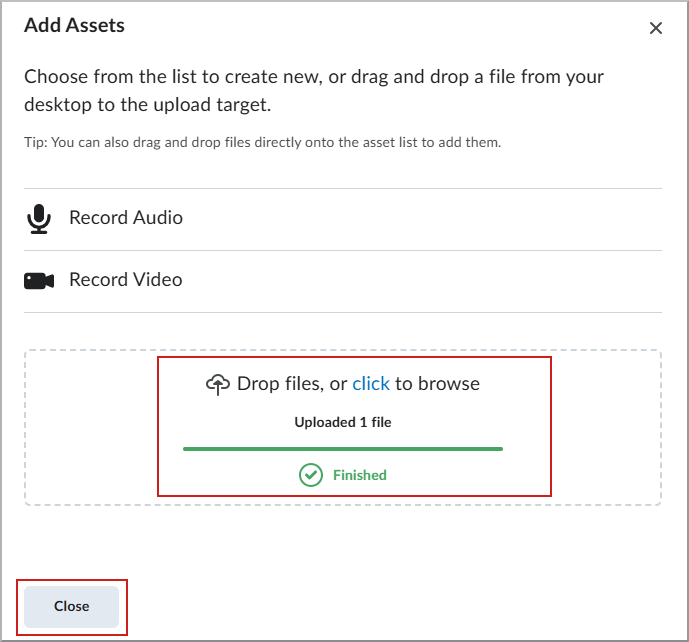
- Once your file is uploaded, a confirmation will appear. Click Close.
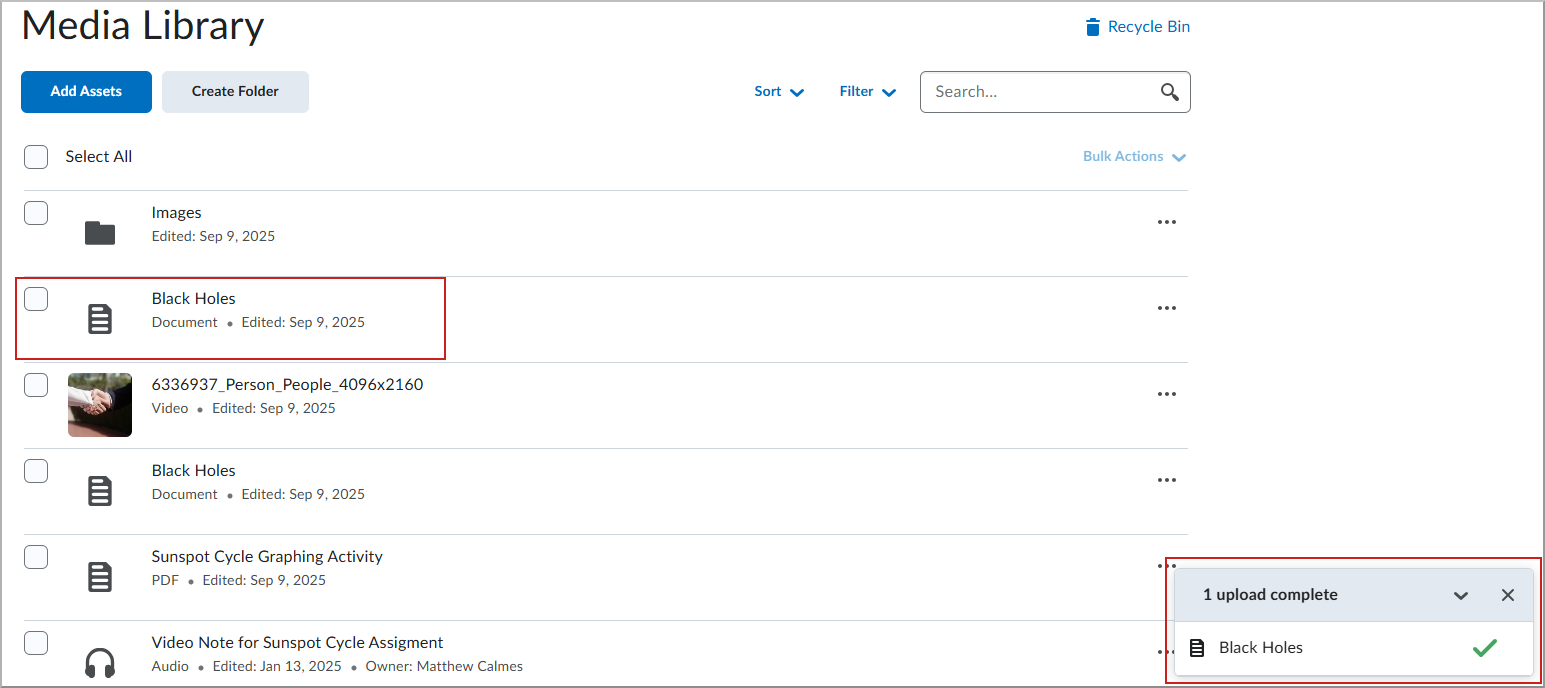
- Your file is now visible in the Media Library, along with a confirmation that the upload is complete.
Create folder for assets in Media Library
Organizing your assets into folders helps you manage large collections and find resources more easily. This feature streamlines your workflow, especially when working with multiple courses.
To create a folder:
- From your course navbar, click Media Library.
- Click Create Folder.
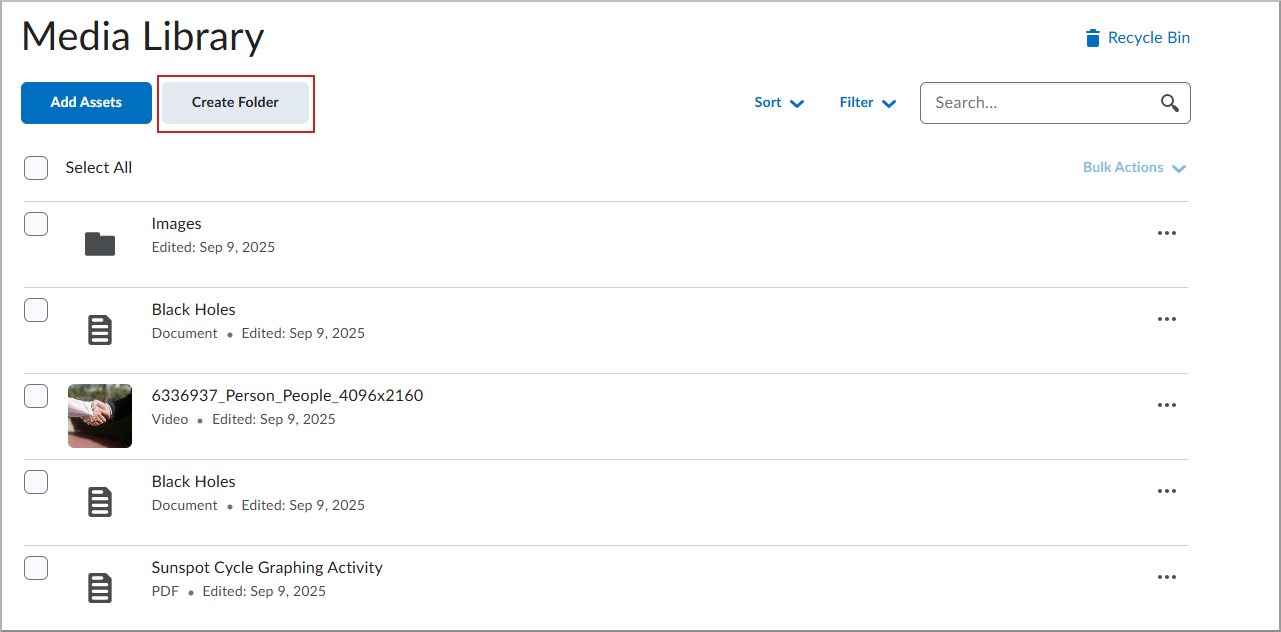
- Enter a name for the folder and click Save.
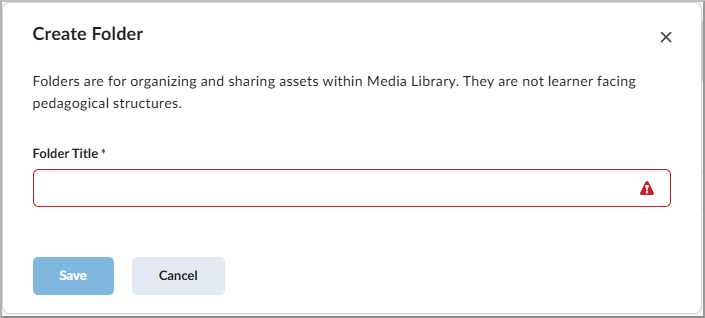
Your folder is now available in Media Library.
Move assets into a folder in Media Library
Once your assets are uploaded, you can organize them further by moving them into folders. This ensures that your content is easy to find and manage.
- From your course navbar, click Media Library.
- Check the box next to the asset you wish to move.
- Click the More Actions button (...) and select Move To.
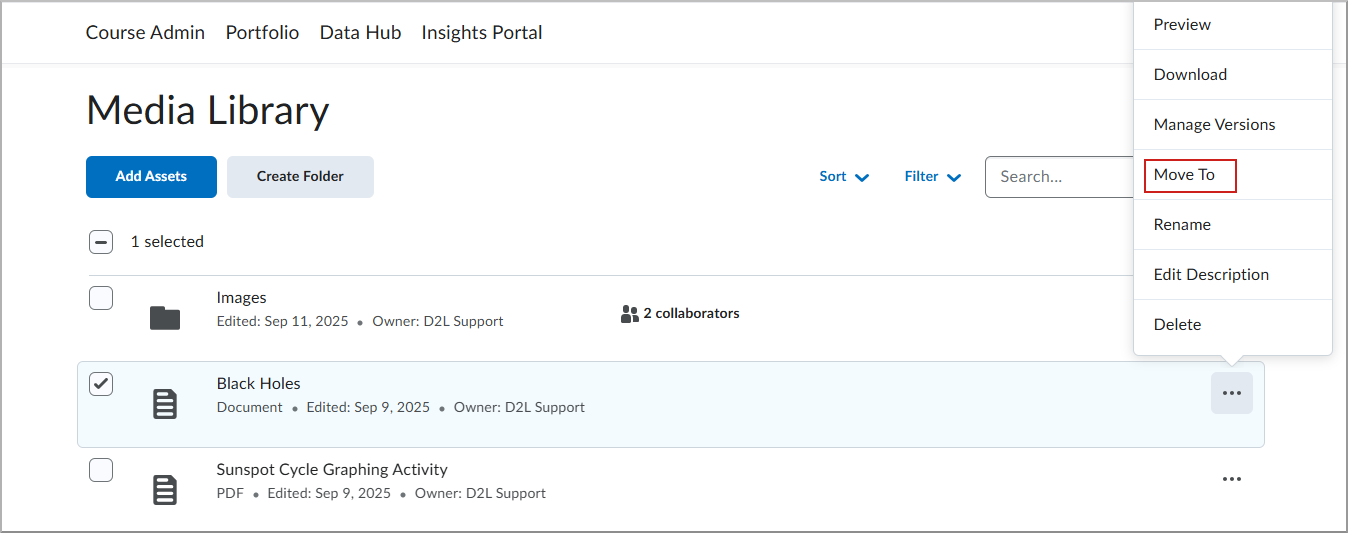
- Choose Create Folder to create a new folder or select an existing folder from the list.

- Click Move here.
Your asset is now moved to the selected folder.
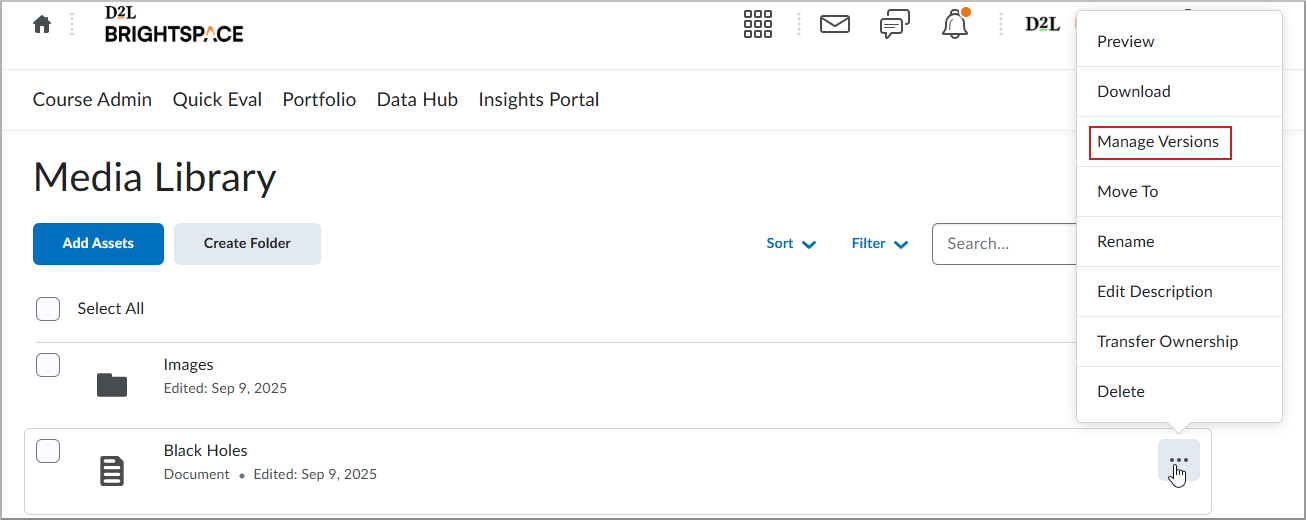
Update and manage versions of assets in Media Library
Keeping your assets up to date is crucial for maintaining the quality of your content. With the version management feature, you can easily upload new versions or revert to older ones.
Note: This will update the asset everywhere it's used in Brightspace.
To upload a new version:
- From the course navbar, click Media Library.
- Click the More Actions button (...) button and select Manage Versions.
- Drag and drop your file to the Drop files box or click to browse and select a file from your computer.
- Once your new version is done processing, click Publish.
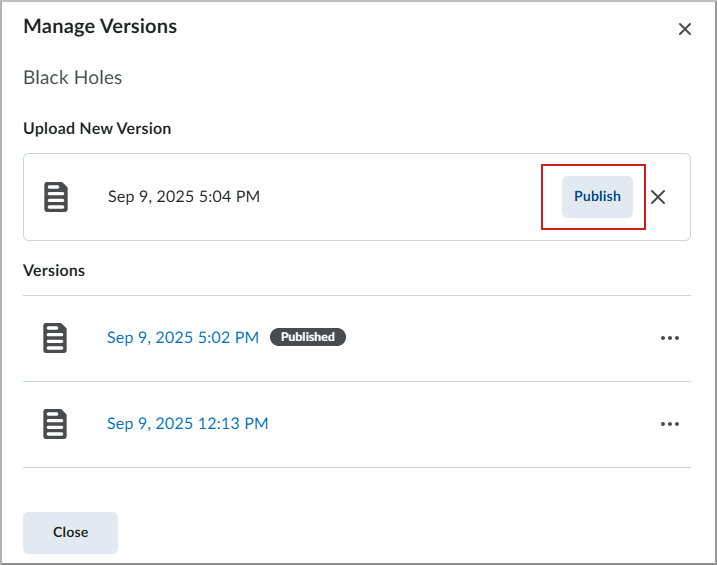
- A reminder appears indicating this will replace the asset any where it is used. Click Publish.
- Your new version will appear in the Versions list. Click Close to return to the Media Library.
To preview a version:
- From the course navbar, click Media Library.
- Click the More Actions button (...) and select Manage Versions.
- Click the More Actions button (...) beside the version you wish to preview and select Preview.
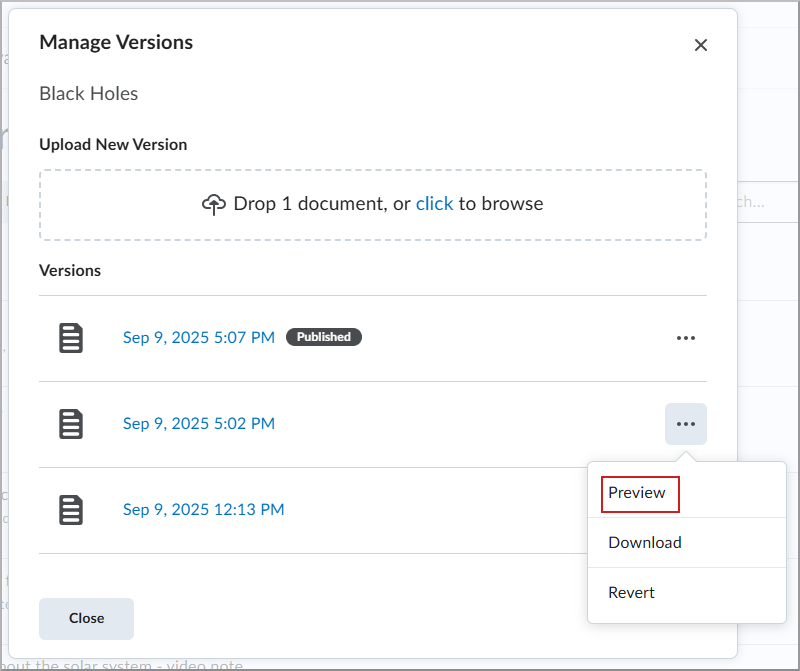
The version of the asset appears in the Preview screen.
To download a version:
- From the course navbar, click Media Library.
- Click the More Actions button (...) and select Manage Versions.
- Click the More Actions button (...) beside the version you wish to download and select Download.
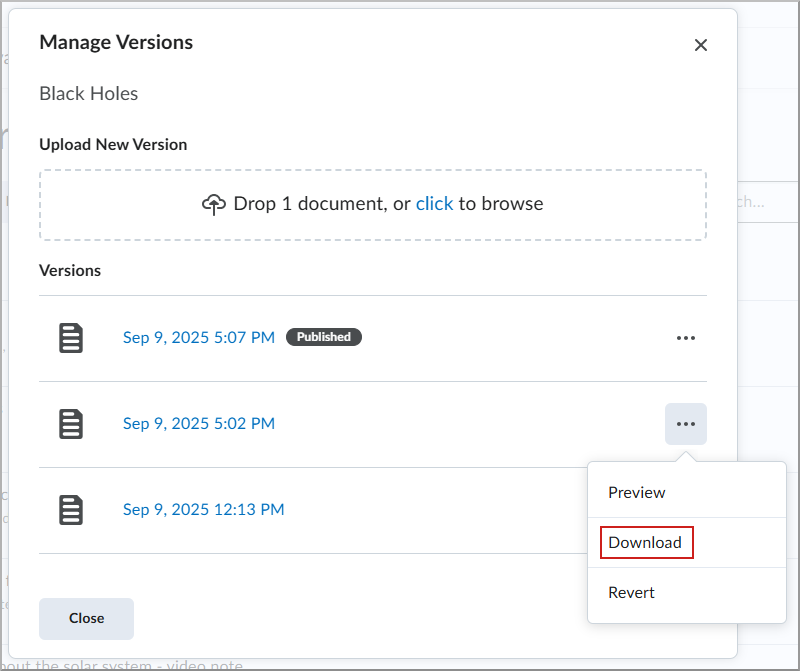
The version of the asset is saved to your downloads.
To revert to a previous version:
- From the course navbar, click Media Library.
- Click the More Actions button (...) and select Manage Versions.
- Click the More Actions button (...) beside the version you wish to revert and select Revert.
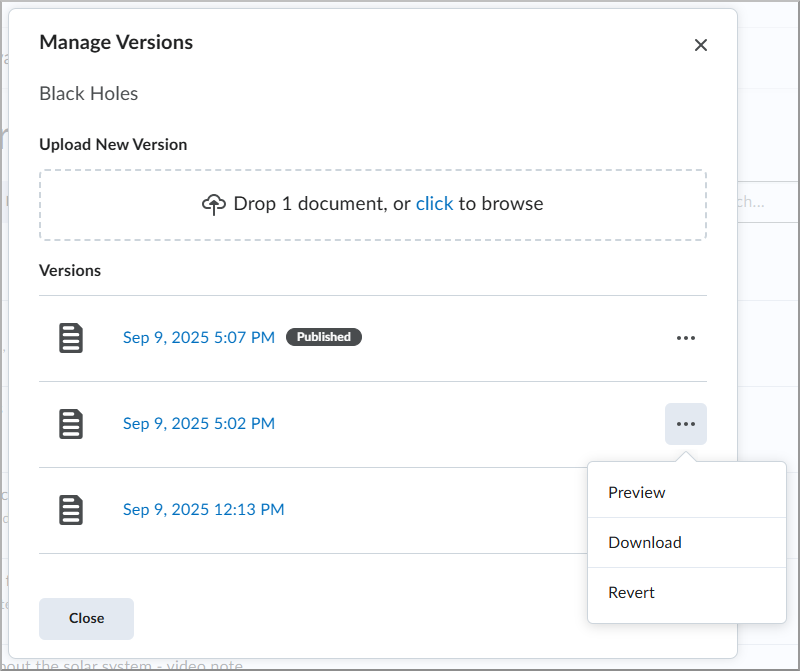
- A reminder appears indicating this will replace the asset any where it is used. Click Publish.
- Your new version appears in the Versions list. Click Close to return to the Media Library.
Add assets from Media Library into the Brightspace Editor
You can use the Insert Stuff icon in the Brightspace Editor to add audio-video content from the Media Library.


|
Note: The ability to use Media Library is controlled by a permission set by your administrator. If you do not see Media Library in the Insert Stuff window, you must ask your administrator to grant you the Content Service > Can Manage Objects role permission. |
To insert stuff from the Media Library
- From the Brightspace Editor, click Insert Stuff.
- Select Media Library.
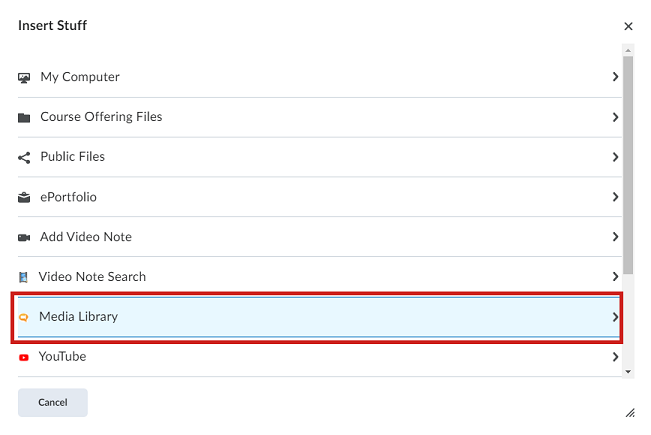
- To locate audio-video content, enter a search term and click Search. For a more refined search, click Search Options to filter your search.
- Select the content you want to add and click Next.
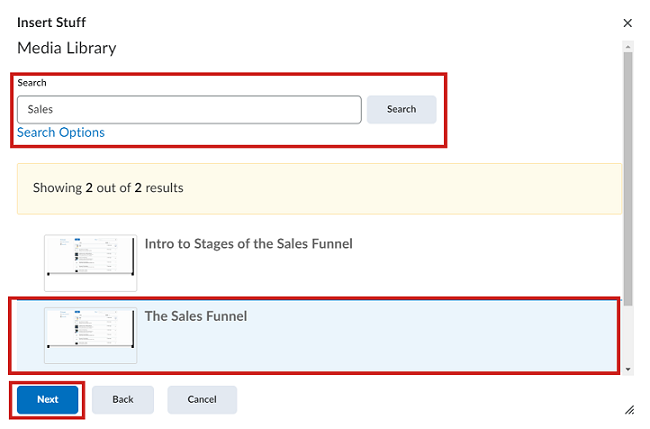
- Under Properties, customize the aspect ratio and maximum size of the video player.
- Click Insert.
|
Note: The player is responsive and scales to fit smaller screens if the video player size cannot maintain its maximum width or height. |
Insert Media Library Quicklinks with improved filter options
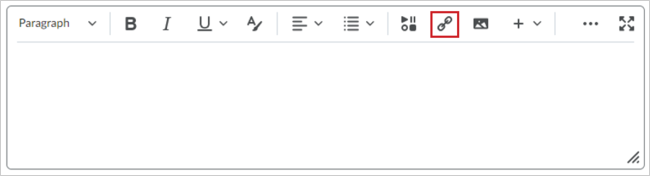
You can use the Insert Quicklink icon in the Brightspace Editor to add Media Library Quicklinks to your content.

|
Important: The ability to use Media Library is controlled by a permission set by your administrator. If you do not see Media Library in the Insert Quicklinks window, you must ask your administrator to grant you the Content Service > Can Manage Objects role permissions.
|
To insert Media Library quicklinks
- From the Brightspace Editor, click Insert Quicklinks.
- Select Media Library.
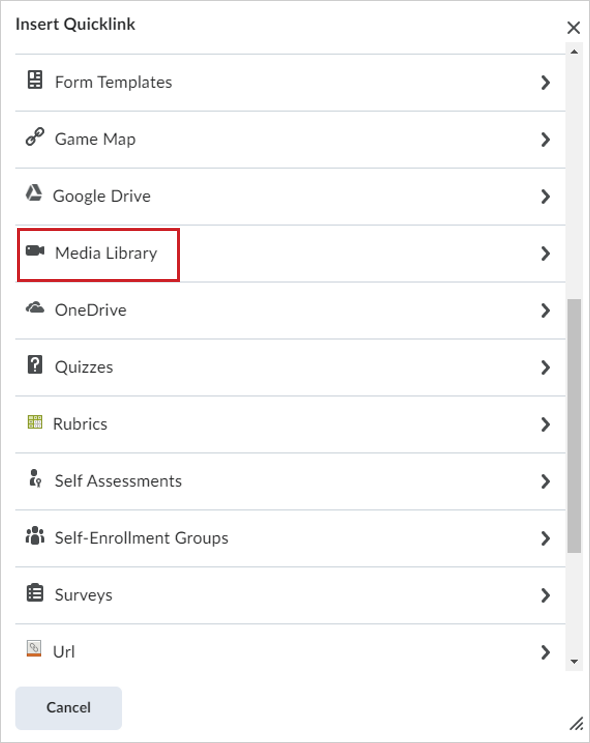
- Click to expand Filters. You can filter Medial Library content by:
- Content Type: Filter by either audio or video content type.
- Date Modified: Filter by date modified.
- Date Created.
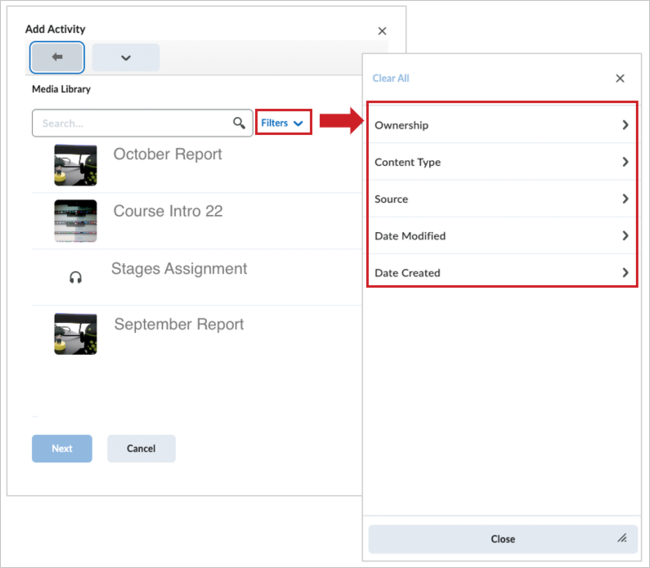
- Select the content you want to add and click Next.
- Click Insert.
Your audio-video content is added as a Quicklink.
Delete assets in Media Library
Occasionally, you may need to remove assets from the Media Library. Deleting outdated or unnecessary content helps keep your library organized and relevant.
- From your course navbar, click Media Library.
- Check the box next to the asset you wish to delete.
- Click the More Actions button (...) and select Delete.
- On the confirmation screen, click Delete.
Your asset is now removed from the Media Library.
Delete folders in Media Library
If you need to remove an entire folder and its contents from the Media Library, this task allows you to clean up and reorganize your asset storage. Deleting folders helps maintain a well-organized and efficient Media Library.
- From the course navbar, click Media Library.
- Check the box next to the asset you wish to delete.
- Click the More Actions button and select Delete.
- On the confirmation screen, click Delete.
Your folder is now removed from the Media Library.
Delete multiple audio-video content items in Media Library
You can select multiple audio-video items in Media Library and delete them.
To select multiple audio-video items and delete
- Navigate to Media Library.
- Select the check boxes next the audio-video content you wish to apply bulk actions to. Or click the top checkbox to select all content for bulk actions.
-
Click Bulk Actions > Delete.
The selected content is moved to the Recycle Bin.
|
Important: Content moved to the Recycle Bin is permanently deleted after 90 days. To restore content, select the files you want to restore and click Restore Selected.
|