If your course does not have any sections yet, you can create a new section using the Course Admin tool.
To create a new section
- On the navbar, click Course Admin.
- Under Learner Management, click Sections.
- On the Manage Sections page, click Create Sections.
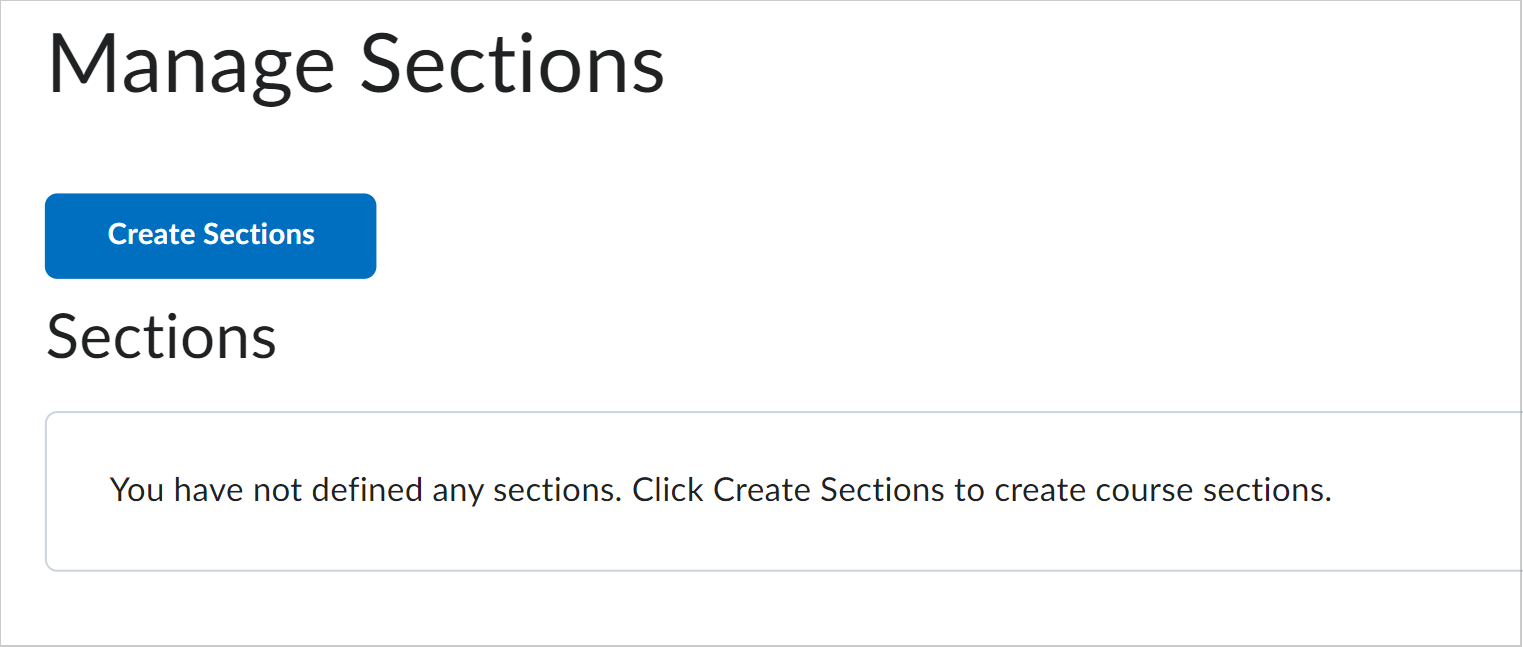
Figure: Click the Create Sections button.
- Select an Enrollment Type:
- Sections of #: Select to enter a Number of Users for a single section.
- # of Sections: Select to enter a Number of Sections for your course.
- To enroll new users automatically, select Auto-enroll new users.
- To enroll users in sections randomly, select Randomize users in sections.
 | Note: Users are enrolled alphabetically by default. |
- To allow users to see the section descriptions, select Make section descriptions visible to section members.
 | Note: Users require the See Sections permission to view section descriptions.
|
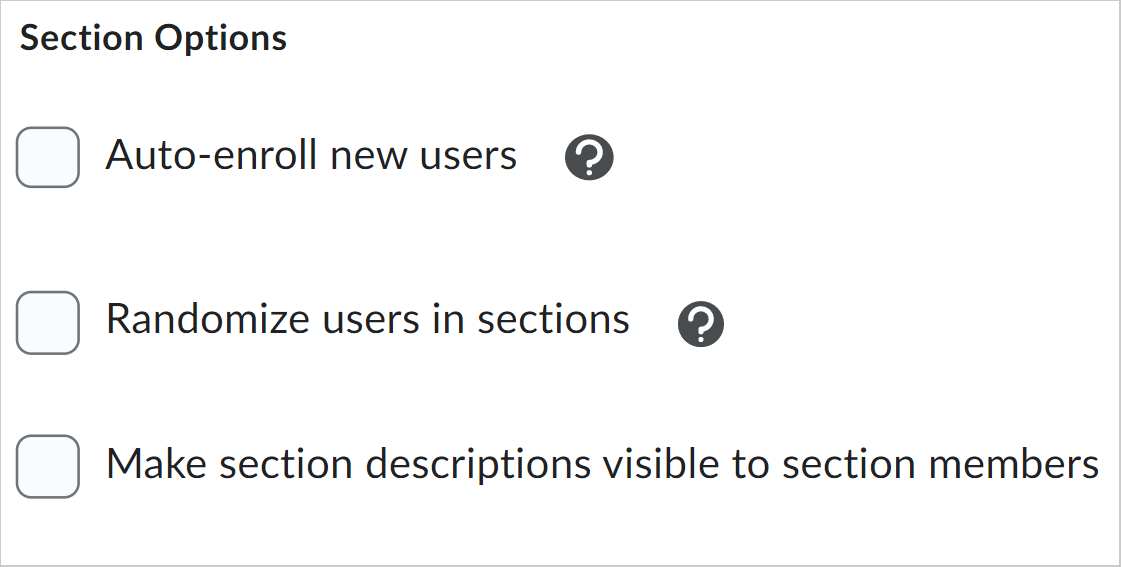
Figure: The Section Options section.
- To create section-specific discussion topics inside a forum, select Set up discussion areas and choose one of the following options:
- Create a new topic for creating a new topic to restrict with this group category.
- Attach to existing topic for creating a group-restricted thread in an existing topic. This is only available for empty topics without previous group restrictions or posts.
 | Note: If you select Set up Discussion areas when creating sections, you are automatically taken to the Create Restricted Discussion Areas page. On this page, you can create a separate topic for each section within an existing or new forum, complete with automatically configured restrictions for each section. |
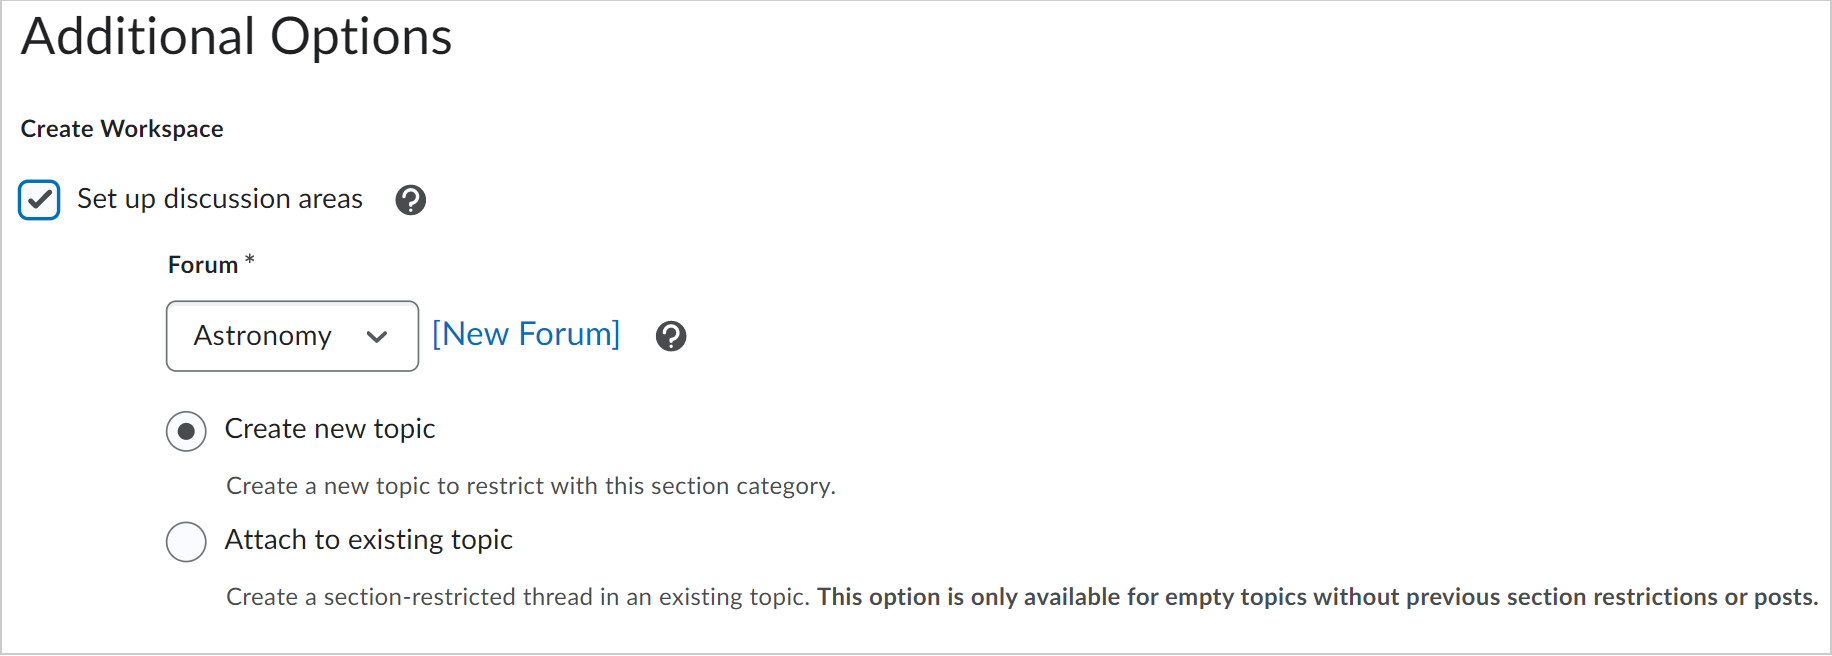
Figure: The Additional Options section showing the options for creating a workspace for discussions.
- Click Create.
Add an existing section to your course
If you have already created sections, you can add a section to your course that utilizes the settings you defined when creating a new section.
To add an existing section to your course
- On the navbar, click Course Admin.
- Under Tools, click Sections.
- On the Manage Sections page, click Add Section.

Figure: Click the Add Section button.
- On the Add Section dialog, enter a Section Name, Section Code, and Description.
- Click Add.
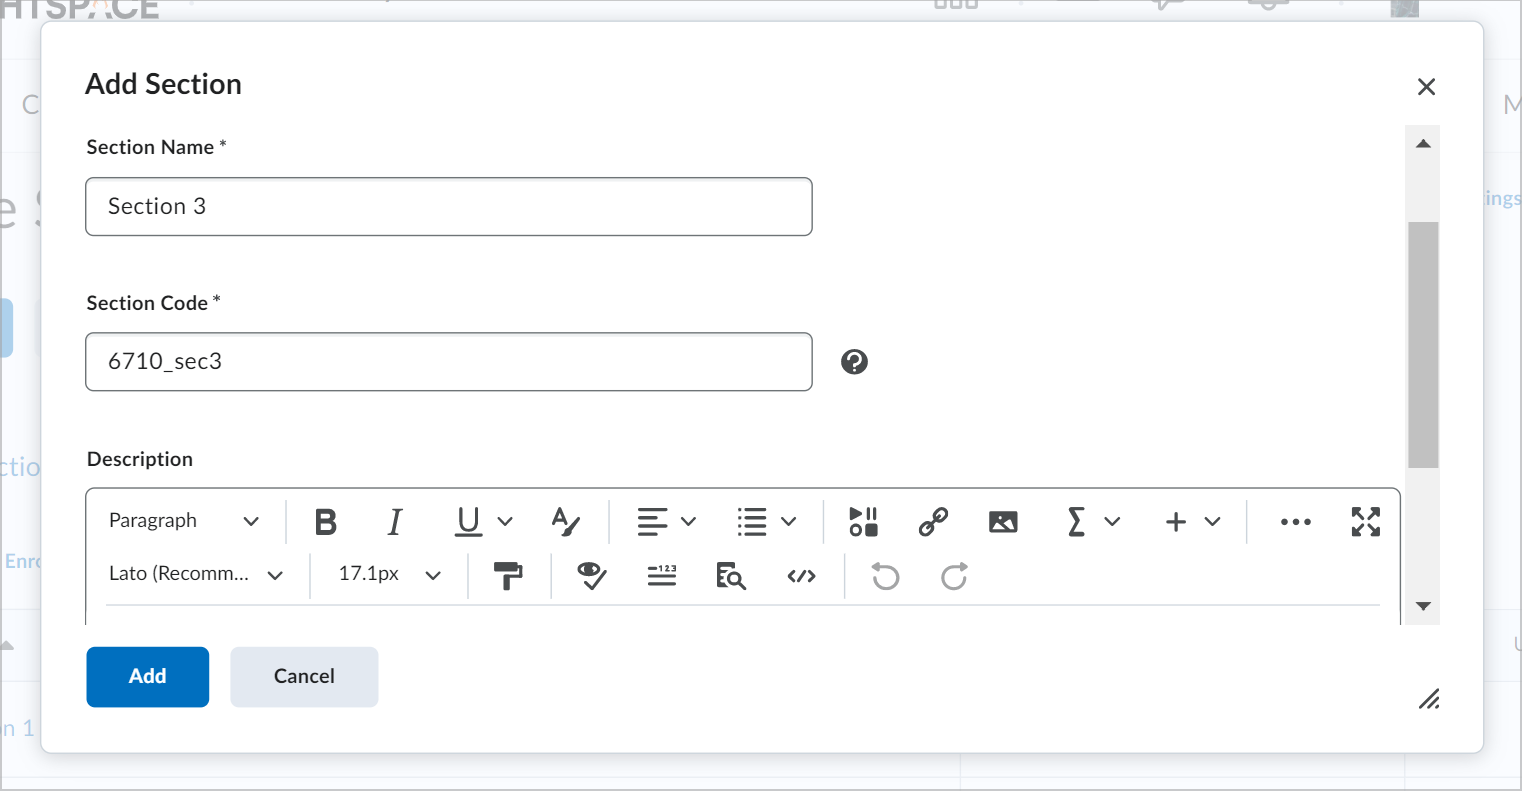
Figure: Click Add.
Edit properties of all existing Sections
- On the navbar, click Course Admin.
- In the Learner Management area, click Sections.
- Click the Edit Overall Section Properties link.
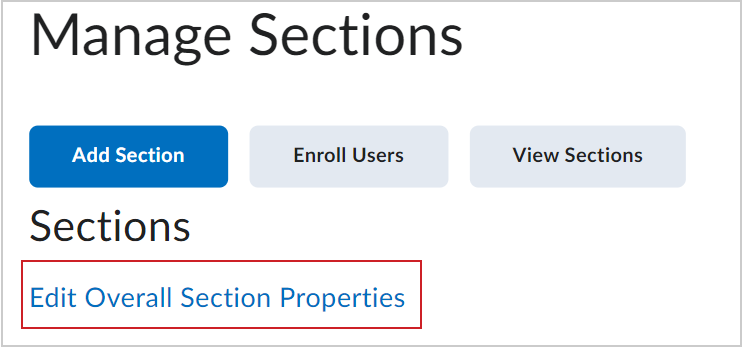
Figure: Click the Edit Overall Section Properties link.
- Make your edits.
- Click Save.
Enroll users in sections
The enrollment options you chose while creating sections determine how users enroll into sections. When you are enrolling users you can manually change which section they are enrolled in, search for users without a section enrollment, or manually enroll users into a section that has exceeded the enrollment limit.
To enroll users in sections
- On the Manage Sections page, click Enroll Users.

Figure: Click the Enroll Users button.
- Under Display, select All Sections or select an individual section.
- To find a specific user or do a blank search to view all users, use the Search For field.
- To find users that are not enrolled in a section:
- Click Show Search Options.
- Under Enrollment, clear Enrolled and ensure that Not Enrolled is selected.
- Modify users' section assignments as needed.
- Click Save.

|
Note: You can automatically enroll users in sections by selecting the Auto-enroll new users check box when creating or editing a section. |
Video: Modify enrollment in a section
Edit properties of all existing Sections
- On the navbar, click Course Admin.
- In the Learner Management area, click Sections.
- Click the Edit Overall Section Properties link.
- Make your edits.
- Click Save.
Delete Sections
Deleting a section unenrolls users from the section, but not the classlist. You must manually add those users to the remaining Sections.
Section-specific discussion topics remain available for reference if a section is deleted. You can use the Discussions tool to delete unnecessary forums and topics.