This page outlines the basic steps you can follow to start the term. It provides information about how to set up and manage your courses.
About importing existing content from another course
To start your term, you can use the Content tool to import existing course content when creating a new course offering. You can import content by either copying an existing course or importing a course package.
Video: Copy existing content from another course
Copy an existing course
Save time and effort by copying an existing course as well as importing an existing course's components to use for a new course offering. This allows you to start with a course that is already well developed and structured.
To copy an existing course
- From Content, click Table of Contents.
- Click the Import Course drop-down menu. Select Copy Existing Course.
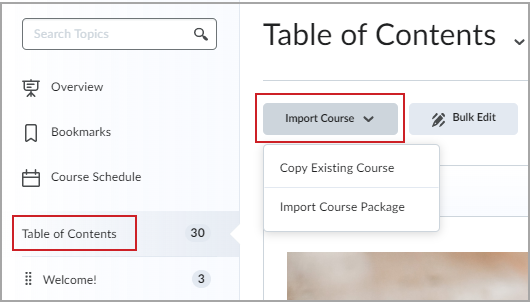
Figure: Click Import Course in Table of Contents to open the drop-down menu.
- Click Copy Existing Course.
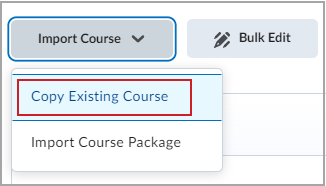
Figure: Click Copy Existing Course.
- Click Copy Components from another Org Unit.
- Use Search for offering to search for the course containing the course components you want to copy.
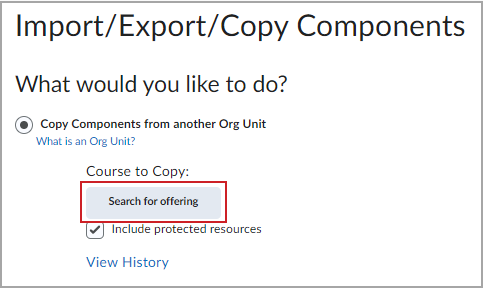
Figure: Click Search for offering.
- Choose the course.
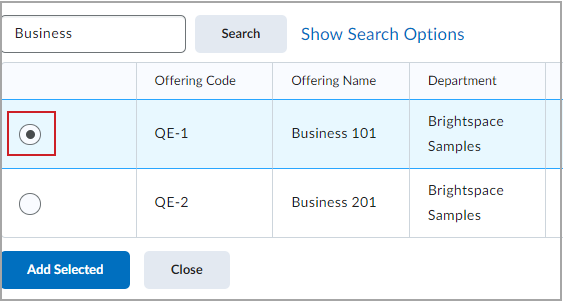
Figure: Select the desired course from the Select course offering.
- Click Add Selected.
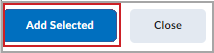
Figure: The Add Selected button.
 | Note: From the Import/Export/Copy Components menu, there are additional options to: - Copy Components from Parent Template
- Export as Brightspace Package
- Export as Common Cartridge
- Export as Thin Common Cartridge
- Import Components from Learning Object Repository or Course Package
|
- Select Copy All Components or select individual components to indicate which components to copy over. You are notified when the course upload is complete.

Figure: The Copy All Components and Select Components buttons. | Note: When choosing Select Components, you have the option to select all items or individual items from the following tools: Content, Content Display Settings, Course Files, Assignments, Grades, Grades Settings, Quizzes, Awards, Rubrics, Course Appearance, Surveys, and Release Conditions. |
- The Copy Course Components History menu displays your current and any previous course copies. From this page you can copy another package, view content you just imported, or review and manage dates.
You have now copied an existing course and imported the content into a new course offering.
Import a course package
Use the Content tool to import a course package. A course package is obtained by using the export or archive function on a course from another Learning Management System. This creates an archive file format (usually a .zip file) that contains all the components of your course. It is also often distributed by textbook publishers to share their courses with institutions.
To import a course package
- Select Import Course Package to import a zipped course file.
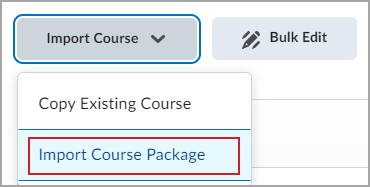
Figure: Click Import Course Package from the Import Course menu.
- Do one of the following:
- Drag and drop your course package file into the upload box.
- Select Upload to browse to your course package file location.
- Click Import All Components.
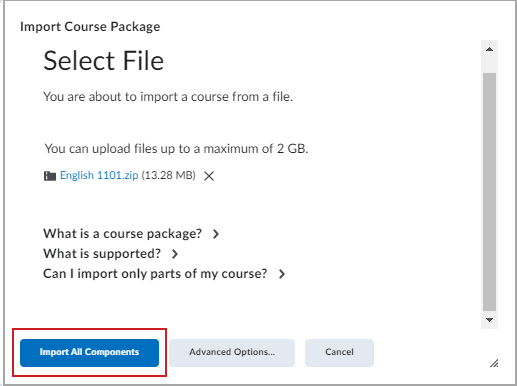
Figure: Click Import All Components to import the course package. | Note: When importing a course package, you can click Advanced Options, which allows you to select specific components to import from the course package |
You have successfully imported a course package. When the import is complete, you can also View Content, Import Another Package, or Review and Manage Dates for the course.

Figure: Once the Import Course Package window shows a successful import, select one of the available options.
Set your time zone
Select the preferred time zone to manage the due date and time for all course activities and events.
To set your time zone
- Click your username and select Account Settings.
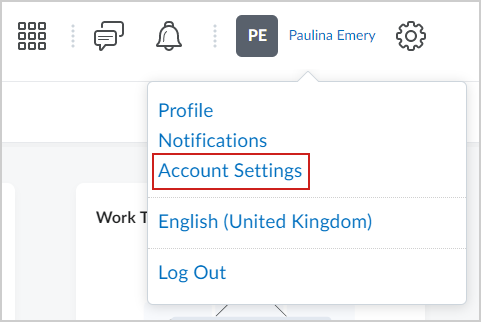
Figure: Click Account Settings.
- In the Account Settings page, under Time Zone, select a Continent.

Figure: Select your desired Continent from the drop-down menu.
- Select your preferred Time Zone.
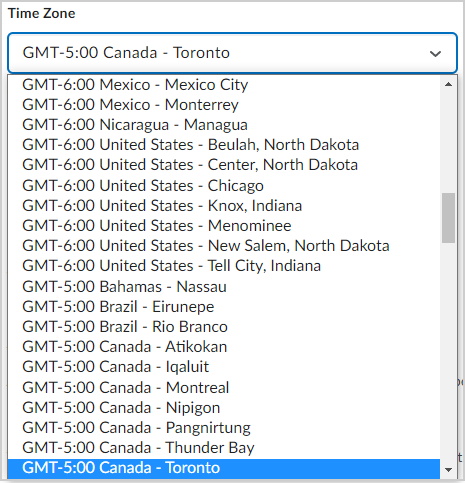
Figure: Select your desired Time Zone from the drop-down menu.
- Click Save and then click Save and Close to return to the Brightspace Homepage.
| Note: To display assignment and activity due dates for students who are going outside your continent or time zone, advise them to update their continent and time zone settings. |
Create a new unit in Lessons
Use units to organize your course learning materials. Units generally contain content related to a specific theme or subject within your course.
To create a new unit
- Navigate to Content.
- Click New Unit.
- Enter a Name for the unit.
- If desired, enter a Due Date, Description, Start Date, and End Date.
- Use the visibility toggle to make the unit visible or hidden from learners on creation.
- Click Save.
Set start and end dates for a topic or module
Start and end dates in the Content tool specify when learners can access a topic or module. If you set a start, end, or due date for a topic or module, it appears on the Upcoming Events page and the Agenda view in the Calendar tool. Setting an end date later than the due date for a topic enables learners to access and complete the topic from the Overdue tab on the Course Schedule page. Topics with a due date and no end date also appear in the Overdue tab on the Course Schedule page.
|
Note: Adding a due date to a content item that is associated to an assignment overrides an existing end date that is further in the future. The due date also overrides the end date in the Calendar tool. |
To set start and end dates for a topic or module
- Navigate toContent.
- On the Table of Contents page, click Bulk Edit.
- For any topic or module that you want to add availability or due dates to, click Add dates and restrictions.
- Do any of the following:
- To add a start date, click Add start date. Enter your start date details.
- To add a due date, click Add due date. Enter your due date details.
- To add an end date, click Add end date. Enter your end date details.
- Click Update.
- Click Done Editing.
Make your course available and active
After building your course, ensure that you are aware if it is accessible to learners by controlling its availability and active status. This is particularly important if you only want to make your course available to learners during a specified time period or academic term.
To activate your course
- From your organization home page, use the course selector to search for and open the course you want to activate.
- Navigate to Course Admin > Course Offering Information.
- Select Course is active.
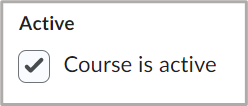
Figure: The Course is active checkbox. | Note: You can deactivate a course offering to hide it from learners by clearing the Course is active check box.
|
- Click Save.

|
Tip: If a Start Date and End Date are set but the instructor does not select Course is active, the course does not become accessible to learners on the selected start date. The course must be activated by selecting Course is active. |
Course start and end date considerations
If no Start Date and End Date are set in the Course Offering Information the course is immediately available for learners to access in the My Courses widget and in the Select a Course menu.
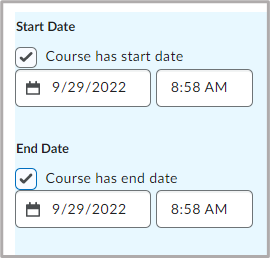
Figure: Start Date and End Date options.
Note the following start and end date considerations:
- If a course is active, the course will appear in the My Courses widget but will not be able to be accessed by learners until the start date has passed.
- If a course is active and the end date has passed, the course will still be visible in the My Courses widget but will not be able to be opened.
- If a Start Date and End Date are set but the instructor does not select Course is active, the course does not become accessible to learners on the selected Start Date. The course must be activated by selecting Course is active.
Configuration variables that control visibility of future or past courses
The visibility of courses before their start date, and after their end date is controlled by specific configuration variables. Contact your administrator for more information about required configuration variables.
Video: Set up your course
Video: Set Up Classlist, Class Progress, and Grades