By clicking on your username, you can make changes to your user profile, notifications, account settings, and log out.

|
Note: Depending on your permissions and what tools are enabled, additional settings may appear. |
Edit your user profile
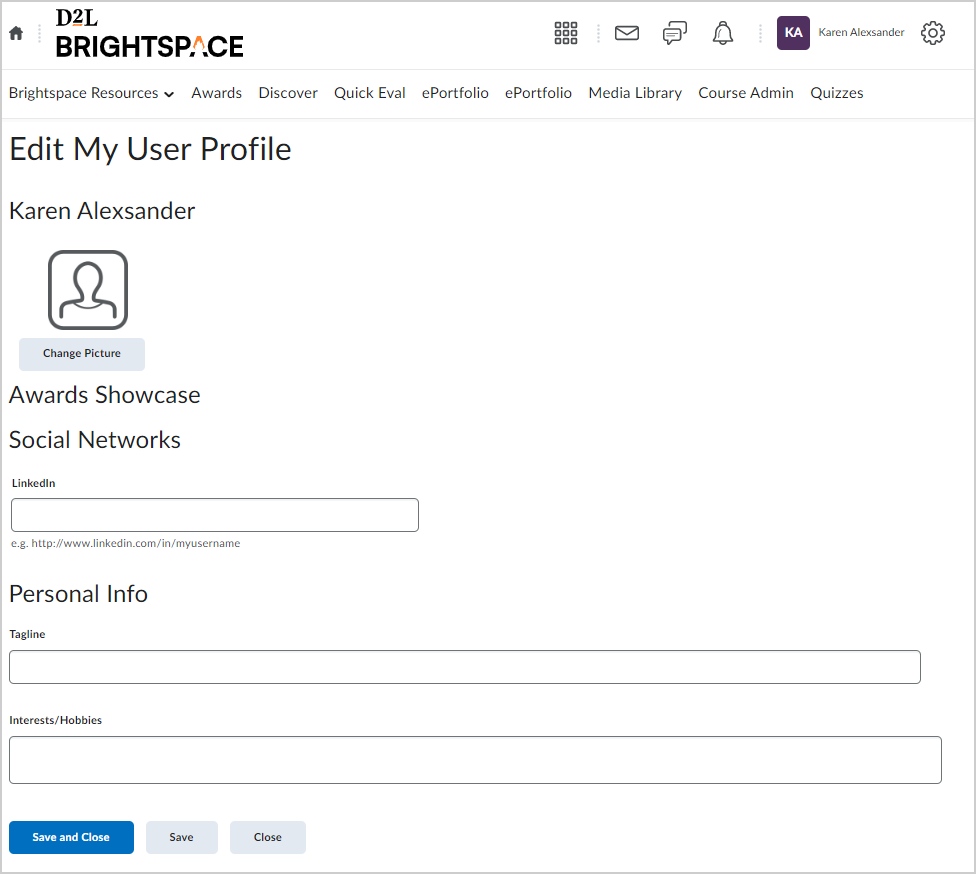
You can edit your user profile, including updating your profile picture, social networks, and personal information.
To edit your user profile
- Click your username.
- Select Profile.

-
Do any of the following:

- Click Change Picture to upload a profile picture.
Notes:
- The recommended size for profile pictures is 100 by 100 pixels.
- Uploading a differently sized image could result in loss of quality, stretching, or cropping.
- The maximum file size allowed for profile pictures is 1 MB; larger file sizes cannot be upload. Accepted file formats for profile pictures are: JPG, JPEG, PNG, and GIF.
- Your profile picture displays in all your courses in areas such as Discussions and Classlist. If you do not upload a profile picture, the navbar displays your initials in the user profile badge. This displays in the Brightspace navbar and Activity Feed.
- Enter a Social Network link. For example, LinkedIn.
- Enter your Personal Info, including your Tagline and Interests/Hobbies.
 | Note: All Personal Info fields have a character limit of 4,000 characters. |
- Click Save and Close.
You have edited your user profile information.
Edit your Notification settings
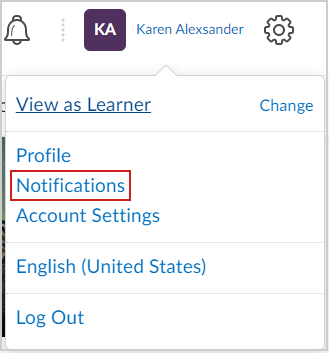
You can choose the method and frequency of notifications that you receive in Brightspace. Control how you receive notifications about activity in your courses. You can also receive a periodic summary of activity or receive individual notifications as things happen.

|
Tip: To receive content-related individual notifications, D2L recommends using the Brightspace Pulse mobile app or selecting the Email option for the individual notification type. |
To edit notification settings
- Click your username.
- Click Notifications.

- Under Contact Methods, do any of the following:
- Click Change your email settings to set the default system email address.
- Click Register your mobile to set a mobile phone number.
- Under Summary of Activity, select how often you would like to receive an email summarizing all activities for each of your courses.
- Under Instant Notifications, set individual notifications for activity in specific course components such as announcements, course updates, and when you are tagged in discussion posts and threads.
- Under Customize Notifications, select from the following:
- Include my grade value in notifications from Grades.
- Allow future courses to send me notifications.
- Under Exclude Some Courses, click Manage My Course Exclusions to set which courses you do not wish to receive notifications from.
- Click Save.
Your notifications settings are saved. As part of this process, you may optionally download Brightspace Pulse to help you stay connected and on track with your courses.
Change your account settings
You can also change account settings for fonts, dialogs, Brightspace Editor, reading content, video, locale and languages, time zone, pseudo-localization, signing in and two factor authentication, applications, discussions, email, and metadata.

|
Tip: If you are traveling outside of your original continent and / or time zone, update your continent and time zone settings to accurately reflect assignment and activity due dates. |
To change account settings
- Click your username.
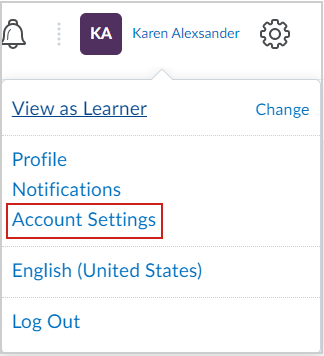
- Click Account Settings.

-
From the Account Settings tab, do any of the following:
- Under General Settings, change the system email and password. Depending on your permissions, you can also set up two factor authentication by selecting Enable Two Factor Authentication.
- Under Pronouns, allow others to see your pronouns, and set your personal pronouns.
- Under Font Settings, select the default font size for your account.
- Under Reading Content, if you use assistive technology such as screen readers, select Do not automatically mark items as read as the page scrolls.
- Under Video Settings, to ensure assistive technologies can detect videos, select Optimize video presentation for programmatically driven assistive technologies.
- Under Locale & Language, select a preferred locale and language for your account. You can also set default clock, day of the week, date, number format, and percentage format.
- Under Time Zone, select the default continent and time zone.
- Under Signing In, select whether you want to appear online or offline when signed in to Brightspace.
- Under Applications Settings, manage OAuth 2.0 applications, and manage access to ID Key Authorization.
- From the Discussions tab, do any of the following:
Under Personal Settings, select:
- Always show the Discussions List pane.
- Include original post in reply.
- Click Save and Close.
Your account settings are saved.
Change your password
If your organization is using a local log in setup where your administrator uses Brightspace to manage usernames and passwords, you can change your password within your instance of Brightspace.

|
Note: Password must be between 8 and 50 characters in length. or more information about log in credentials and Single Sign-On (SSO), refer to Log In to Brightspace. |
To update your local log in password
- Click your username.
- Click Account Settings.
- From the Account Settings tab, click Change Password.
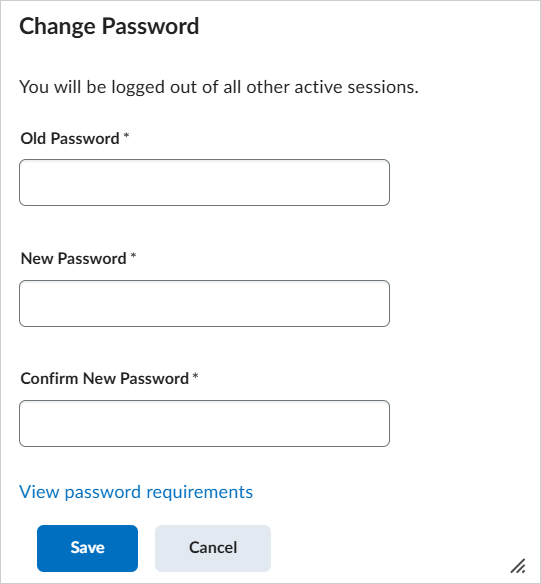
- From the Change Password dialog, do the following:
- Enter your Old Password.
- Enter your New Password and confirm.

- Click Save.
Your password is updated for your instance of Brightspace.
Video: Manage Account Settings
Video: Create a profile