A checklist contains important or required assignments, readings, or other items to complete. Each checklist contains one or more categories, into which checklist items are organized. For example, you might have an “Assignments” checklist with categories for written assignments and quizzes, both of which could have multiple items that must be completed.
Checklist items must reside in a category, which are used to organize checklist items. For example, you might create the categories Week 1, Week 2, and Week 3, and place week-specific checklist items into the appropriate categories. Alternately, you might use a checklist to organize steps of an assignment. You can assign due dates for checklist items.
Create a checklist
- Navigate to Checklists.
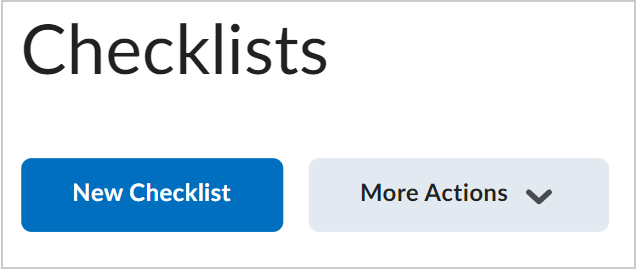
- Click New Checklist.

Figure: The New Checklist option on the Checklists page.
- Enter your checklist details.
- Click Save.
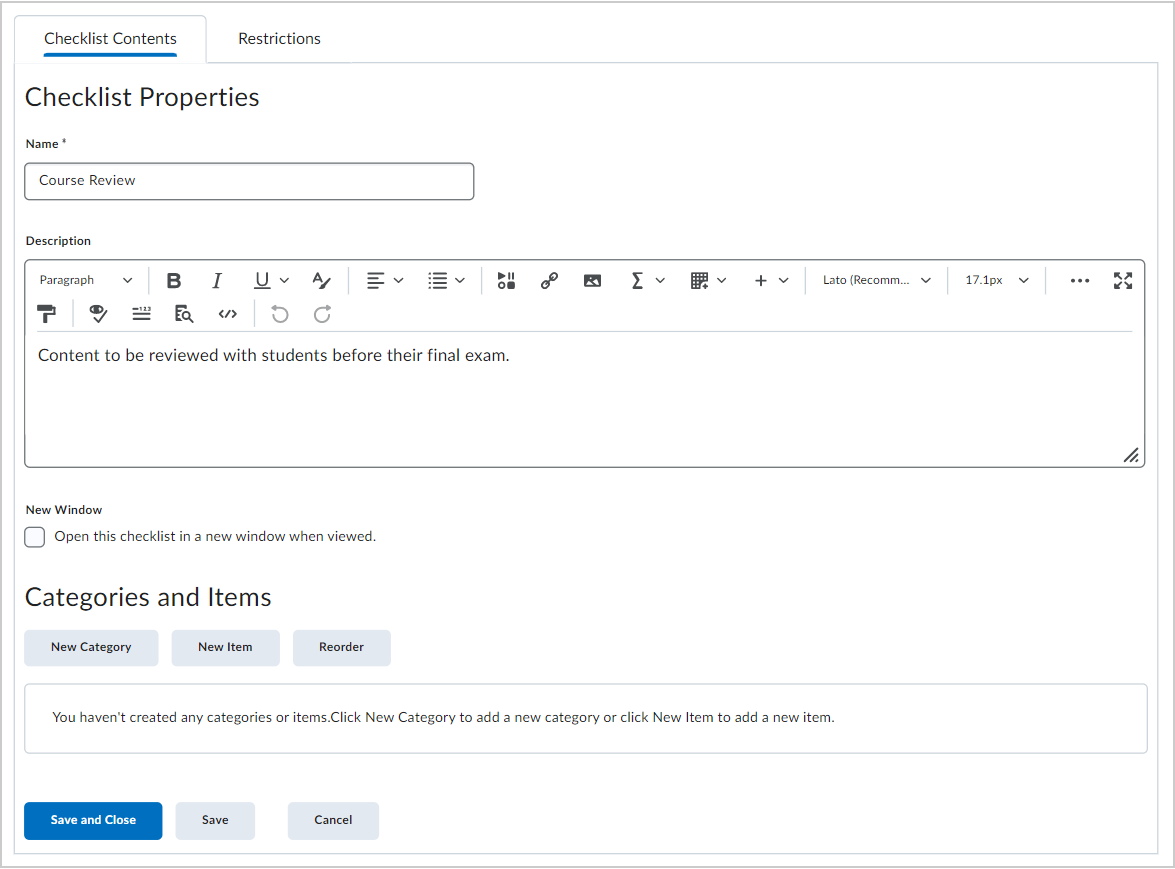
- On the Edit Checklist page, in the Categories and Items area, do any of the following:
- To add a category to the checklist, click New Category. Enter your category details and click Save.
Note: Categories have a character limit of 65,536 characters. - To add an item to the checklist, click New Item. From the Category drop-down list, select the category for your item. Enter your item details. If you want the item to be due by a certain date or time, select the check box and enter your Due Date information. Click Save.
Note: The default due date for a checklist item is one month from the current date. Items have a character limit of 65,536 characters.

Figure: The Checklist Properties and Categories and Items sections in the Checklist Contents tab.
- Repeat step 5 until you've added all your content to the checklist.
- Click Save and Close.
Copy a checklist
- Navigate to Checklists.
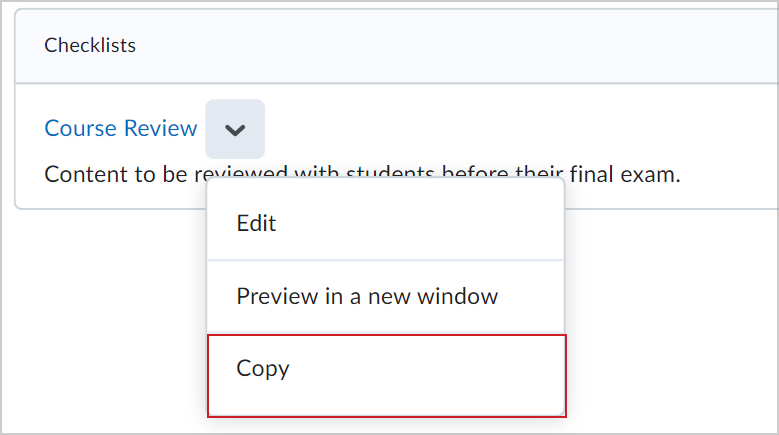
- Open the Actions menu for the checklist you want to copy, and click Copy.

Figure: The Actions menu for a checklist showing the Copy option.
- A new checklist is now visible at the bottom of the list of checklists with the title Copy of {original checklist name}.
Set release conditions for a checklist
- On the navbar, click Checklist.
- From the context menu of the checklist for which you want to set release conditions, click Edit.
- In the Restrictions tab, do any of the following:
- Click Attach Existing, then select the check box for any condition you want to attach. Click Attach.
- Click Create and Attach, then select a Condition Type from the drop-down list. Complete any additional Condition Details that appear and click Create.
- To set how accessing the checklist is controlled, from the drop-down list, select if All conditions must be met or Any condition must be met.
- Click Save and Close.