The Question Library is a central repository that stores and archives questions which you can reuse within a course. You can create multiple collections within the Question Library to organize your questions by type and topic, making it easier for you to find questions for your quizzes, surveys, and self assessments.
As a best practice for storage, organization, and easy access, we recommend that you create all your questions using the Question Library. You can also consolidate questions created within the Quizzes, Surveys, and Self Assessments tools by importing them back into the Question Library.
Video: Benefits of Question Library
About importing questions into Question Library
Consolidating questions within Question Library enables you to efficiently transfer questions to new courses using the Copy Course Components feature. You can also import questions from a CSV file or a learning object repository.

|
Important: When you import questions into surveys or self assessments, the answers from the Question Library, point value, and difficulty indicators are automatically removed. You cannot import Likert questions to quizzes and self assessments because they are unique to surveys.
|
Video: Add Questions from Other Courses
Access Question Library
You can access Question Library from the Quizzes tool, Survey tool, or Self Assessments tool.
To access Question Library
- Navigate to Quizzes, Surveys, or Self Assessments.
- From the tool navigation, click Question Library.
Prepare a CSV file for question import
Before you can import questions into Question Library, you must create and configure a CSV file template with the required information.
The following question types can be imported using a CSV file:
- Written response
- Short answer
- Matching
- Multiple Choice
- True or False
- Multiselect
- Ordering
The following question types cannot be imported using a .csv file:
- Fill in the Blanks
- Arithmetic
- Significant Figures
- Multiple Short Answer

|
Important: You must enter different fields and information into your CSV file depending on the question type that you wish to import. The following workflows describe the minimum fields required to import a question. Each workflow assumes you are working from the top rows of your CSV file, however, you can add each question type set up below each. Therefore, the row numbers will differ, depending on how many question types you enter in your CSV file.
|
To locate and download the template CSV file
- Navigate to Quizzes, Surveys, or Self Assessments.
- From the tool navigation, click Question Library.
- From the Upload a File dialog, click Download template CSV. Choose a save location for the template CSV file and click Save.
To add a written response question to your CSV file
- From your CSV template file, scroll down to the row containing //WRITTEN RESPONSE QUESTION TYPE in column A. This field is optional and can be used as a comment to describe the question type.
-
In the next row, enter the following mandatory information:
-
In the next row, enter the following mandatory information:
-
Column A: Enter QuestionText.
-
Column B: Enter the written response question text as you want it to appear in the quiz.

Figure: Your CSV file should look something like this example. Note how the written response question is entered in column B next to QuestionText.
-
Save your CSV file.
To add a short answer question to your CSV file
- From your CSV template file, scroll down to the row containing //SHORT ANSWER QUESTION TYPE in column A. This field is optional and can be used as a comment to describe the question type.
-
In the next row, review the comment //Answers must include text in column3. This is a reminder to place short answers in column C.
-
In the next row, enter the following mandatory information:
-
In the next row, enter the following mandatory information:
-
In the next row, enter the following mandatory information:
-
Repeat step 5 to add as many Answers as you require.

Figure: Your CSV file should look something like this example. In this case, there is one correct answer (Satellites) that is worth 1 point. A user must enter "Satellites" as the answer to earn 1 point.
- Save your CSV file.
To add a matching question to your CSV file
- From your CSV template file, scroll down to the row containing //MATCHING QUESTION TYPE in column A. This field is optional and can be used as a comment to describe the question type.
-
In the next row, review the comment //Choices and matches must include text in column3. This is a reminder to place choice text and matching text column C.
-
In the next row, enter the following mandatory information:
-
In the next row, enter the following mandatory information:
-
In the next row, enter the following mandatory information:
-
Column A: Enter Choice.
-
Column B: Enter a number value to represent the order of how choices are displayed in the question. For example, a value of 1 would place this choice first.
-
Column C: Enter the text for Choice number 1.
-
Repeat step 5 to add additional choices.
-
In the next row, enter the following mandatory information:
-
Repeat step 7 to add additional matches.

Figure: Your CSV file should look something like this example. In this case one matching question is set up with two choices and two corresponding matches.
-
Save your CSV file.
To add a multiple choice question to your CSV file
-
From your CSV template file, scroll down to the row containing //MULTIPLE CHOICE QUESTION TYPE in column A. This field is optional and can be used as a comment to describe the question type.
-
In the next row, review the comment //Options must include text in column3. This is a reminder to place multiple choice option text in column C.
-
In the next row, enter the following mandatory information:
-
In the next row, enter the following mandatory information:
-
In the next row, enter the following mandatory information:
-
Column A: Enter Option.
-
Column B: Enter a number value to represent whether the option is correct or incorrect. A correct answer requires a value of 100. An incorrect answer requires a value of 0.
-
Column C: Enter the answer text.

Figure: Your CSV file should look something like this example. In this case, the first Option for multiple choice is set to a value of 100 (correct) and the other two are set to 0 (incorrect).
-
Save your CSV file.
To add a true or false question to your CSV file
-
From your CSV template file, scroll down to the row containing //TRUE / FALSE QUESTION TYPE in column A. This field is optional and can be used as a comment to describe the question type.
-
In the next row, enter the following mandatory information:
-
In the next row, enter the following mandatory information:
-
In the next row, enter the following mandatory information:
-
In the next row, enter the following mandatory information:
-
Column A: Enter FALSE.
-
Column B: To set FALSE as the correct answer, enter 100. To set TRUE as the incorrect answer, enter 0.

Figure: Your CSV file should look something like this example. In this case, the TRUE value is set as correct, and the FALSE value is set as incorrect.
-
Save your CSV file.
To add a multiselect question to your CSV file
- From your CSV template file, scroll down to the row containing //MULTISELECT QUESTION TYPE in column A. This field is optional and can be used as a comment to describe the question type.
- In the next row, review the comment //Options must include text in column3. This is a reminder to place multiple choice options in column C.
- In the next row, enter the following mandatory information:
- Column A: Enter NewQuestion.
- Column B: Enter MS.
- In the next row, enter the following mandatory information:
- Column A: Enter QuestionText.
- Column B: Enter the multiselect question text as you want it to appear in the quiz.
- In the next row, enter the following mandatory information:
- Column A: Enter Option.
- Column B: Enter a number value to represent whether the options that are correct or incorrect. A correct answer requires a value of 1. An incorrect answer requires a value of 0.
- Column C: Enter the option text.
-
Repeat step 5 to add additional options.

Figure: Your CSV file should look something like this. Note that in this example, three options are set as correct (1). One option is set as incorrect (0).
-
Save your CSV file.
To add an ordering question to your CSV file
- From your CSV template file, scroll down to the row containing //ORDERING QUESTION TYPE in column A. This field is optional and can be used as a comment to describe the question type.
- In the next row, review the comment //Options must include text in column2. This is a reminder to place ordering question text and items in column B.
- In the next row, enter the following mandatory information:
- Column A: Enter NewQuestion.
- Column B: Enter O.
- In the next row, enter the following mandatory information:
- Column A: Enter QuestionText.
- Column B: Enter the ordering question text as you want it to appear in the quiz.
- In the next row, enter the following mandatory information:
- Column A: Enter Item.
- Column B: Enter the item text as you want it to appear in the quiz.
- Repeat step 5 to add additional items.
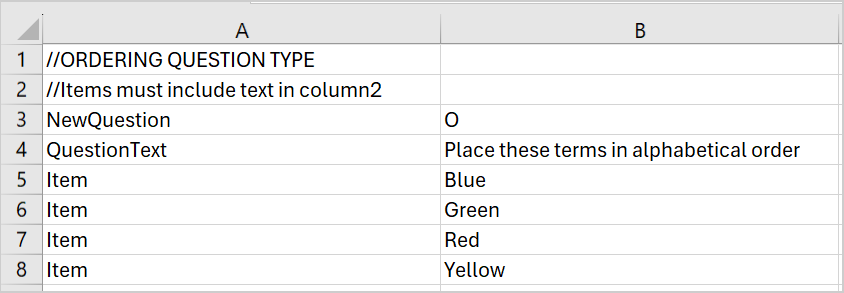
Figure: Your CSV file should look something like this. Note that in this example, there are four items that a user must place in alphabetical order.
- Save your CSV file.
Optional entries for your CSV template
There are optional entries you can use in your CSV file to configure quiz questions. The following table displays entries that you can use in addition to the minimum required entries displayed above.
| Column A field entry |
Column B field entry |
Explanation / Example |
Applicable question type |
|---|
| Points |
Value from 1-100 |
Assign your question a point value for correct answers. |
All |
| Scoring |
EquallyWeighted |
The total available points is 1. There are 4 options, so each is 0.25.
If a user gets 1 correct and 3 wrong, their score is 0.25. If a user gets 3 correct and 1 wrong, they get 0.75.
|
Ordering
Matching |
| Scoring |
RightMinusWrong |
Points are evenly distributed across all answers. Users earn partial points for each answer correctly selected and left blank. Users lose points for answers incorrectly selected or left blank. Users cannot receive less than 0 points.
Users can earn 1 point, with 4 correct options. If a users gets 1 correct and 3 wrong, their score is 0 (0.25 - 0.25 - 0.25 - 0.25).
If a user gets 3 correct and 1 wrong, they get 0.5 (0.25 + 0.25 + 0.25 - 0.25).
|
Ordering
Matching
Multiselect |
| Scoring |
All or nothing |
The total available points are 1. If a user answers all correctly, they get 1 point. If they answer any incorrectly, they get 0.
Learners earn full points only when all correct answers are selected, and all incorrect answers are left blank. Learners cannot earn partial points. |
Ordering
Matching
Multiselect |
| Scoring |
Correct Selections |
Points are evenly distributed across all answers. Users earn partial points for each answer correctly selected and left blank. |
Multiselect |
| Title |
Customized text |
This adds a Short Description to your quiz question. |
All |
| Hint |
Customized text |
Add a hint to your quiz question. |
All |
| Feedback |
Customized text |
Add feedback to your quiz question. |
All |
| Image |
File path |
Enter a file path to add an image to your quiz question. |
All |
Use HTML tags in your CSV template file
You can also use HTML tags directly in your CSV file to apply HTML styling to text fields in your quiz. This requires you to enter HTML into column C of your CSV. HTML can be used with the following entries:
- QuestionText
- Option
- Item
- Choice
- Match
- Initial Text
- Answer Key
- Hint
- Feedback

Figure: In this example, a bold HTML tag is applied to the QuestionText in the CSV template file. Note that the field entry HTML is placed in column C.
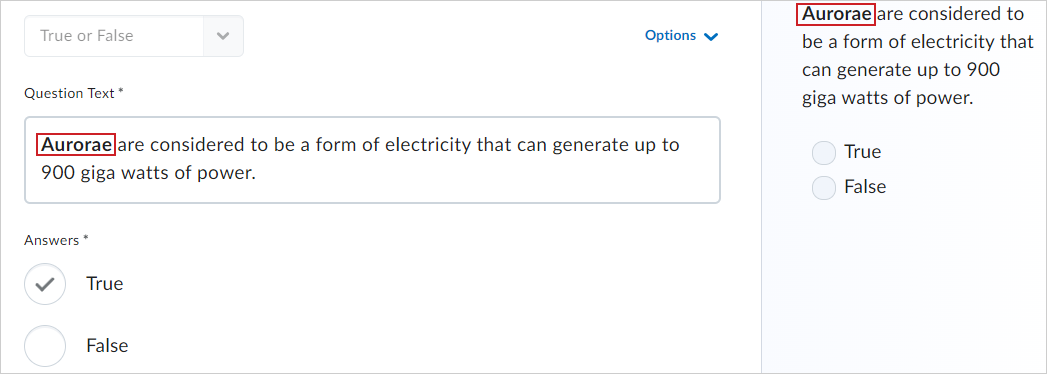
Figure: Here is the same question as it appears in Brightspace after being imported as a quiz question with HTML tags applied. Note that the text Aurorae is bold.
Import questions into Question Library
You can use Question Library to import a prepared CSV file of questions.
To import questions into Question Library from a file
- In Question Library, click Import.
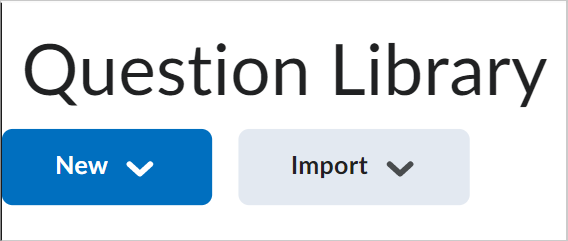
Figure: ClickImport on the Question Library page.
- Select Upload a File.
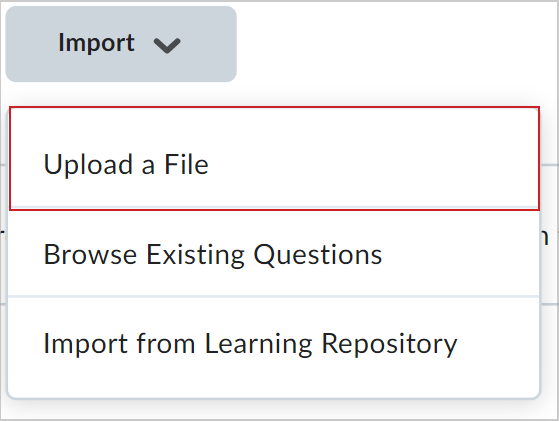
Figure: Select Upload a File.
- From the Upload a File dialog, select the source where existing questions reside by clicking Browse Files and selecting the file or dragging and dropping the selected file into the Upload a File dialog.
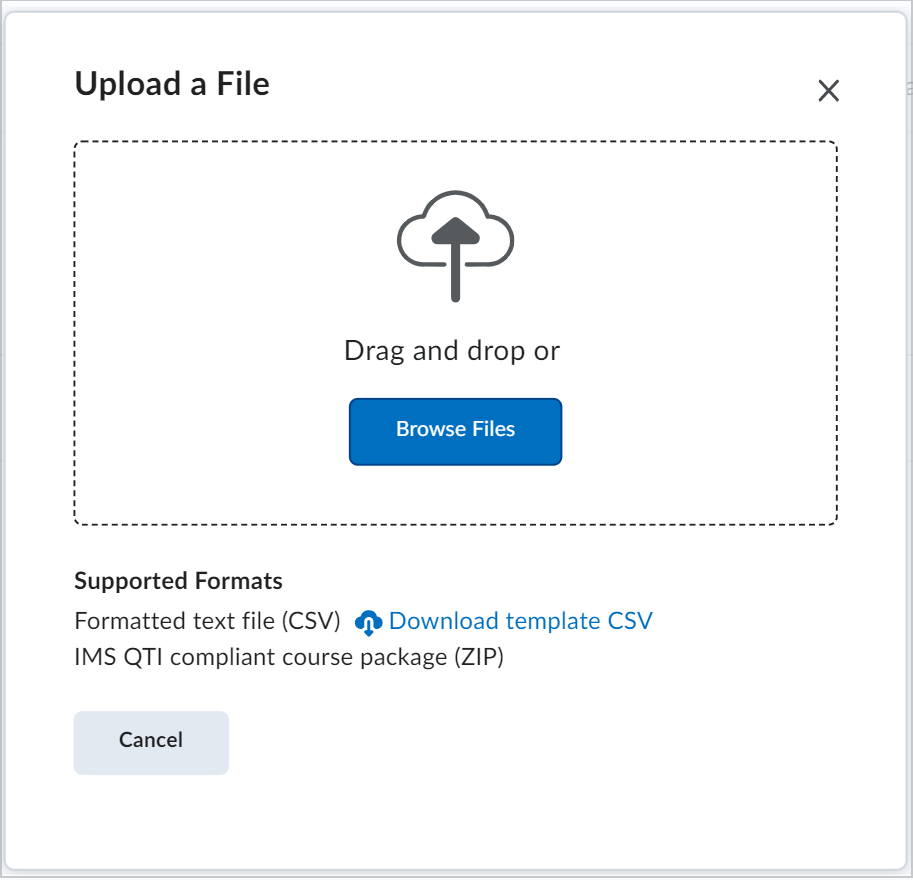
Figure: Click Browse Files to select your prepared CSV file.
- Once the file finishes importing, view the uploaded questions in the Upload a File dialog.
- To import all the questions from the upload, click Import All. To import specific questions from the file upload, select the questions you want to upload and click Import.
Import questions into Question Library from an existing collection
You can also use an existing collection of questions to import into Question Library.
To import from an existing collection
- In Question Library, click Import.
- Select Browse Existing Questions.
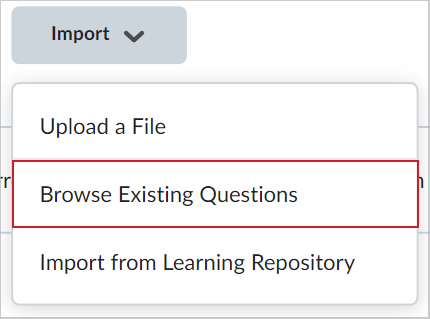
Figure: Select Browse Existing Questions.
- From the Source Collection drop-down list, select the source where existing questions reside.
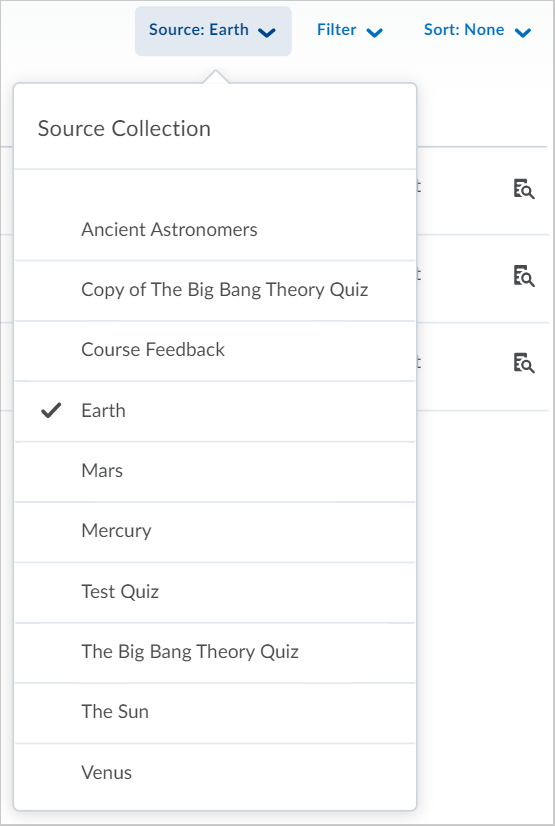
Figure: Review the Source Collection drop-down list to choose a collection.
- Select the question collection you want to import.
- Click Import.
- Click Done Editing Questions.
Video: Import Questions
Import questions into Question Library from a learning object repository
You can also import questions from the Learning Object Repository (LOR).
To import questions from the LOR
- In Question Library, click Import.
- Select Import from Learning Repository.
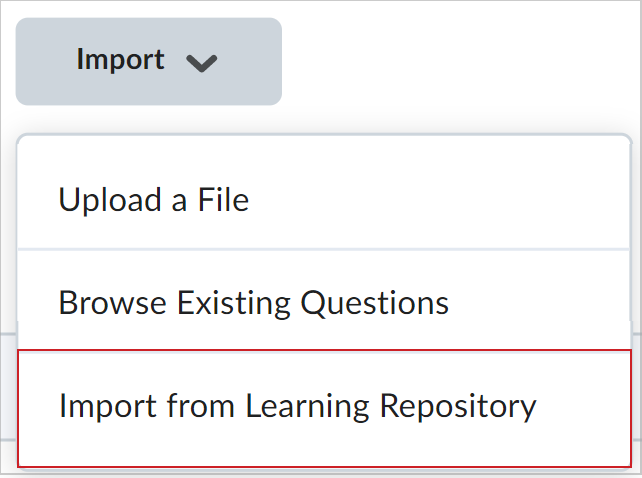
Figure: Select Import from Learning Repository.
- Locate the object you want to import using the search field or browsing by category.
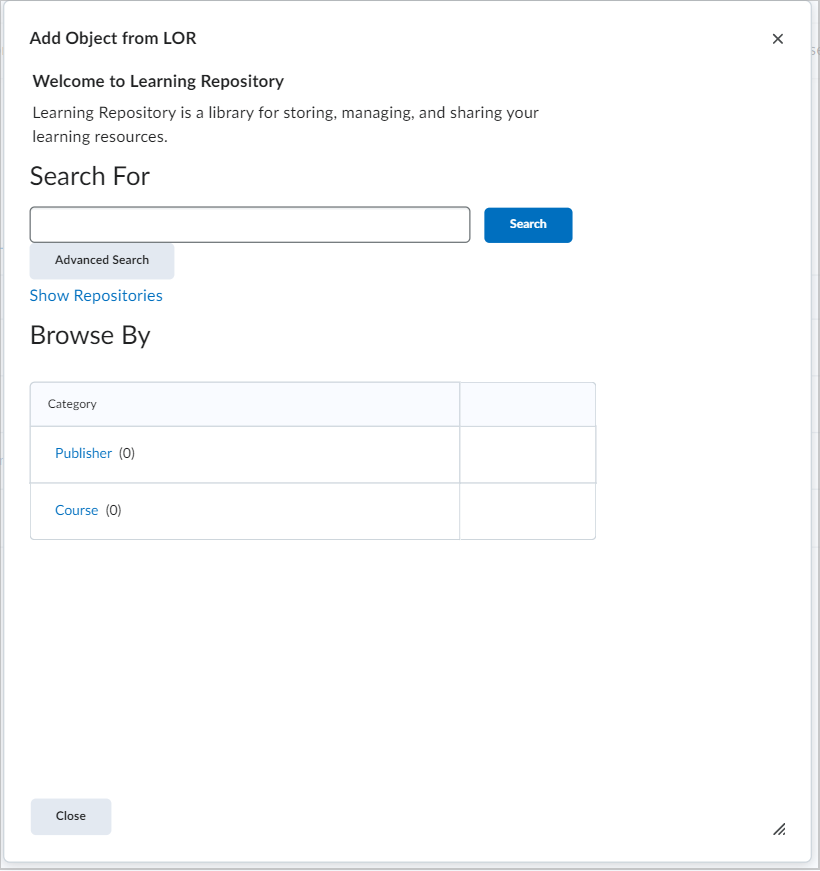
Figure: Use the Add Object from LOR dialog to select a learning object.
- Select the learning object or file, then click Select.
- Click Save.