In the My Courses widget on your homepage, the courses display a default image assigned from the curated image library. You can also select an image that is more representative of the course from the library provided by D2L, or add your own image for the course tile. Any images that you include with the My Courses widget are available to include in the course components that you export, copy, or import.
About course images
To help instructors and course designers to create great visual experiences for their learners, the My Courses widget course tiles now include an instructor-chosen photograph. D2L provides an image library of over 3000 images which are licensed for use within the Brightspace Platform. Instructors and course designers can also upload their own image.
Be aware of the following image size recommendations:
- For logo images used on navbars, ensure that your image is a maximum size of 260 pixels by 60 pixels, and saved as SVG filetype.
- For course images, it is recommended that images are 2400 pixels by 960 pixels. Keep in mind that the display height and width of these images may vary in different tools and on different screens and devices. Ensure that any images that you are using appear correctly at different sizes and crop points on laptop, tablet, and mobile device screens.
To maintain security, ensure any .jpg images are clear of EXIF (exchangeable image file) data.
Change the image displayed by the My Courses widget
To change the default image
- Navigate to your course homepage by doing one of the following:
- If your My Courses widget appears on the My Home page, click the My Home button.
- If your My Courses widget appears somewhere else, navigate to the location of the widget.
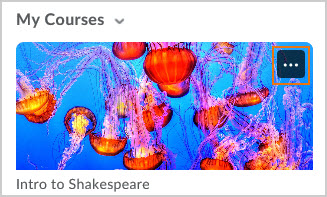
- Hover over the course image and click the More Options menu. If you are using assistive technology or keyboard-only navigation, press Tab to access the More Options button and press Enter to view the menu items.
- Select Change Image or press Enter.
- Search or browse the list of available images.
- Hover over the image you want to use and click Use this image. If you are using assistive technology or keyboard-only navigation, press Enter to select the image.

Figure: You can choose from a variety of images for your course.
Display the course code using the My Courses widget
You can also configure the My Courses widget to display the course code by default.
To display the course code
- From your organizational or course homepage, navigate to the My Courses widget.
- From the My Courses context menu, select Customize this widget.
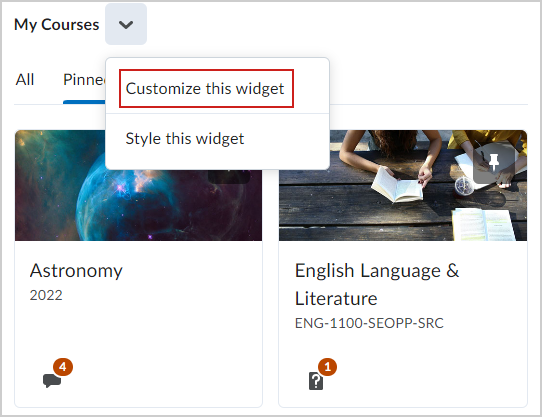
Figure: Click Customize this widget in the My Courses context menu.
- From the Customize Widget dialog, do any of the following:
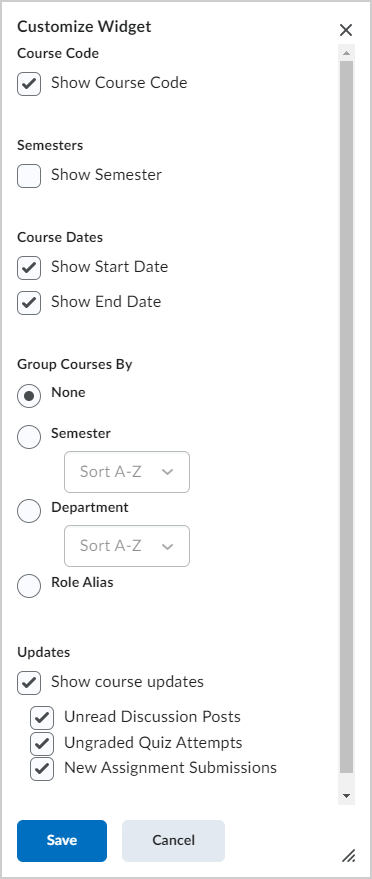
Figure: Customize the My Courses widget in the Customize Widget dialog.
- Select Show Course Code.
- Select Show Semester.
- Under Group Courses By, do one of the following:
- Select None to remove course grouping tabs from the widget.
- Select Semester, then select an alphabetical sorting option from the drop-down menu.
- Select Department, then select an alphabetical sorting option from the drop-down menu.
- Select Role.
- Under Updates, select Show course updates, and choose which updates you want displayed:
- Unread Discussion Posts
- Unread Quiz Attempts
- New Assignment Submissions
- Click Save.
Style the My Courses widget
All widgets adhere to the Widget container style by default. You can edit the settings of the My Courses widget to customize the widget style on homepages.
To change style the widget
- From your organizational or course homepage, navigate to the My Courses widget.
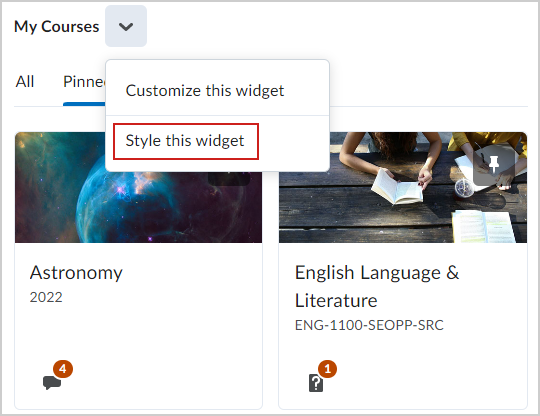
- From the My Courses context menu, select Style this widget.
- From the Widget Settings dialog, do any of the following:
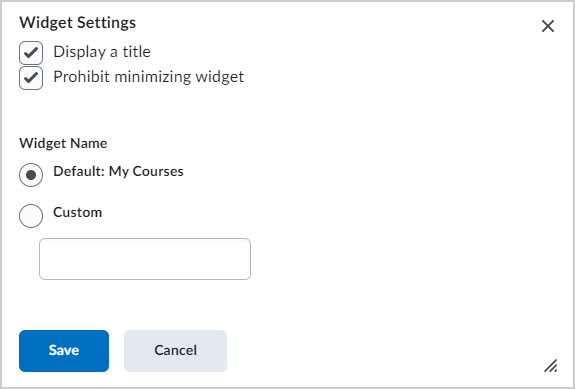
- To hide the title, clear Display a Title.
- To prevent users from collapsing the widget on the homepage, select Prohibit minimizing widget.
- Under Widget Name, do select one of the following:
- To maintain My Courses as title, select Default.
- To set a custom title, select Custom and enter a title.
- Click Save.