Brightspace Editor is the default editor across Brightspace. You can find Brightspace Editor nearly everywhere you create content in Brightspace.
Overview
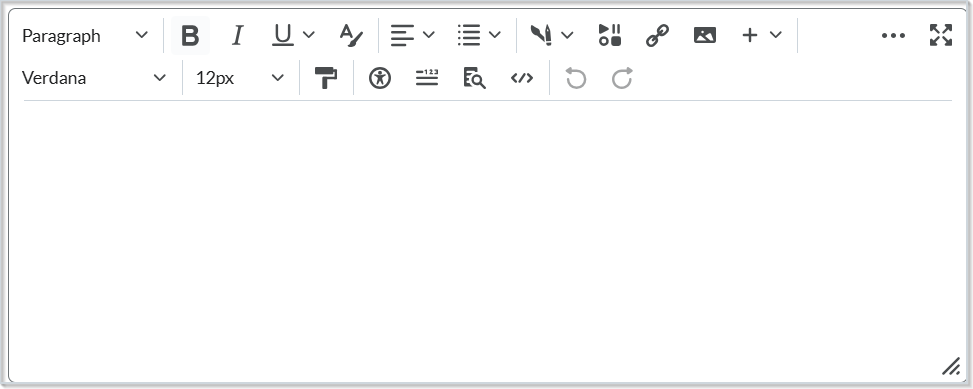
Brightspace Editor allows users to create and insert content across Brightspace.

|
Note: When creating or editing Content files with Brightspace Editor or in Manage Files, there is a character limitation of 2.5 million. If the number of characters exceeds the limit, a warning message displays to explain that the number of characters exceeds the allowed amount. The exception to this character limit is uploaded files, but restrictions apply if you edit the uploaded content. |
Users can use Brightspace Editor tools for the following:
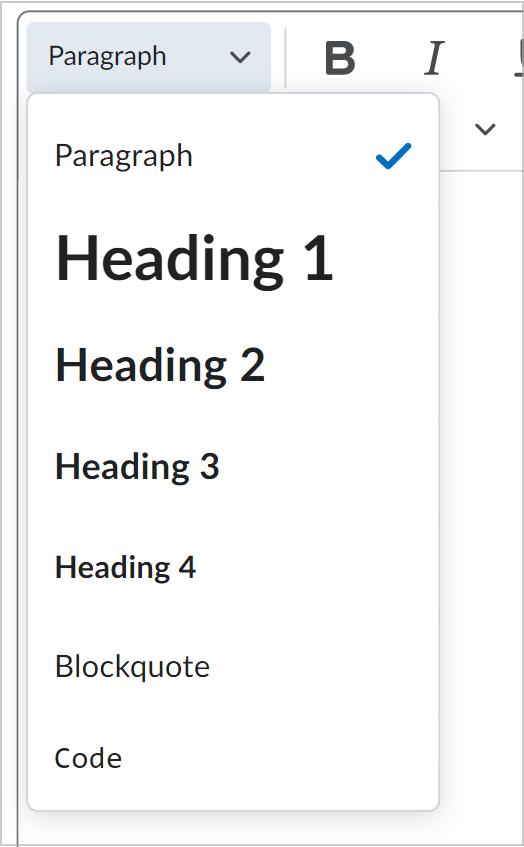
- Format: Change the format of your text to be a paragraph, heading, blockquote, or code.
- Bold: Bold text.
- Italic: Italicize text.
- Inline Formats: Alter your text to the underline, strike-through, superscript, or subscript formats.
- Select Color: Change the color of your text with the color picker.

|
Note: Attributes such as text orientation, page title, and language can be added or edited through the Other Insert Options > Attributes window. |

Figure: Click Select Color to change your text color.
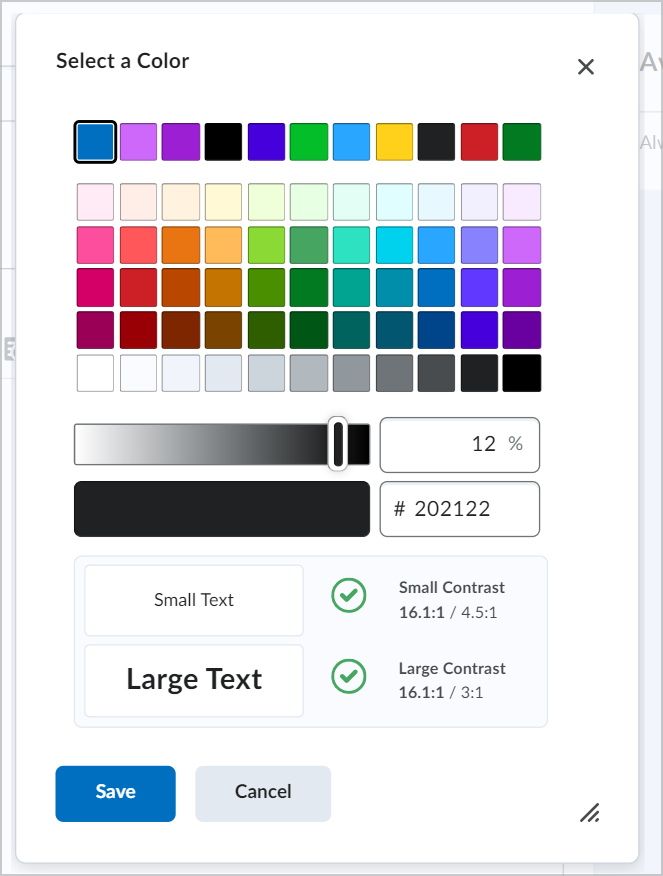
Figure: Select a text color in the Color Picker dialog.
- Alignment: Change the alignment of text.
- List: Choose between different list formats and indentations.
- Insert Stuff: Add content from across Brightspace, your device, and third-party tools. You can add various content like images, links, videos, and more.

Figure: Click Insert Stuff to add various content.
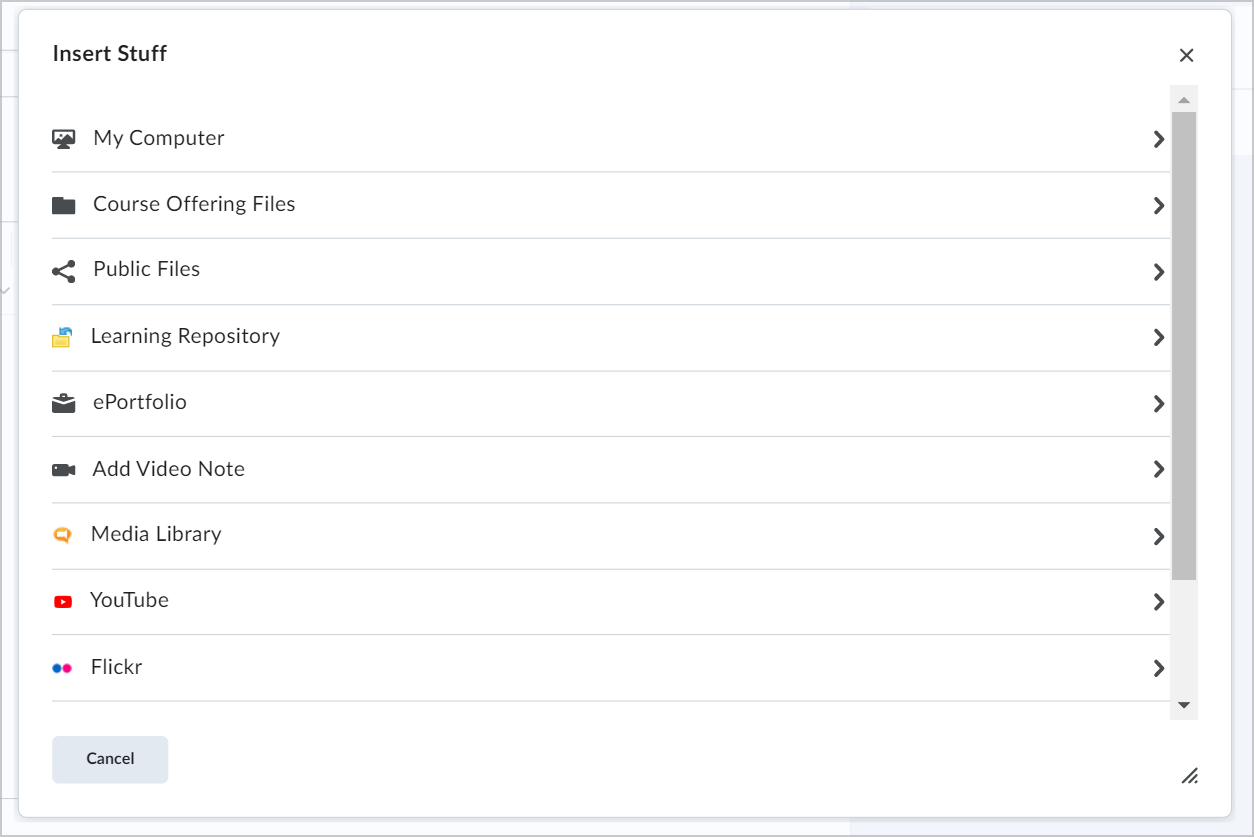
Figure: Select what you would like to add in the Insert Stuff dialog.
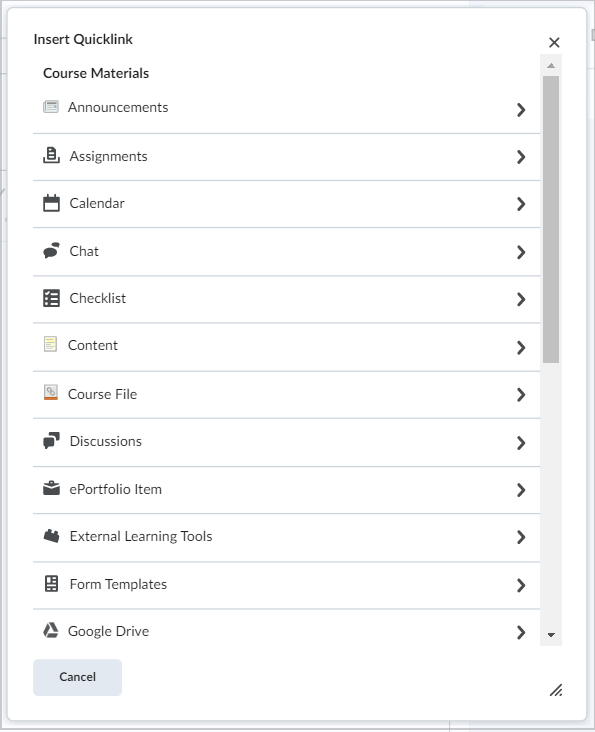
- Insert Quicklink: Add links to course materials and third-party content.
- Insert Image: Add an image from your device or course offering files.
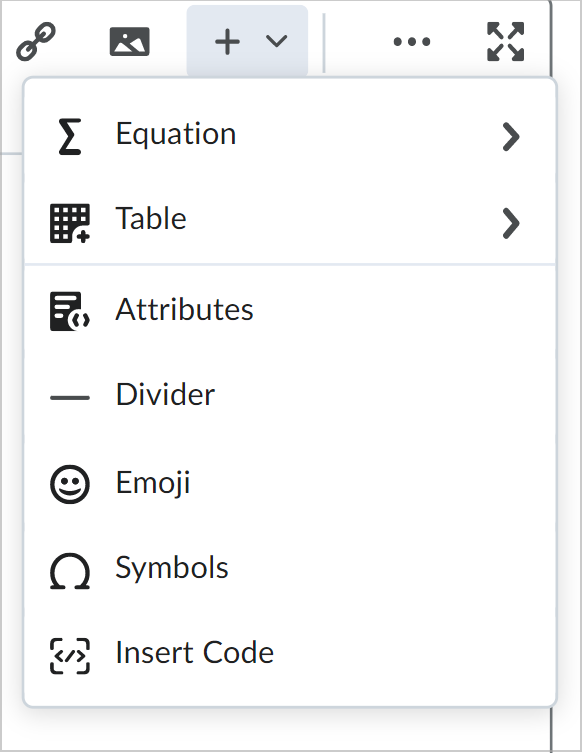
- Other Insert Options: Add other elements like equations, tables, attributes (both for individual elements and the entire page), dividers, emojis, symbols, and code.
- More Actions (...): Expand the Brightspace Editor toolbar.
- Fullscreen: Enter fullscreen mode for Brightspace Editor.
- Font: Change the text font.
- Font Size: Change the text size.
- Format Painter: Highlight text to change its format or insert a link.
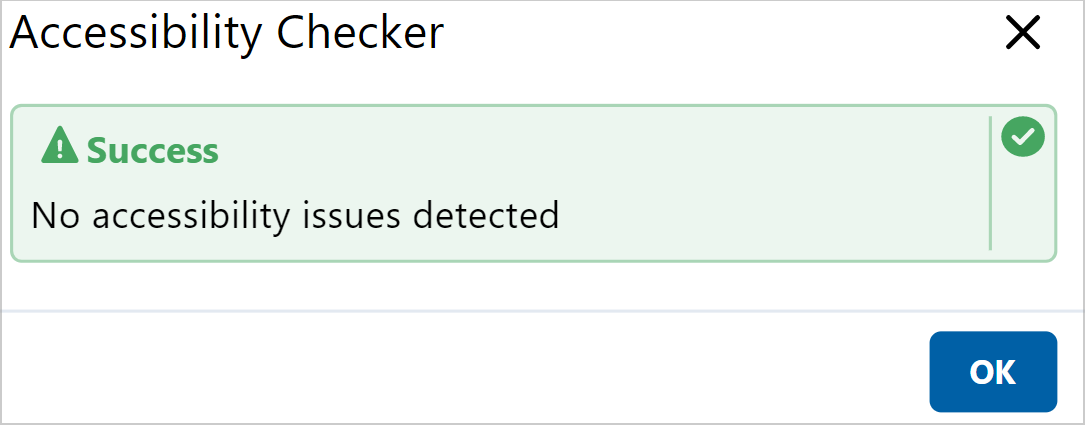
- Accessibility Checker: Check if your content is accessible for all users. The Accessibility Checker dialog notes where and why your content is not accessible and encourages revisions.

- Word Count: View the word count for your content.
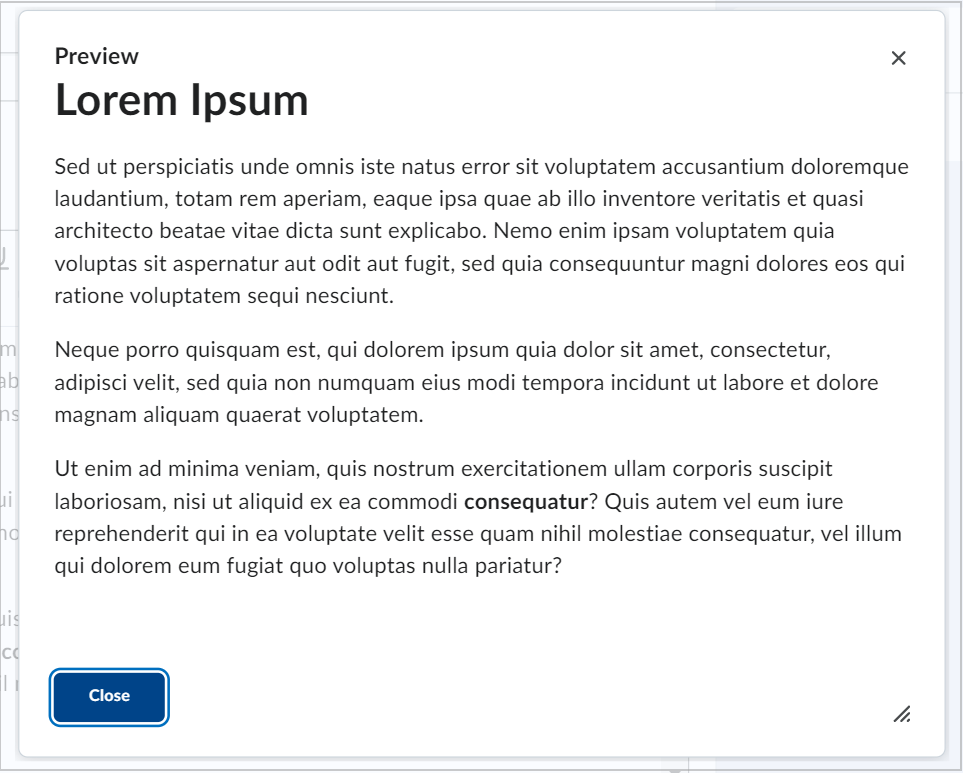
- Preview: View how your content will appear to users when published.
- Source Code: View and edit the HTML for your content.
- Undo/Redo: Reverse an action.
Special features
Brightspace Editor includes the following optional-use functionality to improve the content creation experience:
Asterisks
Link path detection warnings
Asterisks
In Brightspace Editor, you can place an asterisk(s) at the beginning and end of a word, and then press Enter to automatically apply a text attribute (font style) to the text. For example:
- One asterisk (*example*) makes a font italic.
- Two asterisks (**example**) make a font bold.
- Three asterisks (***example***) make a font bold and italic.
When you add the asterisks and press Enter, the text attribute updates, and the asterisks disappear.
This functionality cannot be disabled and is browser-independent.
Link path detection warnings
If configured for your organization, Brightspace Editor can alert users when a pasted object (such as link or image) references content outside the current course offering. This can occur when linking images or documents from other courses. These links may work for instructors enrolled in both courses, but might not be accessible to learners enrolled in only one of the courses.
For example, if pasting an image into a quiz in Course B where the image link points to Course A, the image may appear as a broken link to learners in Course B. This issue can be prevalent in organizations that have enrollment security settings in place.
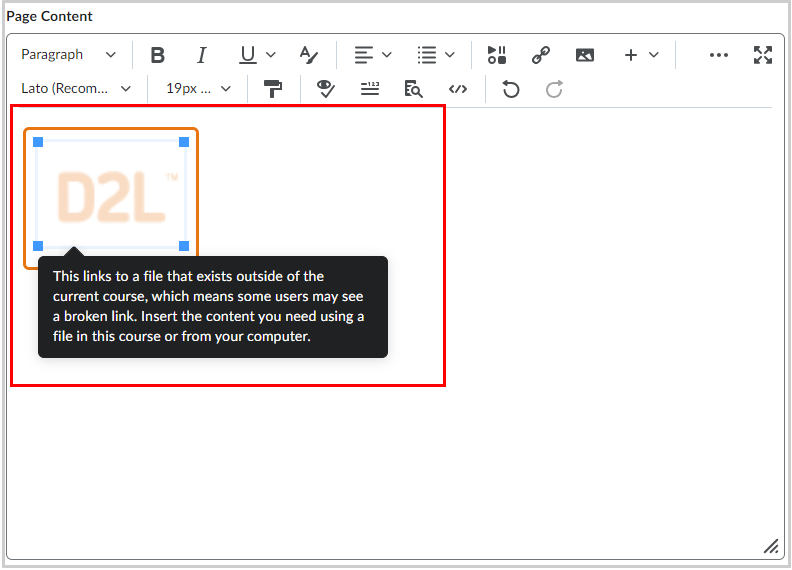
To enable this warning, the d2l.Tools.WYSIWYG.LinkPathDetection configuration variable must be enabled for your organization by an administrator. By default, link path detection warnings are disabled.

|
Note: When enabled, the d2l.Tools.WYSIWYG.LinkPathDetection configuration variable only applies to links from other courses. Links to public files or external URLs are not affected by this configuration variable. |
What is not included in Brightspace Editor
The list below outlines what is not included in the Editor:
- Spell check functionality: D2L recommends using your browser spell check functionality. However, the d2l.Tools.Quizzing.ShowSpellCheckInAttempts org unit configuration variable is still respected and marks text in Quizzes to be ignored by the browser spell checker. It can be turned off for all quizzes at the org unit level.
- Cut/Paste functionality: D2L recommends using your browser hot keys and menus for this functionality.

|
Important: In Brightspace Editor, when you upload a file using Insert Stuff, a message appears indicating that the files uploaded using Insert Stuff are saved in the Manage Files area. The message also indicates that files in the Manage Files area are potentially accessible to all users enrolled in the course or to anyone who has access to the course. As best practice, do not include individual student feedback in the files you are uploading using Insert Stuff.
|
Content viewing options
The Brightspace Editor has the following content viewing options:
- Design View: The design view loads automatically when Brightspace Editor is accessed. Use this view to quickly create and format content without needing any prior knowledge of HTML. Enter your content and use the available controls to apply formatting to your text, insert images and tables, and create links.

- Source Editor View: Click the
 HTML Source Editor icon to display the source editor view. This view displays the code that structures and formats your content. Use this view if you have experience with HTML and prefer to author your content in HTML or want to apply styles from a cascading style sheet (CSS). If you have HTML-based content from another application, you can also copy and paste that code into the source editor view.
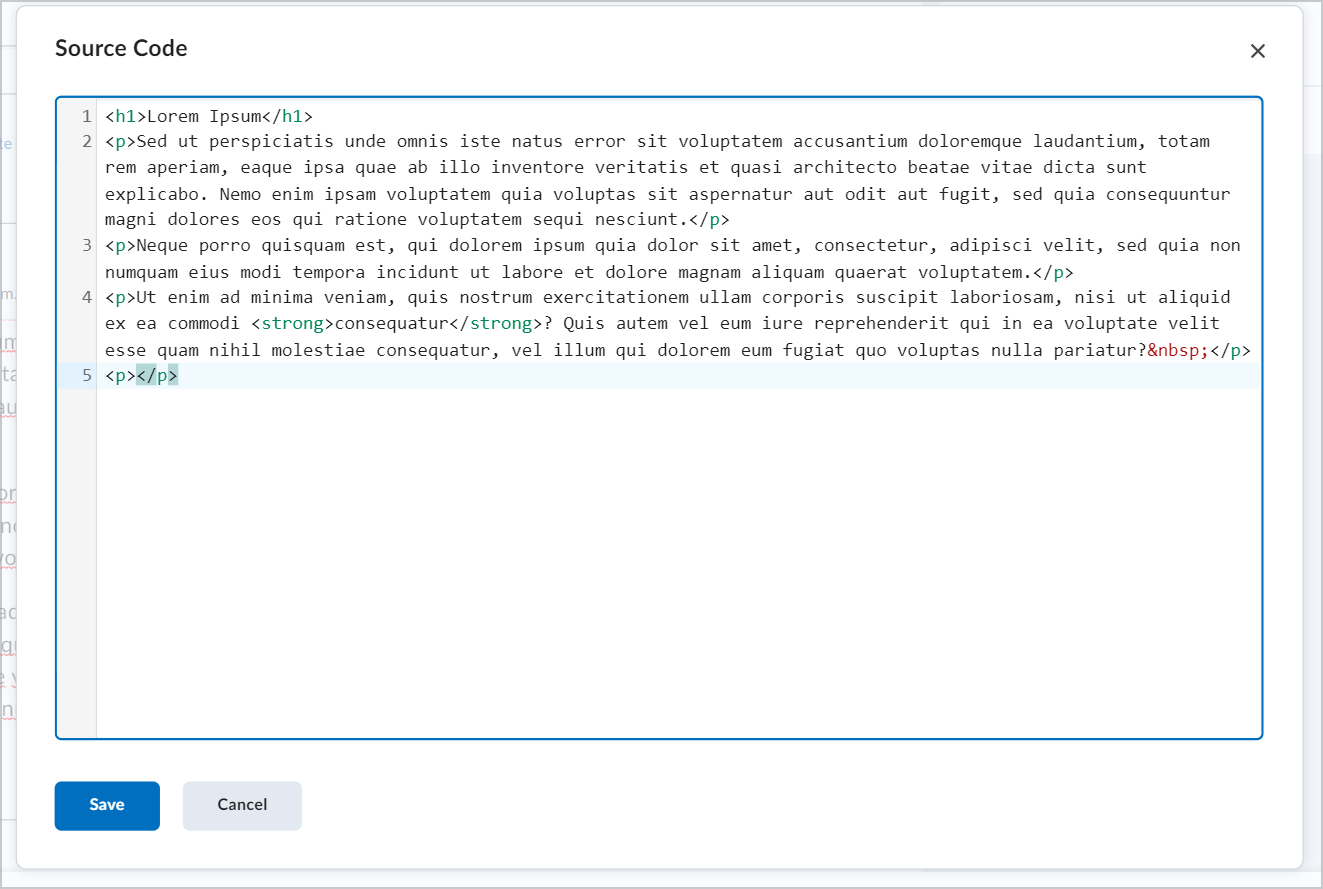
- Preview: Use the view to display a preview of your HTML content in a new window. This allows you to preview content and ensure that it displays as expected prior to saving any changes.
Brightspace Editor's inline Editor
The Quiz Builder and Activity Feed support the inline Editor.
The inline-limited version of Brightspace Editor is available in Activity Feed as the default editor. The Brightspace Editor HTML options in Activity Feed include:
- Bold
- Italic
- Underline, Strike-through, Superscript, and Subscript
- Font Color
- Bulleted Lists, Numbered Lists, and Increase/Decrease Indentation
- Insert Stuff
- Insert Quicklink
- Emoji
Insert Stuff includes various capabilities, including Video Note functionality.
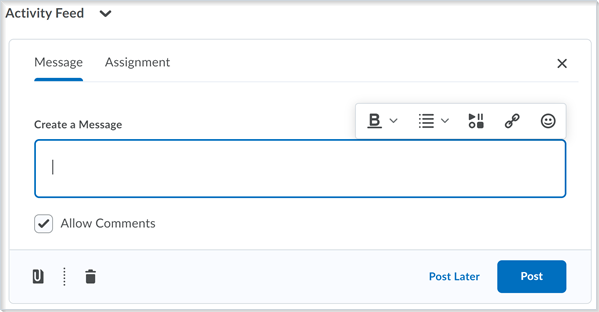
Video: Using the Brightspace (HTML) Editor