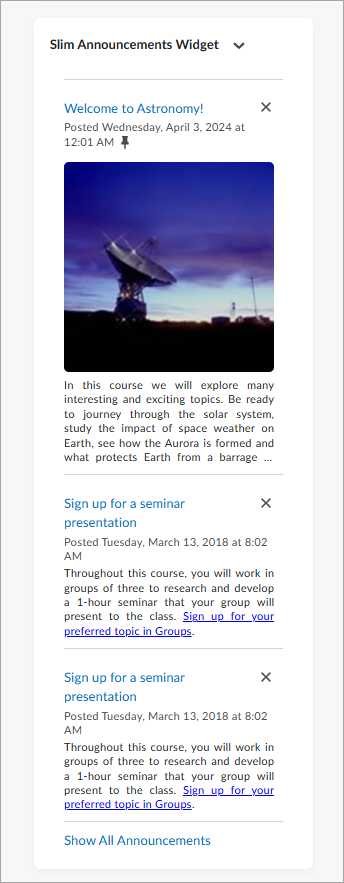
Use the Slim Announcements widget to share detailed updates in a compact, visually clean format. Configure default images, set a display limit, and include pinned announcements. This widget is ideal for use on narrow page layouts.
Create an announcement in the Slim Announcements widget
Create and publish an announcement in the Slim Announcements widget.
To create a new announcement:
- Do one of the following:
- Navigate to Announcements and select New Announcement.
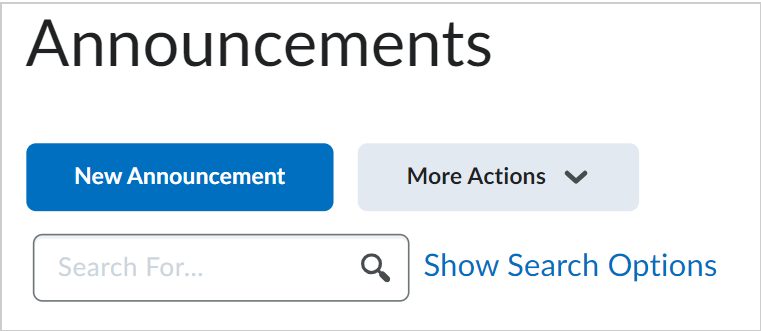
Figure: Click New Announcement in the Announcements tool. - On your course homepage, in the Slim Announcements widget, click New Announcement.

Figure: Click New Announcement in the Slim Announcements widget.
- Enter a Headline.
- Enter Content. If you add any images into this field, the first image becomes the announcement's thumbnail.
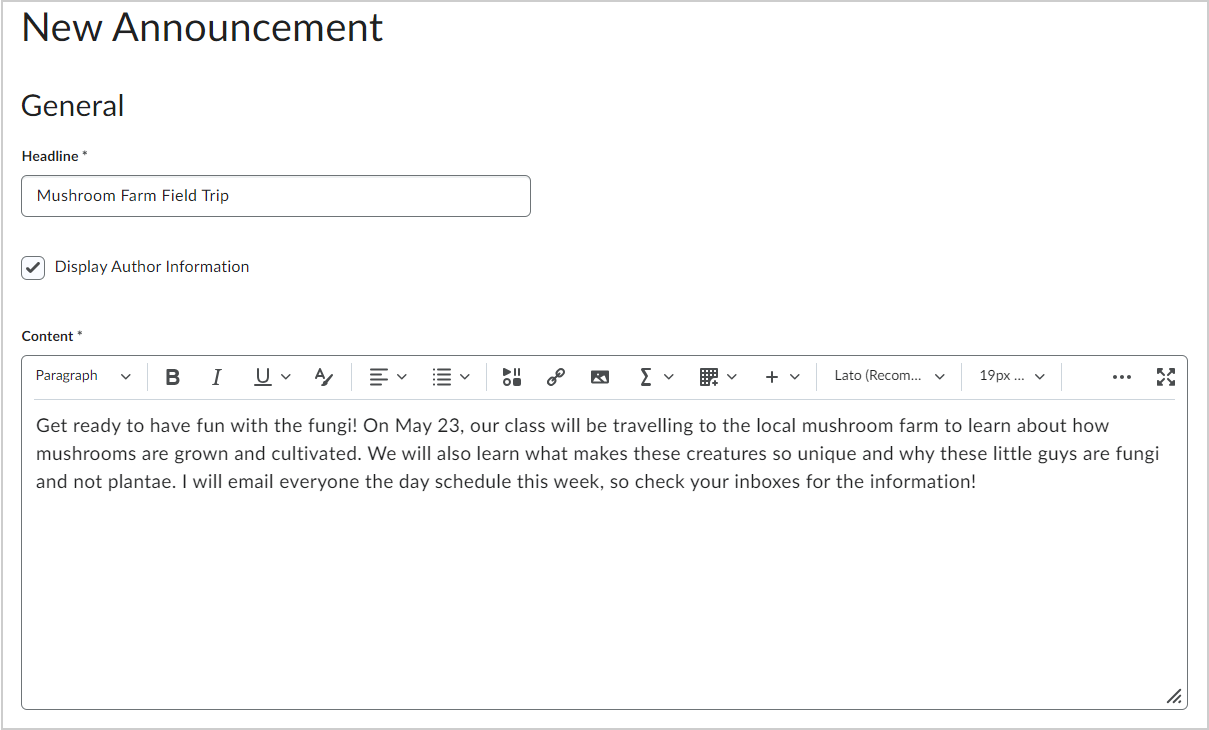
Figure: Enter a Headline and Content for your announcement.
- Complete the Availability, Attachments and Additional Release Conditions as needed.
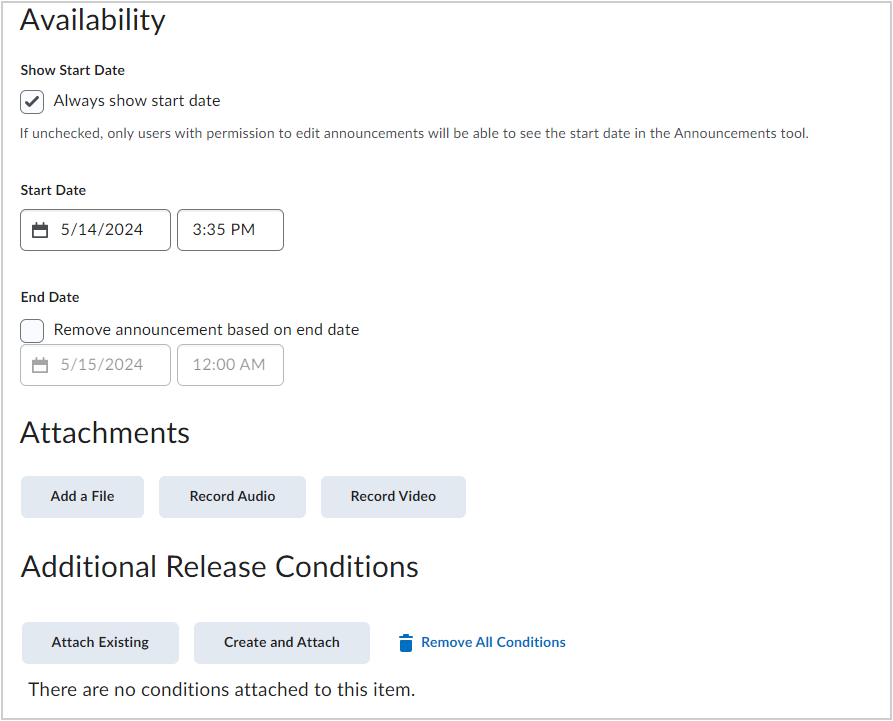
Figure: Select the Availability time frame for your announcement. Additionally, add attachments and release conditions if desired.
- Click Publish.
You can created and published an announcement in the Slim Announcements widget.
Changing a thumbnail image in an announcement
The Slim Announcements Widget displays the first image in an announcement as a thumbnail. If there is no image in an announcement, you can configure a default image to display using the newsImageDefault property in the widget configuration file. Refer to the next section, Configure the Slim Announcements widget, to configure the default image.
Configure the Slim Announcements widget
Configure the Slim Announcements widget to ensure that announcements are displayed in your desired format.
To configure the Slim Announcements widget
- On your course homepage, click the Slim Announcements widget context menu and select Configure this widget.

Figure: Click the widget context menu and select Configure this widget.
- In the Widget Config dialog, select the Course Settings tab.
- In the Default Announcement Image field, enter the file name for an image or click Manage Files to select an existing image.
 | Note: Adding an image to a specific announcement will override the default image. The default image will be displayed on any announcement that does not have an image in the body of the announcement. |
- In the Number of Announcements Displayed field, enter the maximum number of announcements you want displayed at the same time. By default, three announcements display.
- Select Always display pinned announcements to display pinned announcements. Choosing this option means that the pinned announcements always display in addition to the maximum number of announcements.
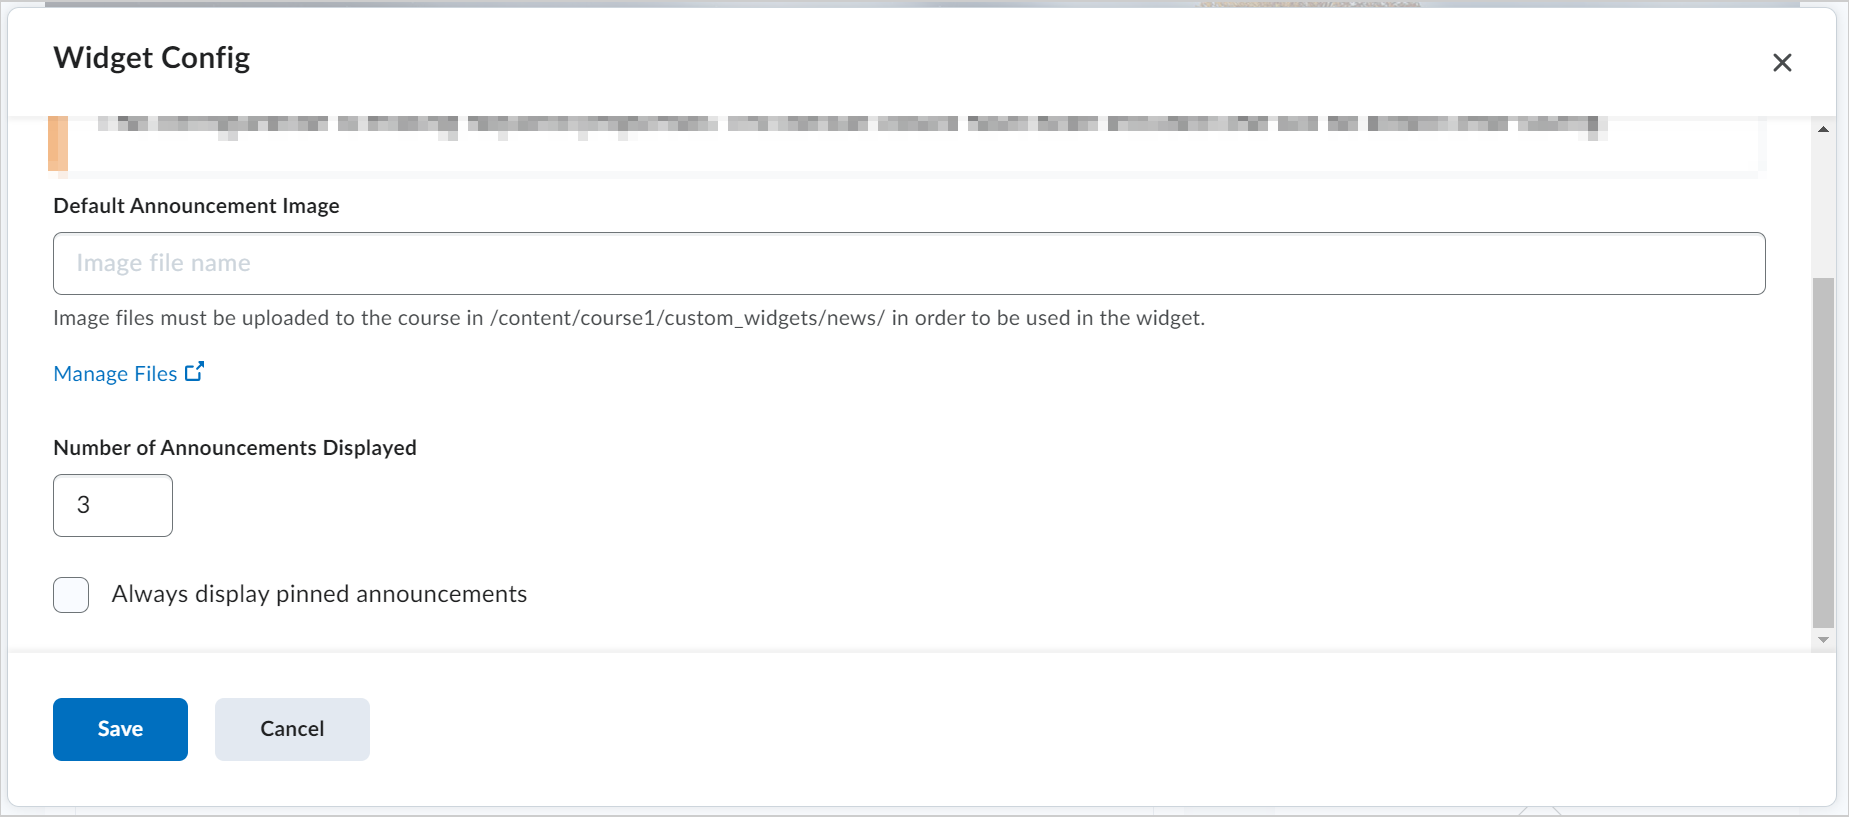
Figure: Configure the Slim Announcements widget in the Widget Config dialog.
- Click Save.
You have configured the Slim Announcements widget.
Customize the Slim Announcements widget
You can customize the appearance of the Slim Announcements widget by setting a custom title and choosing whether users can minimize the widget.

|
Note: Administrators must grant the Homepages > Retrieve Org Unit Custom Widget Data and Modify Org Unit Custom Widget Data permissions to teachers that need to customize this widget. |
- Navigate to the homepage with the Slim Announcements widget.
- In the bottom right corner of the homepage, click the three dots (...) and select Edit this homepage.
- Click the Widgets tab then navigate to Slim Announcements Widget.
- Click the Customize Widget symbol in the Actions column.
- In the Widget Settings section, select or deselect the check boxes for theDisplay a title or Prohibit minimizing widget options. Deselecting the Display a title check box removes the remaining customization options.
- In the Widget Name section, do one of the following:
- Select the Default: Slim Announcements Widget option to display the widget on your homepage with the name Slim Announcements Widget.
- Select the Custom option and enter a new name for the widget in the Custom field. The word you enter displays on the widget on your homepage.
- Click Save.
You have customized the appearance of the Slim Announcements widget on your homepage.