A Video Note is a video that you record and add using Insert Stuff in Brightspace Editor. A Video Note can be an uploaded video or a video that you record using your webcam. It can contain video and audio, or be set to record audio only. This enables you to share important information in your own voice and tone anywhere Brightspace Editor is available.

|
Note: The ability to add video notes is controlled by a permission set by your administrator. If you do not see the Add Video Note option in the Insert Stuff dialog, you do not have the required permission. Refer to Media Platform permissions for more information. |
Add (create) a video note using Brightspace Editor
You can use Add Video Note to record videos up to 25 minutes long and add them anywhere where Brightspace Editor is available. To help ensure all users can learn without barriers, closed captions can be automatically created.
To create and insert a video note
- Navigate to the specific area in your course where you want to add a video note (For example, Assignments, Discussions, or Quizzes).
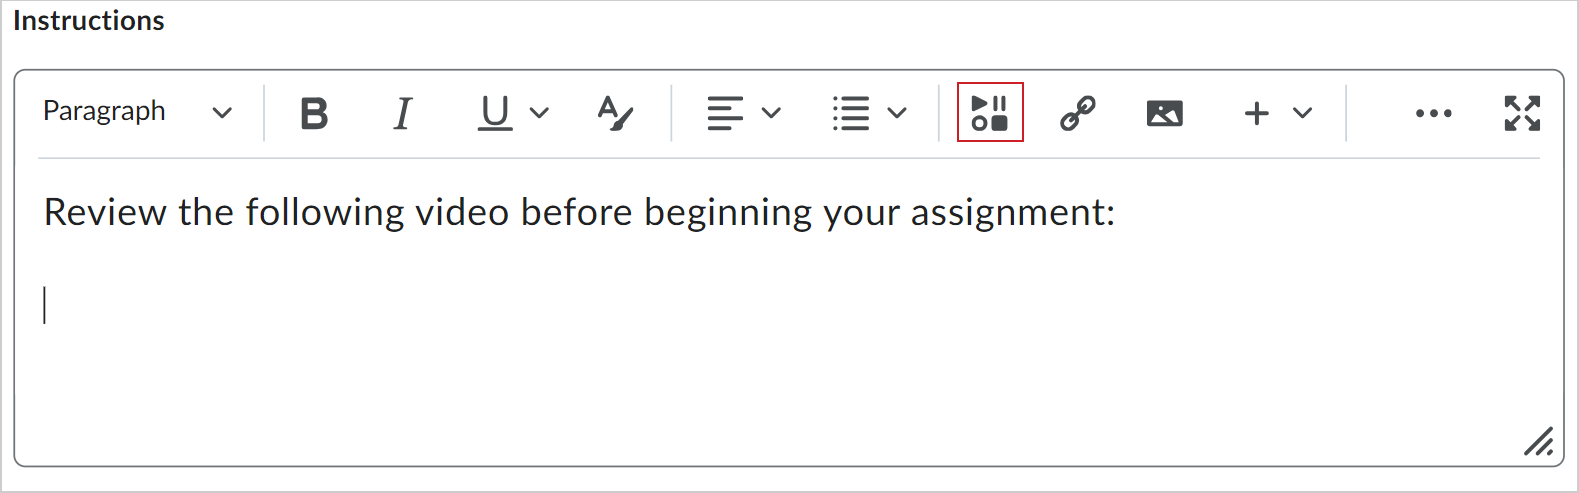
- Within Brightspace Editor, click Insert Stuff.
- In the Insert Stuff dialog, click Add Video Note. Ensure that you allow Brightspace to access your device’s camera and microphone.
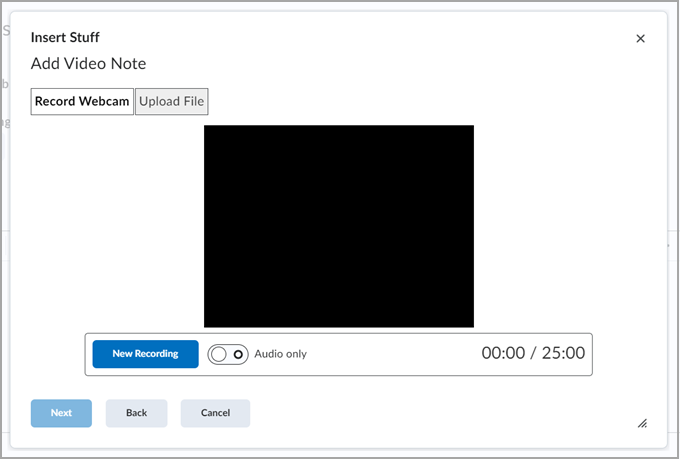
- In the Record Webcam tab, toggle the Audio only button to switch between an audio-video recording or just an audio recording.
- Click New Recording and to finalize content, click Stop Recording.
- Review your content and click Next.
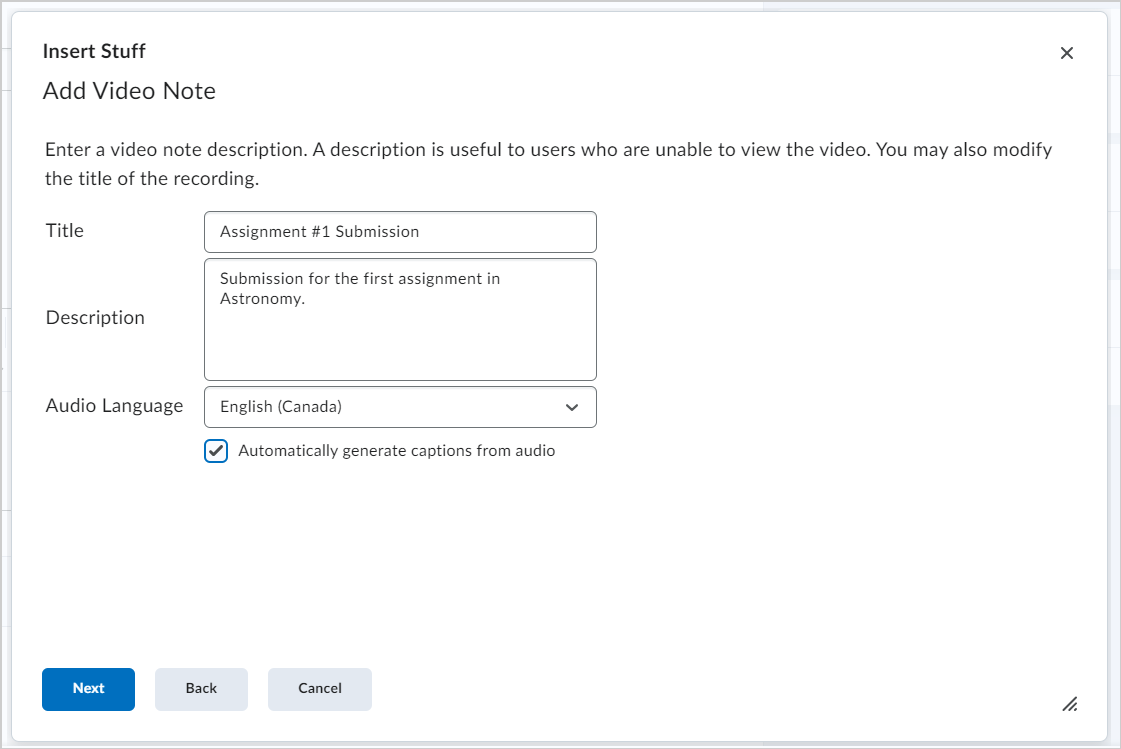
- Enter a Title, Description, and select an Audio Language.
- To generate captions automatically, select Automatically generate captions from audio. You must choose an Audio Language in to generate captions.
- Click Next.
- Click Insert.
Your video note is inserted into Brightspace Editor.
Search for and add existing Video Notes
If you created previous Video Notes, and if you have the permissions to search and insert video notes, you can reuse them where applicable.
To search for and add existing Video Notes
- Navigate to the specific area where you want to reuse an existing video note.
- In Brightspace Editor, click Insert Stuff.
- In the Insert Stuff dialog, click Video Note Search.
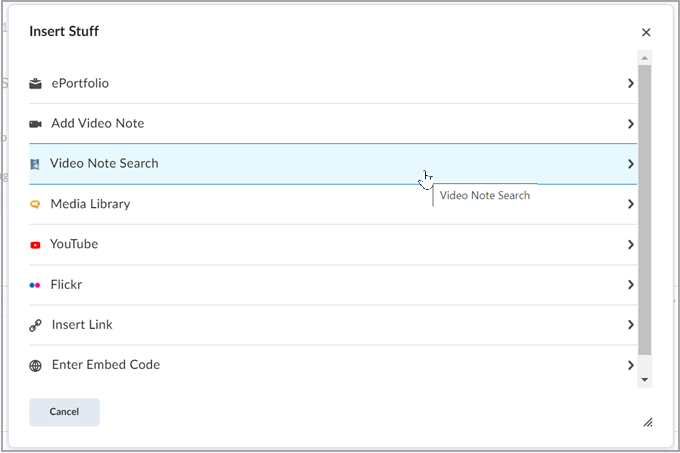
Figure: Click Video Note Search in the Insert Stuff dialog.
- Enter your search terms in the Search Notes field, then click Search. You can also perform a blank search to see all search results.

Figure: Enter your search terms in the Search Notes field and click Search to find video note content.
- Select the video note you want to reuse and click Next.
- You can preview the video note before you insert and reuse it.
- Click Insert.
You have reused a video note in your content.
Troubleshoot inserting YouTube videos with Insert Stuff
There are two potential reasons your YouTube content may not be working when you add it using Insert Stuff:
- When using the Insert Stuff framework to add a YouTube video or other embedded media in a Content frame, some internet browsers may block the content because the content is not secure, and does not inform the user that there is actually an invisible block around where the media should be. This makes it appear as if the insert failed even though the browser is actually blocking the insecure content.
To resolve this issue, the URL that is linked from within the Content frames must use https:// and not an http:// URL. It may be necessary to reconsider linking to content if the destination site doesn't have an https://.
- It is possible your course is sandboxed. To enhance the security of content files that execute scripts to create extra-rich HTML experiences (such as objects that can execute JavaScript), there is a sandboxing feature that creates a secure iFrame around the HTML file. This allows an HTML file to execute scripts (such as JavaScript) within the iFrame only, but it will prevent them from executing outside the iFrame (against the domain). This enables some flexibility in creating rich content, and provides reassurance for the security-conscious that end user information remains secure in all situations (such as in courses where non-privileged roles are contributing content.).
|
Note: To find out if your course is sandboxed, navigate to Course Admin > Course Offering Information. An indication if your course is sandboxed is available on that page. The configuration variables d2l.Security.ContentSandboxDefault and d2l.Security.ContentApplySandbox need to be on for your role. |