Use locations to inform your learners where a calendar created event or class session is occurring. Use the Locations tool to set locations active or inactive, as well as reset associated layouts.
Note: Locations can be linked to events in the Calendartool. Refer to the Manage course events with the Calendar tool topic for details.
Locations are created and linked to layouts using the Seating Charts tool. You can configure a layout by toggling seats on or off to mimic your classroom environment. Refer to the Create and manage seating charts topic for details.
Important: You must be granted the Locations > Manage Locations and Delete Locations permissions to access the Locations tool. Contact your administrator for details.
Set locations active or inactive
Locations are set to inactive by default.
To set locations active or inactive
- From your course navbar, click Locations.
- On the Locations page, select the location you want to make active or inactive and do one of the following:

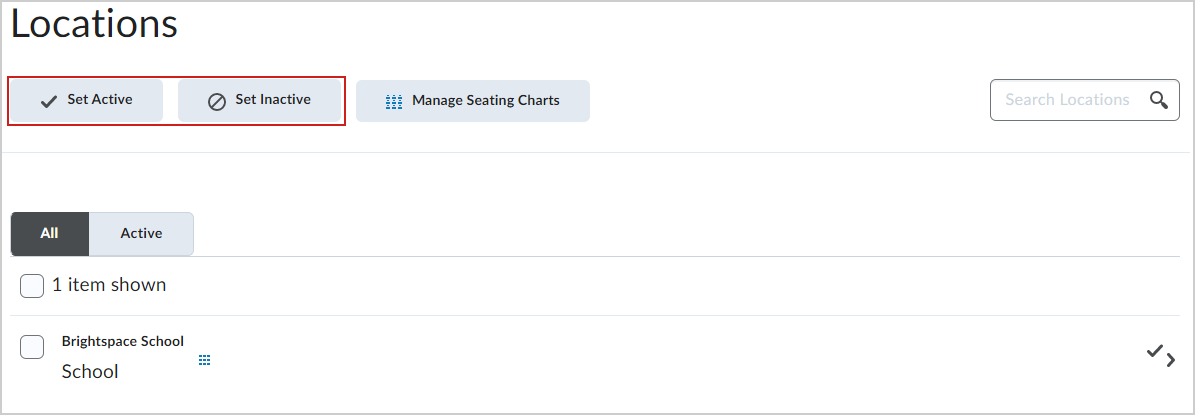
Figure: The Set Active and Set Inactive buttons.- Click Set Active. The selected location is set to active and a check mark displays next to the location name.
- Click Set Inactive. The selected location is set to inactive and a no symbol is displayed next to the location name.
Note: You cannot create a seating chart for an inactive location or associate an inactive location with Calendar events.
Click the Active tab to review any active locations.
Reset a layout
If you have customized layouts for individual courses, you can revert a layout to the original layout set by the organization.
To reset a layout
- From your course navbar, click Locations.
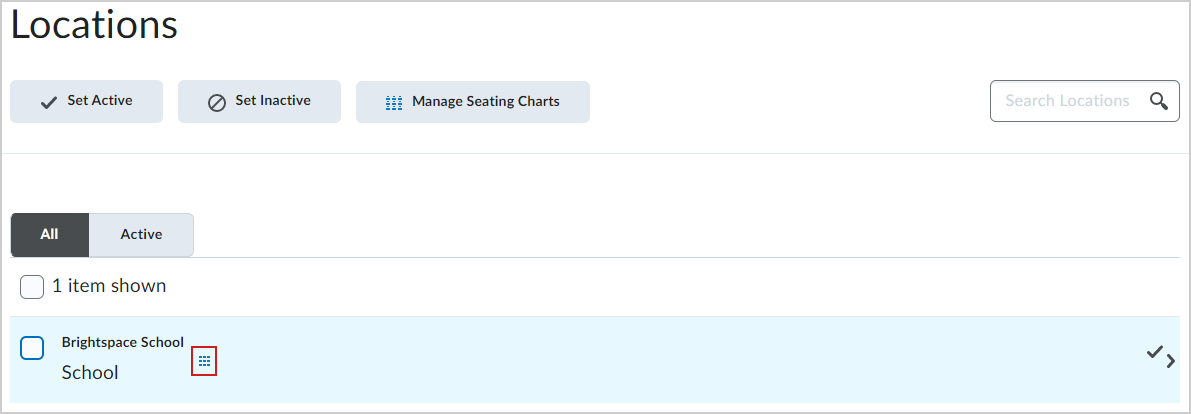
- From theLocationspage, hover over the icon next to the location name and click to open the location layout.

Figure: The layout icon.
- Click More Actions and then click Reset Layout.
The layout of the location is reset.