The Announcements widget can help you to boost engagement by scheduling announcements for frequent and regular communication to all learners enrolled in a course. Learners can also set notification preferences to be made aware of important updates.
Use the Announcements widget to create a welcome message for your learners.
To create an announcement using the Announcements widget
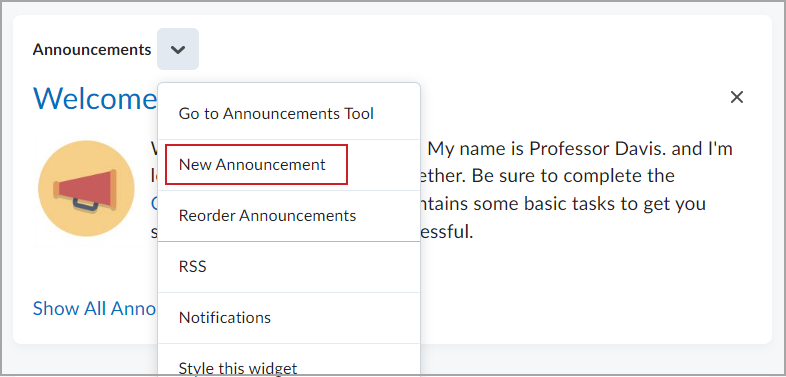
- From your Course Homepage, locate the Announcements widget.
- Click the drop-down menu next to Announcements.
- Click New Announcement.
- Add a Headline and Content for your announcement.
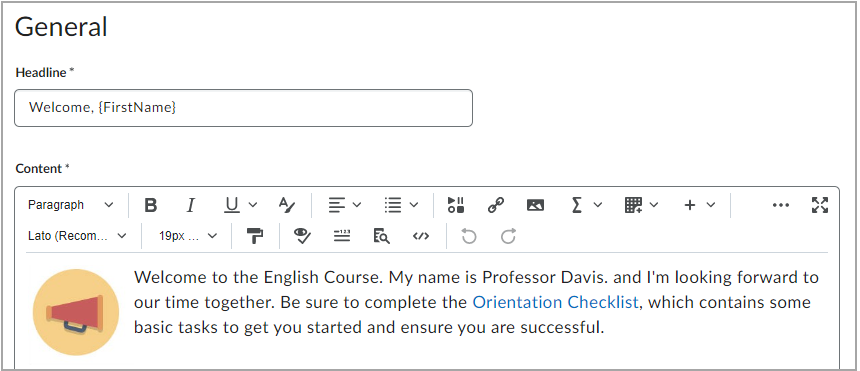
 | Note: Both Headline and Content are required to create an announcement. Optional settings include Send Email Copy, Availability, Attachments, and Additional Release Conditions. |
- Do one of the following:
- Click Publish to publish the announcement to your course.
- Click Save as Draft to save your progress and return later to publish your announcement.
- Click Cancel to remove your draft announcement.

Your announcement is posted to the Announcements widget and available to learners from the course homepage.
If you selected Send Email Copy, the system will send the content of the announcement to all users in your Classlist as an email from you when it publishes the announcement.
|
Note: When instructors include inline images in an announcement, these images now appear in both instant notifications and emailed copies of the announcement. Previously, only attached images were included in email notifications. |
If you set Availability Dates, the email will be sent on the day you scheduled the publication of the announcement. For announcements with Release Conditions, the system only sends the email to users who currently meet the Release Conditions.
Edit an Announcement
You can edit the content of announcements to ensure the information remains accurate.
To edit an announcement
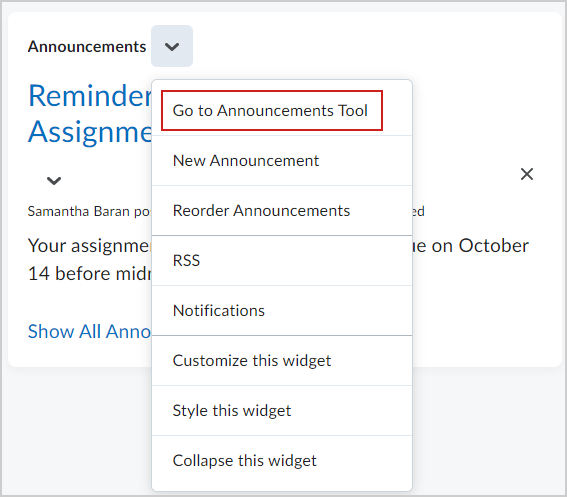
- From the Announcements widget, click the context menu and select Go to Announcements Tool.
- On the Announcements page, click the announcement that you want to edit.
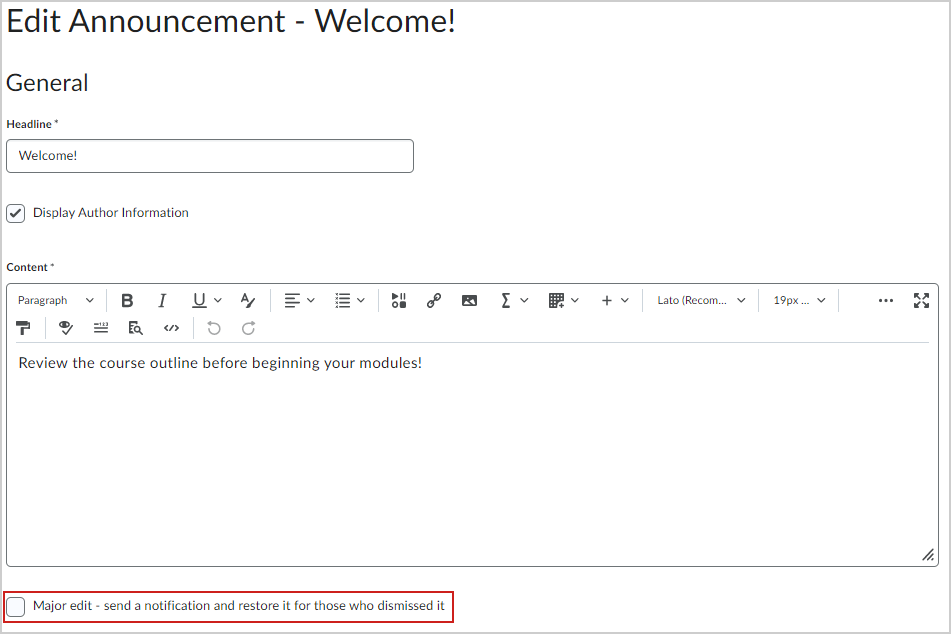
- From the Edit Announcement page, edit your announcement details.
 | Important: To inform users of major changes and updates to postings that they might have dismissed, ensuring that those headlines reappear with current information, select the Major edit - send a notification and restore it for those who dismissed it check box. You can also make the edited Announcements posting reappear at the top of the Announcements widget by changing the start date to the current date and time. |
- To send an email copy of the updated announcement to your Classlist, select the Send Email Copy checkbox.
- Click Update.
Your announcement is updated and appears on the Announcements widget of the course homepage.
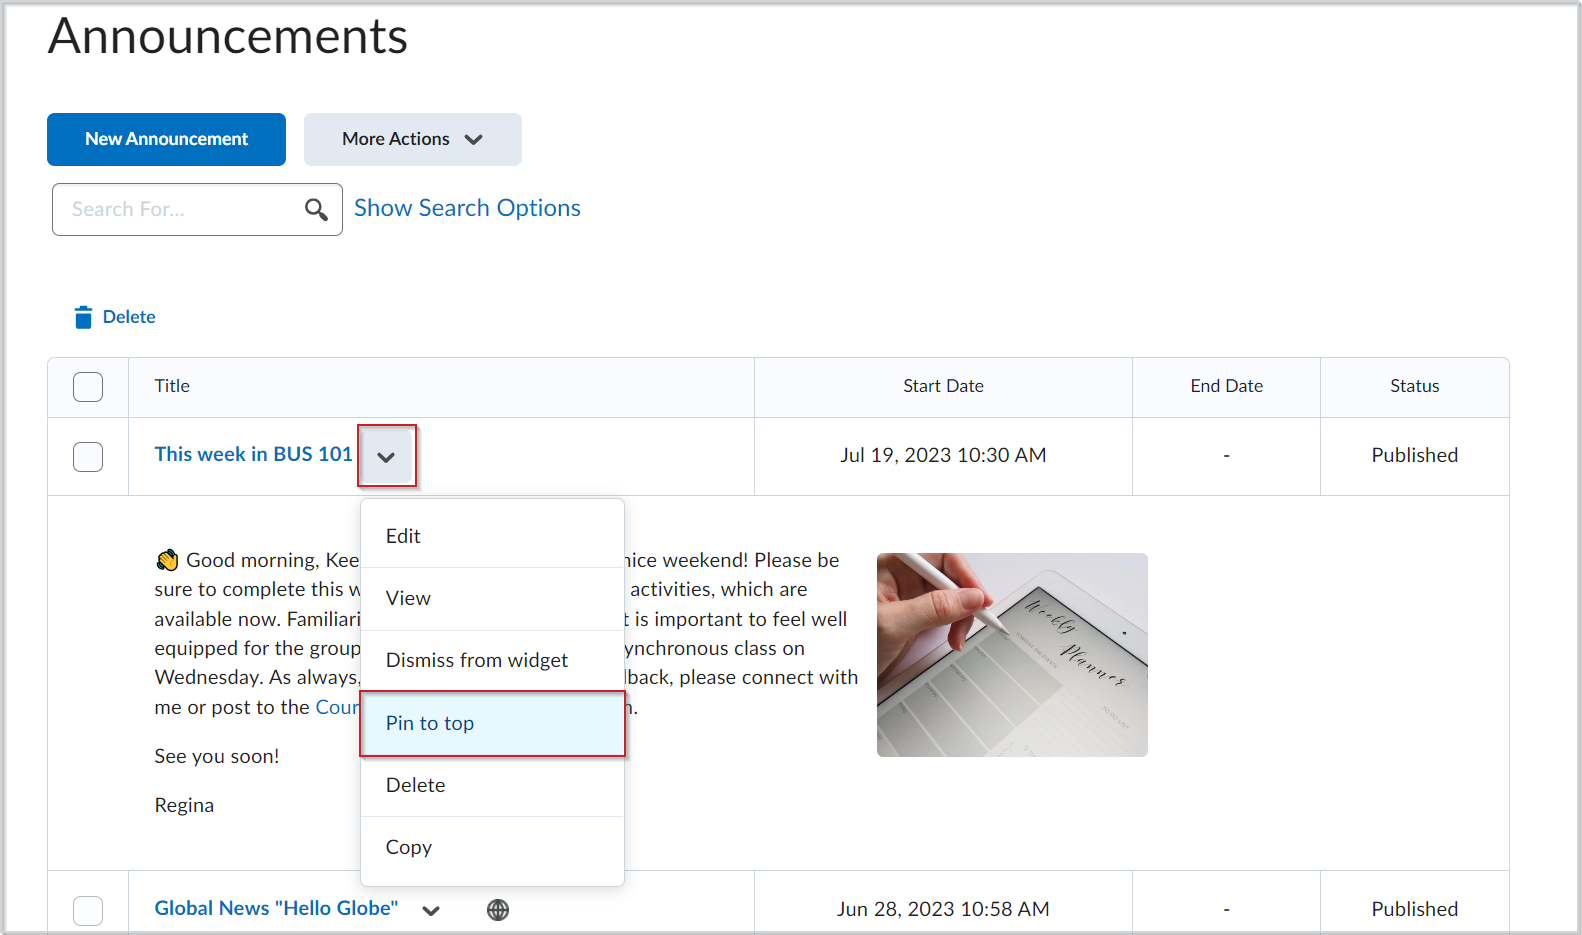
Pin an announcement to the top
You can pin an announcement to the top of the page to ensure that it is easily seen by learners.
To pin an announcement
- From the Announcements widget, click the context menu and select Go to Announcements Tool.
- From the drop-down menu beside the announcement you want to pin, click Pin to top.

Unpin an announcement
You can unpin an announcement to change the order the announcements appear in the Announcements widget and tool.
To unpin an announcement
- From the Announcements widget, click the context menu and select Go to Announcements Tool.
- From the drop-down menu beside the announcement you want to unpin, click Unpin.
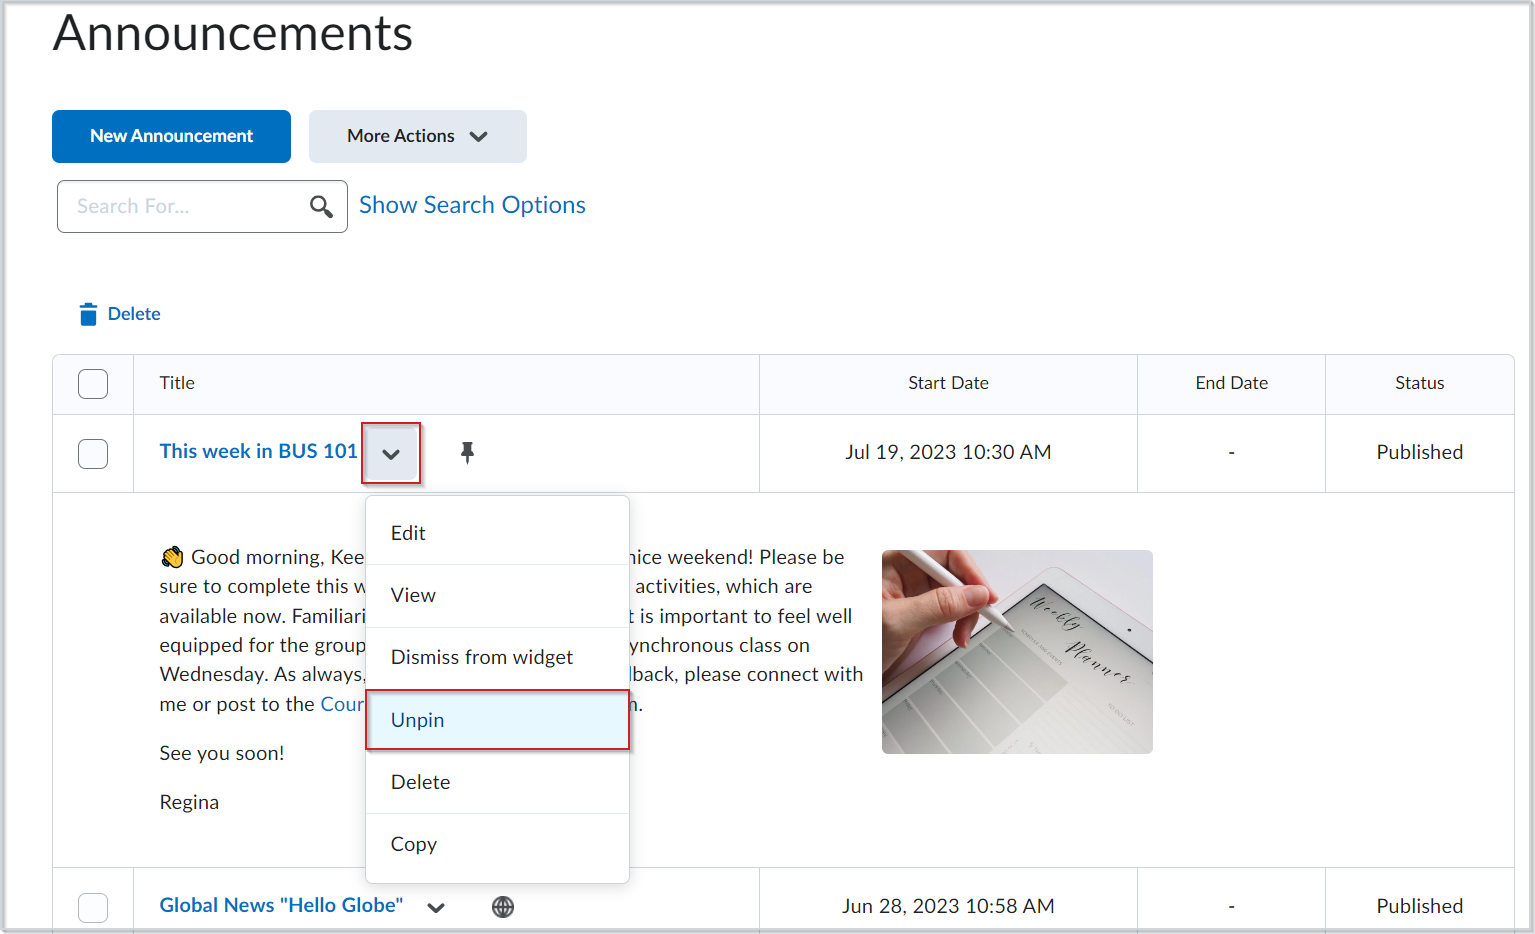
Your announcement is now unpinned from the top of the Announcements widget and tool.
Delete and restore announcements
Delete announcements or restore a deleted announcement from the Announcements tool.
|
Note: To delete or restore an announcement requires the Add/Edit/Delete Announcements permission. Contact your administrator if your role has not been assigned this permission. |
To delete an announcement
- From the Announcements widget, click the context menu and select Go to Announcements Tool.
- Select any announcements you want to delete and click Delete.
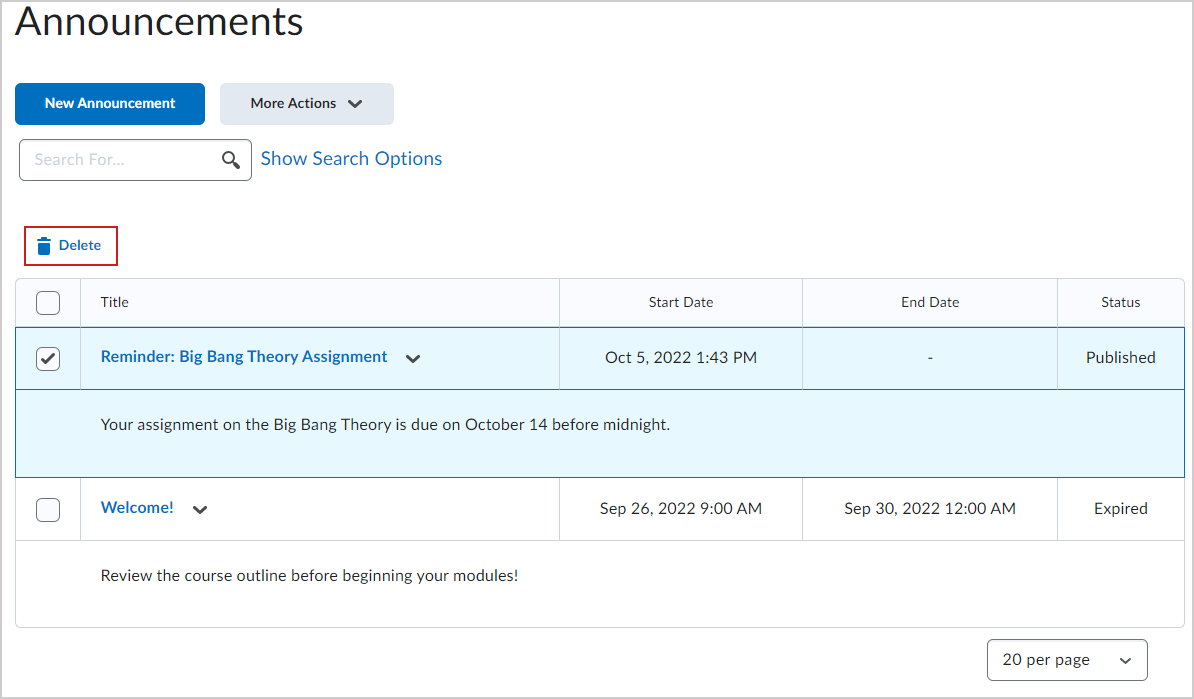
- Click Yes to confirm the deletion.
The selected announcements are deleted.
To restore a deleted announcement
- From the Announcements page, click More Actions and select Restore.
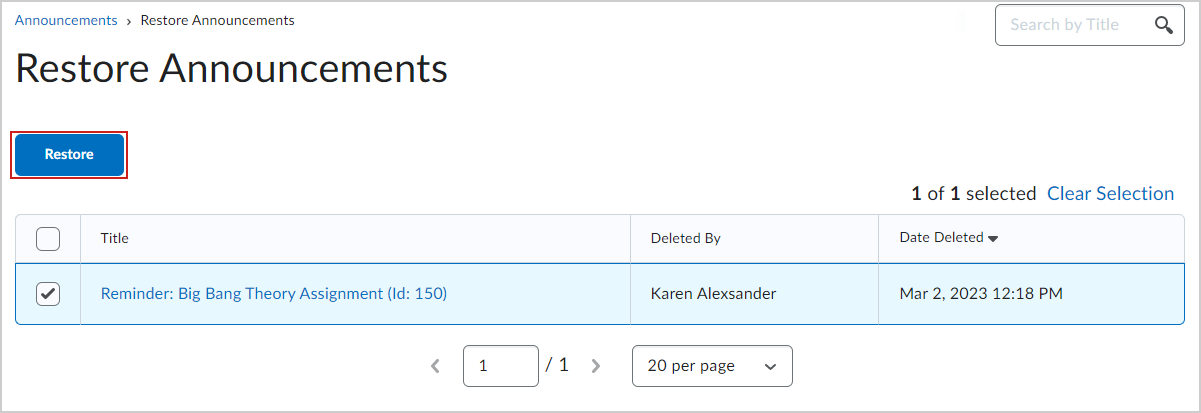
- Select the announcements you want to restore and click Restore.
The announcements are restored and available on the course home page.
Video: How to delete and restore Announcements
Copy an announcement
Use an existing announcement as a starting point by copying it and editing details.
To copy an existing announcement
- From the Announcements widget, click the context menu and select Go to Announcements Tool.
- Click the context menu next to the announcement you want to copy, and select Copy.
- In the Edit Announcements page, the following items are copied over from the original announcement:
- Headline, with "Copy of " appended to the front
- Content
- Show Start Date setting
- Attachments
- Release conditions
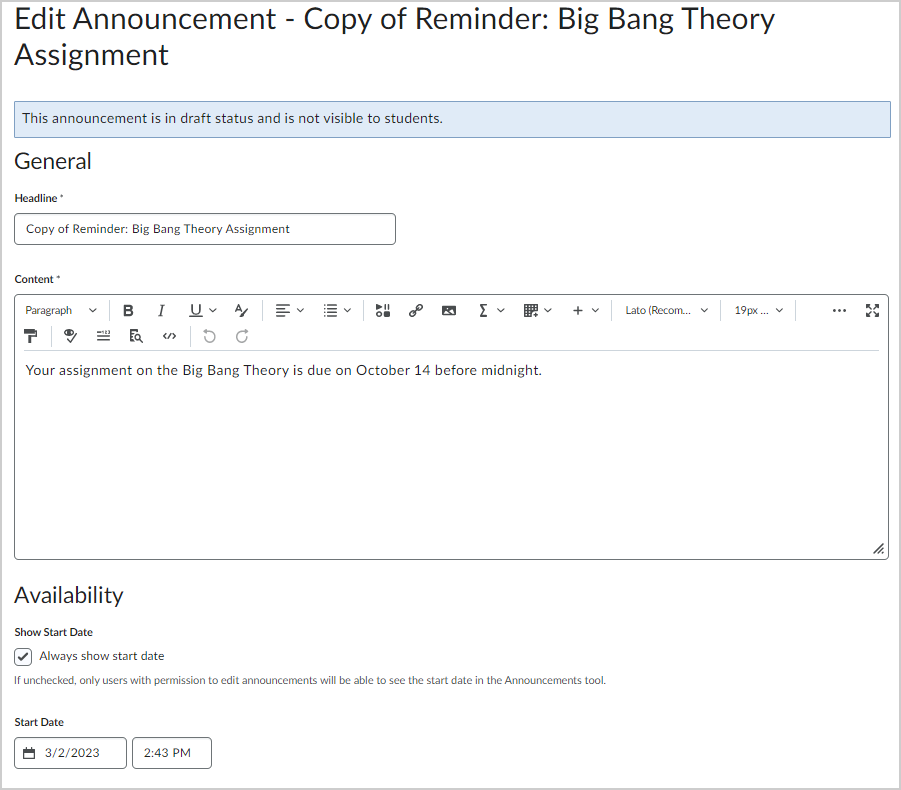
- If you want to hide your headline's date and time, clear the Always show start date check box. By default, an Announcements item start date and time appears below the headline when displayed in the Announcements widget.
- In the Start Date and End Date fields, select the posting availability date. Announcements items publish immediately, unless you specify an alternate start date from Start Date.
| Note: Post-dated Announcements items do not display in the Announcements widget even if users have permission to see future Announcements items. They can be found within the list of Announcements items on the Announcements page. |
- You can remove an Announcements item on a specific date by selecting the Remove Announcements item based on end date checkbox. You and administrators can still see the Announcements item after its end date, but it does not appear in the Announcements widget.
- To include additional release conditions, click Attach Existing or Create and Attach.
- To continue editing the Announcements item, click Save as Draft. Learners cannot see draft Announcements items
- Click Publish.
The announcement is copied.
Copy an announcement to other courses
If you have the appropriate permissions, you can copy announcements from one course to other courses from the context menu of an announcement. You can select the following options when copying announcements:
- Copy announcements to other courses in draft state, so you can publish the announcement content from within the destination course later.
- Publish copied announcements at the same time you copy it, bypassing the draft stage.
|
Important: You must be enrolled in the course you copy from and the courses you copy to. |
Attributes That Are Copied
-
Headline
-
Display Author Information
-
Content: Includes associated files, such as inserted images.
-
Start and End Date: Start and end dates are not automatically offset. Dates remain the same as in the original course.
-
Attachments
-
Pin State
Attributes That Are Not Copied
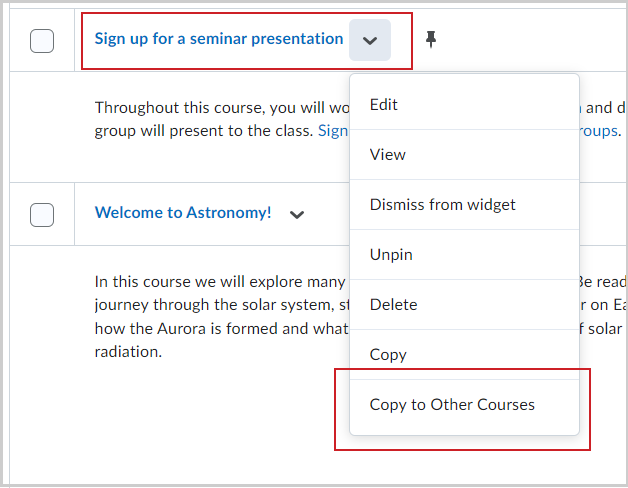
To copy an announcement to other courses
- Click Copy to Other Courses from the announcement drop-down menu.
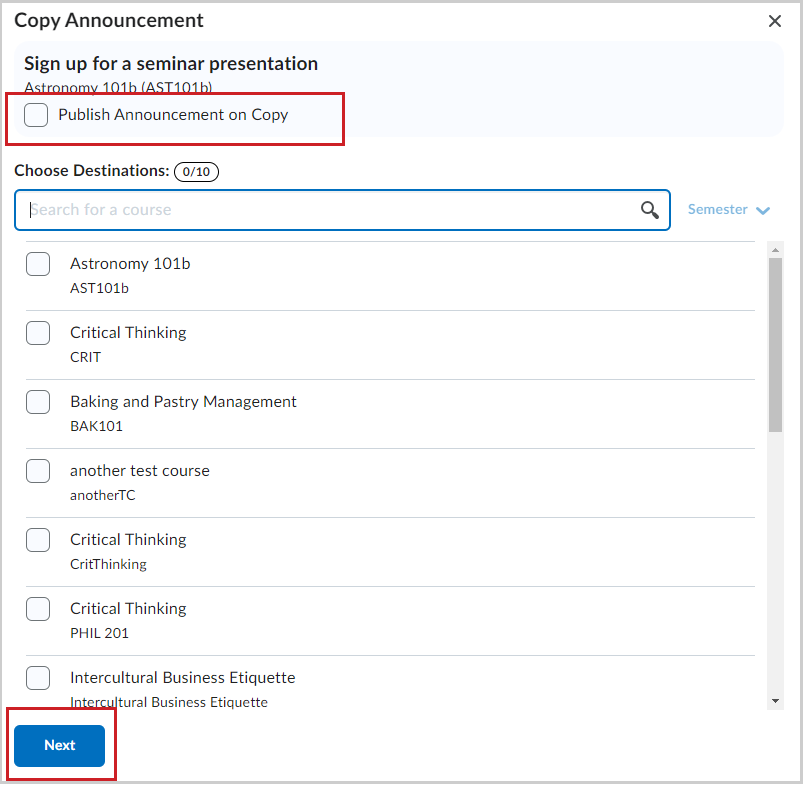
- Select the destination course or courses for the announcement and do the following:
To publish the copied announcement to the destination course, select Publish Announcement on Copy. Select Next.
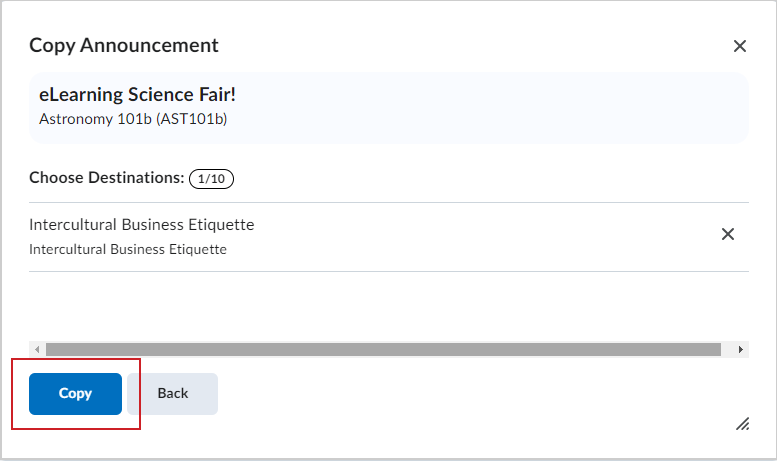
- Click Copy.
- Click Done when Copy Complete appears.
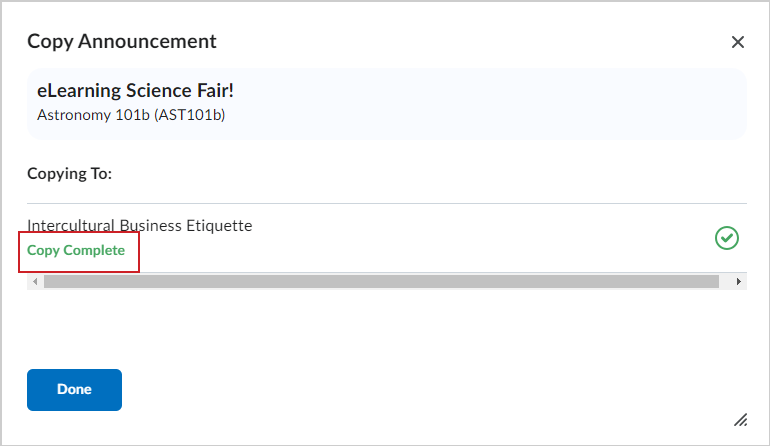
- After copying, navigate to the destination course or courses. If you did not select Publish Announcement on Copy, the copied announcement appears in the announcements tool as a draft. You must publish the announcement from the course you copied it to.
If you selected Publish Announcement on Copy, the copied announcement is published in the destination course. No further steps are required.
Your announcement is copied to another course.
Publish an announcement
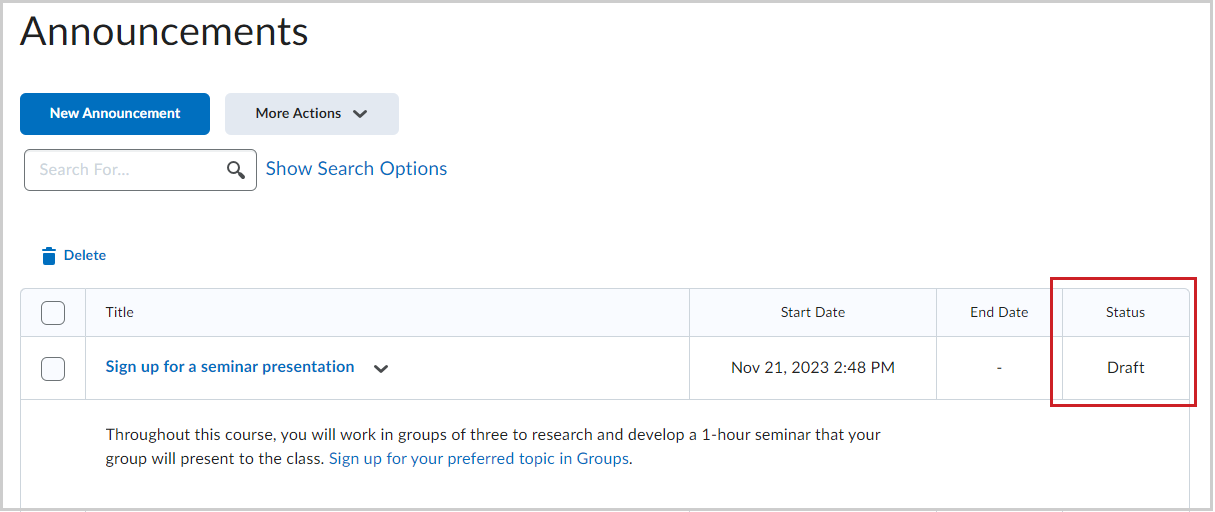
You can publish a draft announcement. All draft announcements are indicated in the Status column of the Announcements page.
To publish a draft announcement
- Navigate to the Announcements widget.
- On the Announcements page, click the title of the draft announcement to be published.
- Click Publish.
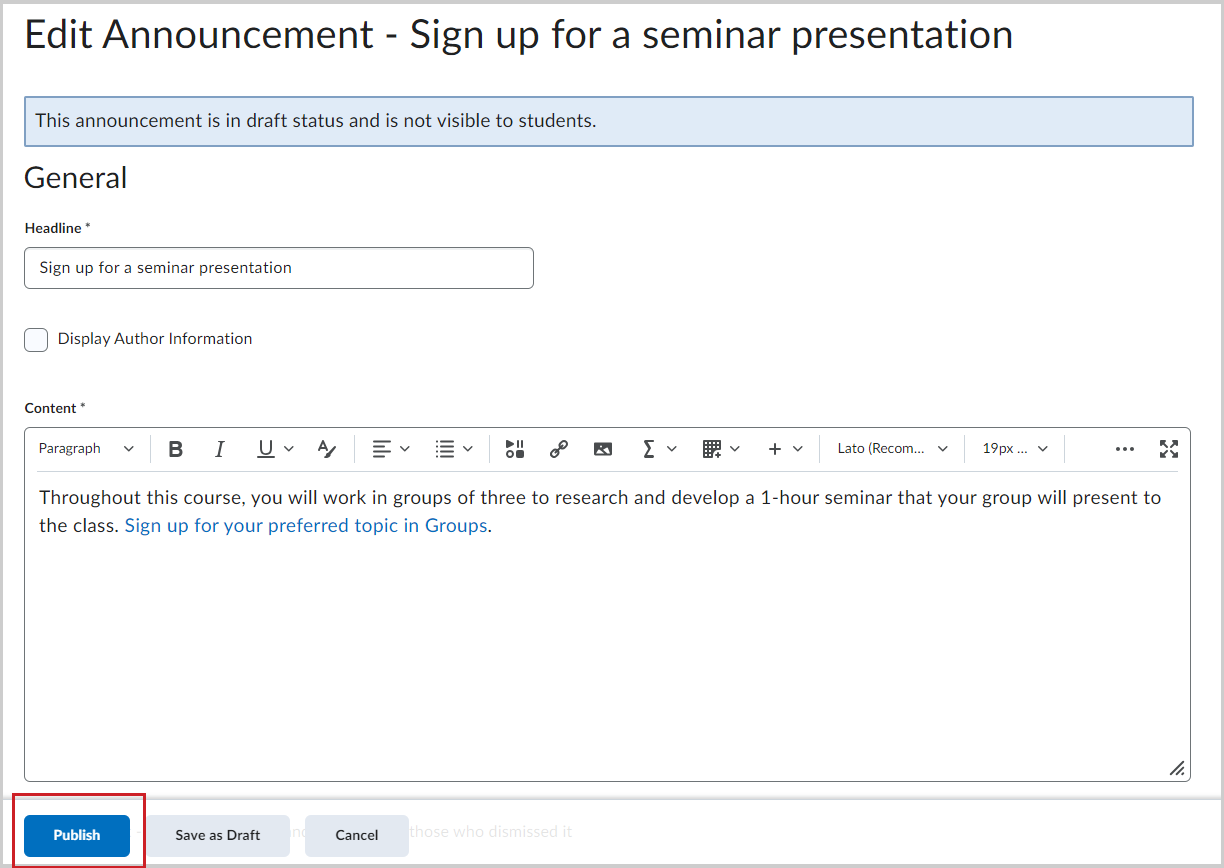
The announcement is now published.
Reordering an Announcements item
You can change the order of announcements in the Announcements widget.
To reorder an announcement
- Click the Announcements widget.
- Do one of the following:
- On the Announcements page, from the More Actions button, click Reorder.
- From the Announcements widget menu, click Reorder Announcements Items.
- Use the drop-down lists in the Sort Order column to select an item's order. Other items automatically reposition themselves according to the new order.
- Click Save.
Your announcements are now reordered.