Presentations let you compile Brightspace ePortfolio items into a web project to showcase your achievements. Your presentations can have multiple pages. Presentations provide a polished, professional medium to demonstrate your learning and accomplishments.
A banner appears at the top of every page in a presentation. The presentation title usually appears in the banner, much like a header in a book. You can include additional text in the banner as a description. The theme of the presentation controls the style of the banner, including the background and fonts used.
Themes are default style templates that give your presentations a consistent look and feel. Themes are comprised of styles that control one aspect of the design. For example, there are separate styles that control the look of titles, links, dates, and images.
Your organization provides presentation themes, but you may be able to change some or all aspects of a theme.
Add a new presentation
You can add a new presentation to your ePortfolio.
- On your course navbar, click ePortfolioand then click the My Items tab.

Figure: The My Items tab of the ePortfolio page.
- Click New Presentation.The New Presentation page opens.
- In the Properties tab, enter your presentation details. Click Save.
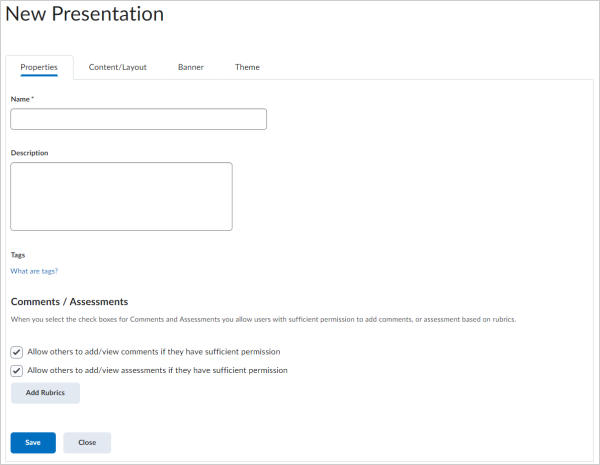
Figure: The Properties tab.
- In the Content/Layout tab, do any of the following:
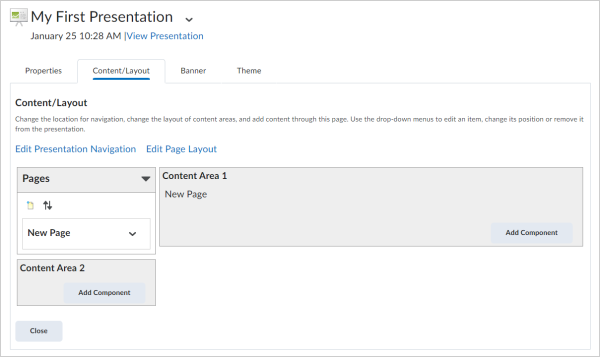
Figure: The Content/Layout tab.
- To add pages to your presentation, in the Pages panel, click the New page icon. Enter your page details. Click Save.
- To add content to your presentation, in a Content Area panel, click Add Component. Locate your component, select it, and click Add.
Note: There is a character limit of 1 million for any content item in ePortfolio.
- In the Banner tab, enter your banner details.
- In the Theme tab, do any of the following:
- To edit your current theme, in the Current Theme area, click the Edit Styles icon. Make your changes. Click Save.
- To select a new theme for your presentation, in the Available Themes area, click Select > Set Theme.
You can click View Presentation at the top of the page at any time to preview your updates.
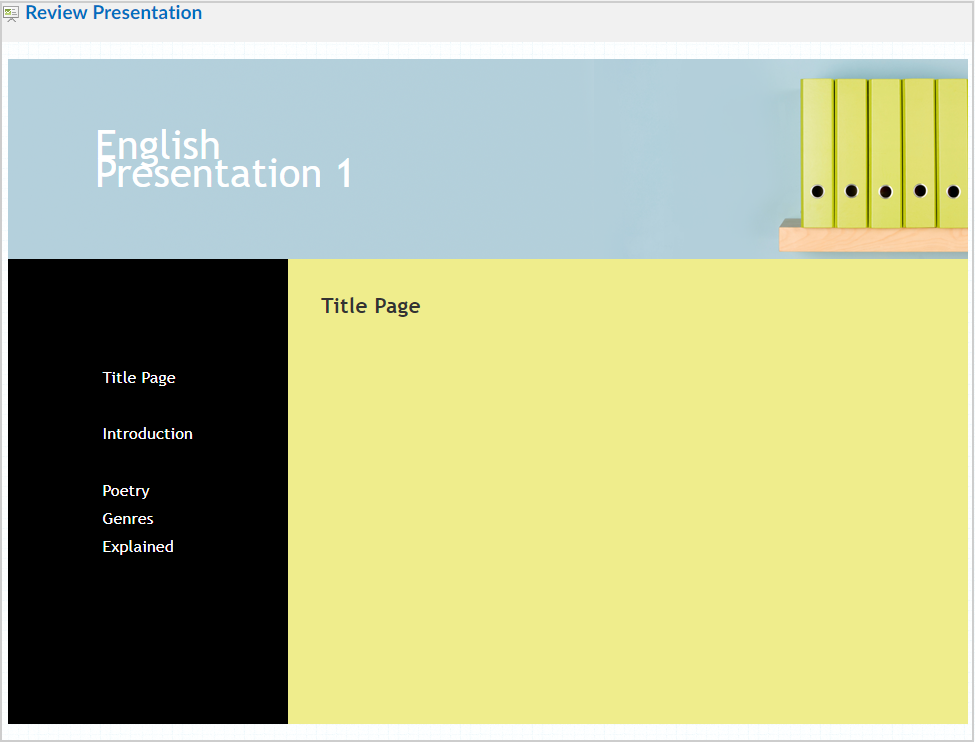
Figure: A preview of an ePortfolio presentation with the Refresh theme applied.
Note: While viewing your presentation, click Review Presentationto add reflections, comments, and more.
Edit a presentation layout
You can also edit your ePortfolio presentation after creating it.
- On your course navbar, click ePortfolio.
- On the My Items page, from the context menu of the presentation you want to edit, click Edit.
- In the Content/Layout tab, do any of the following:
- To edit where the page navigation appears, click Edit Presentation Navigation. Select your navigation option. Click Save.
- To edit where content areas appear on a page, click Edit Page Layout. Select your layout option. Click Save.
- To move an item in a content area, from the item's context menu, click Move [Up/Down/To].
- To remove an item in a content area, from the item's context menu, click Remove from Layout.
- To edit how an item appears in a content area, from the item's context menu, click Edit Display Options. Make your changes. Click Save.
Your ePortfolio presentation is updated.
Copy an ePortfolio presentation
You can copy presentations only from your own Brightspace ePortfolio. When copying a presentation, the following information copies:
- The presentation’s description, tags, comments, and assessment properties
- The theme
- The banner title, description, and appearance
- All pages, page layouts, page content, display options, and display orders
The following information does not copy:
- Permissions
- Comments or assessments for the presentation
- Reflections associated with the presentation
To copy an ePortfolio presentation
- On your coursre navbar, click ePortfolio.
- On the My Items page, from the context menu of the presentation you want to edit, click Edit.
- Click Copy.
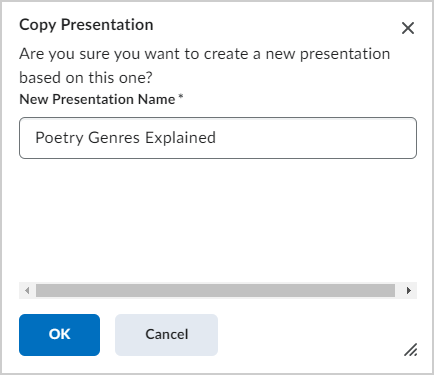
Figure: The Copy Presentation dialog.
- Enter a New Presentation Name and click OK.
The copied presentation is added to the My Items tab.
Export a presentation in HTML format
If you have the appropriate permissions, you can export presentations to HTML format directly from a presentation's context menu.
Exporting your presentation to HTML format enables you to keep a copy of your presentation in a viewable format external to the system. This is useful if you change institutions and you don't want to lose your work. Once you export your presentation to HTML, you can host it externally on your own website or save it on your computer to view offline.
Note: You cannot import an HTML presentation back into Brightspace ePortfolio.
- On the navbar, click ePortfolio.
- On the My Items page, from the context menu of the presentation you want to export, click Export.
- Select Export HTML version of presentation.
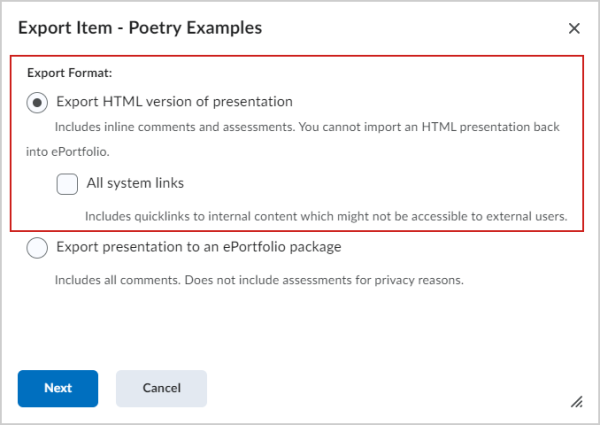
Figure: The Export Item dialog with Export HTML version of presentation selected.
- To include links to pages within the system, select the All system links check box. Links to pages within the system require users to log in to the system and have the appropriate permissions.
- Click Next.
- In the Download File dialog that displays, click the link for your exported package to download the package.
You have downloaded a .zip file containing the HTML of your ePortfolio presentation.
What property changes occur when I export a presentation to HTML format?
|
Property
|
Notes
|
|---|
|
Action bar
|
Does not include the action bar at the top of a presentation
|
|
Artifacts
|
- Includes embedded artifacts and links to artifacts
- Embedded image artifacts retain their alt tags
- Embedded image and media artifacts retain their size settings
- Artifacts retain their type icon if displayed as a link inline
- Artifacts retain their titles and descriptions
|
|
Assessments
|
- Includes assessments made on items within the presentation
- Does not include assessments made on the presentation
|
|
Comments
|
Includes all comments for artifacts and reflections
- Does not include comments made on the presentation
|
|
Forms
|
- Does not include forms linked via a Quicklink
|
|
Learning Objectives
|
- Includes embedded learning objectives and links to learning objectives
|
|
Permissions
|
- Does not retain permissions; anyone can view content within an HTML presentation
|
|
Presentation layout
|
- Page links, navigation settings, page settings, page names, and text areas remain the same
|
|
Presentation theme
|
- Presentation themes retain their style settings, including custom replaced images
|
|
Profile details
|
- Profile information exports as displayed in the presentation, including customized profile titles and social media icons
- Only the fields set to display exports; hidden profile information does not export with the presentation
|
|
Quicklinks
|
- All Quicklinks retain their links to external URLs and artifacts stored within the export package
- Quicklinks to system resources require users to log in to the system and have the appropriate permissions
|
|
Reflections
|
- Includes embedded reflections and links to reflections
- Does not include reflections associated with the presentation
|
|
Text areas
|
- Includes all text formatting, equations, and custom characters
|