Use the Calendar tool to view all your upcoming events in one location. Add events such as project due dates, office hours, in-class events, and more to your calendar.
Create and manage personal tasks
You can add and manage personal tasks in the Calendar tool.
To create and manage tasks
- From your course navbar, click Calendar.
- Click Add a Task.
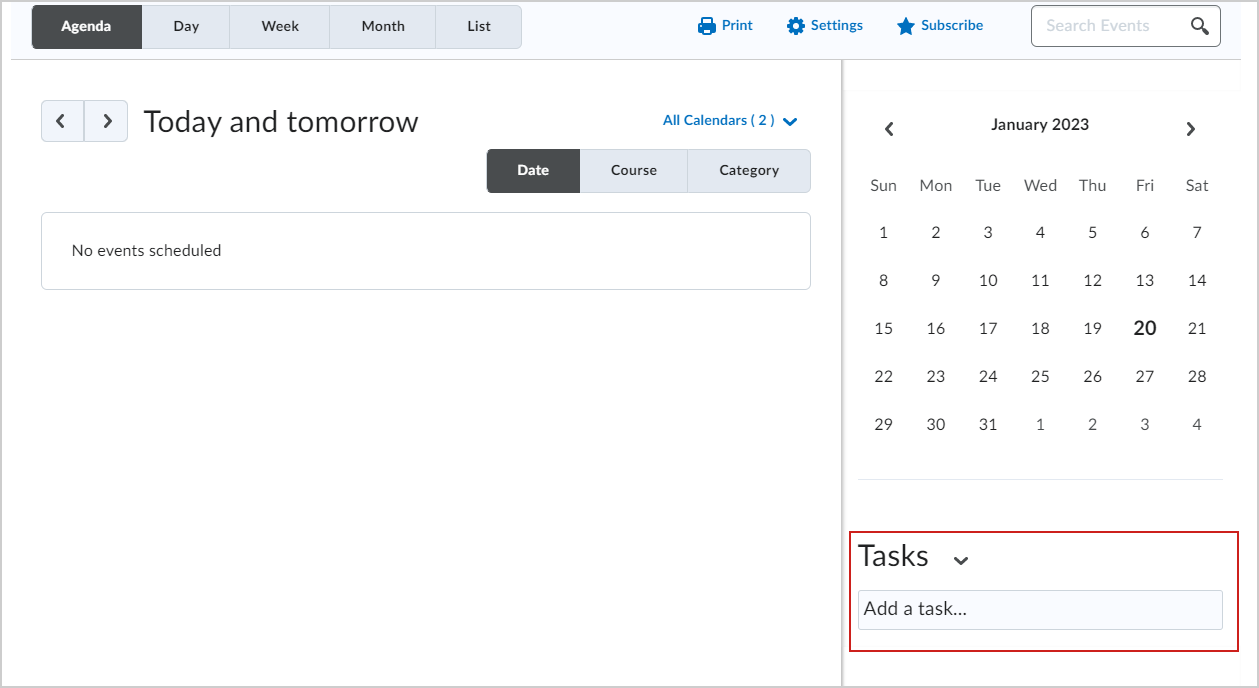
Figure: Enter the name of the Task into the Add a task... field.
- Enter the task name or details.
- Press the Enter key on your keyboard.
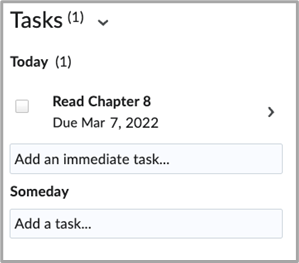
Figure: Review your newly-created task in the Calendar.
A new task is added to your calendar.
To edit an existing task, provide a due date, and include additional notes
- Select the task.
- Click the task to edit the name.
- Click No due date to enter a due date. Enter a date and click Save due date.
- Click Add a note… to enter a note for the task.
- Click Delete Task (trashcan icon) to delete the task.
Sync your Calendar with external calendars
You can use iCalfeeds to copy and paste a URL to any external calendar or download an .ics file. This enables you to sync your Calendar tool course events created in Brightspace with an external calendar such as Microsoft Outlook and Google Calendar.
Conversely, subscribing to an iCal feed also syncs your external calendar application or device with the Calendar tool, keeping you updated without logging in to Brightspace.
Note: Refer to your device or application instructions for adding or removing an iCal feed, as each application has different methods for managing iCal feed.
To sync to an external calendar
-
On the Course Homepage, click the Calendar widget drop-down and select Go to Calendar.
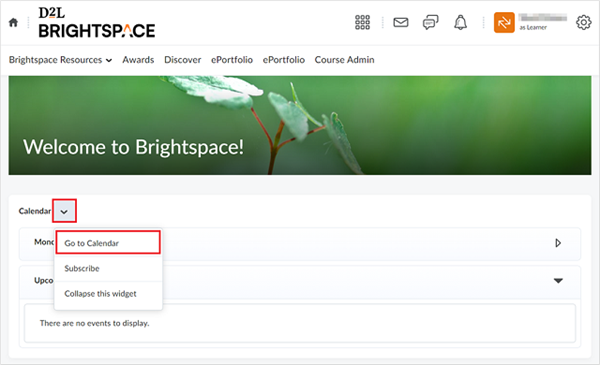
Figure: Click Go to Calendar from the Calendar drop-down menu.
- In the Calendar page, click Settings.
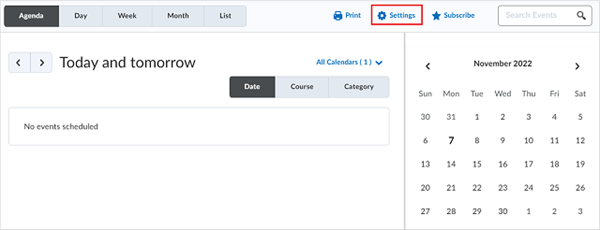
Figure: Click Settings (denoted with a gear icon) to configure your calendar sync settings.
- Select the Enable Calendar Feeds option and click Save.
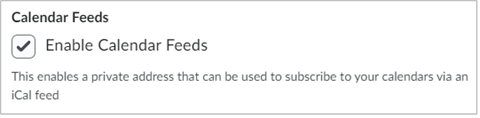
Figure: Select the box beside Enable Calendar Feeds.
- In the Calendar views area, click Subscribe.
- Under Calendar Subscriptions, select which calendar you want to subscribe to, or select All Calendars and Tasks, or Tasks Only.
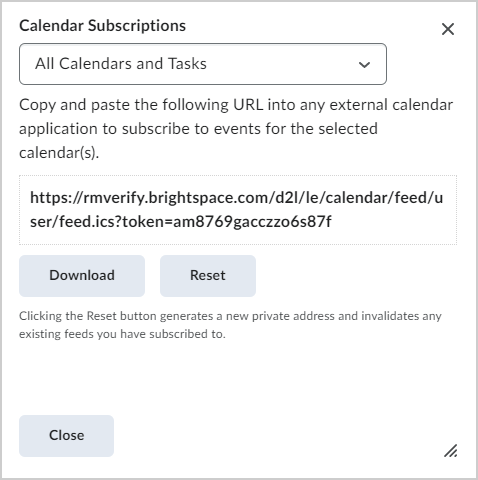
Figure: Select the desired Calendar Subscriptions option.
- Do one of the following:
- Copy and paste the URL into any external calendar application to subscribe to events for the selected calendar(s).
- Click Download to download a .ics file. Open the .ics file in an external calendar tool such as Microsoft Outlook to sync your calendar.
- Click Close.
Your external calendar is synced with the Calendar tool.
Change Calendar settings
Get reminders about upcoming activities and never miss important updates by keeping your Calendar settings updated.
To change Calendar settings
-
On the Course Homepage, click the Calendar drop-down button, then select Go to Calendar.
Figure: Click Go to Calendar from the Calendar drop-down menu.
- In the Calendar page, click Settings.
Figure: Click Settings (denoted with a gear icon) to change your calendar settings.
- Select the Enable Calendar Feeds option.
Figure: Select the box beside Enable Calendar Feeds.
- Customize the following Calendar Settings:
Calendar Options
Core Hours: Click the drop-down button to set the “from” and “to” of the core hours. Select the Show weekends option to include weekends in the specified core hours.
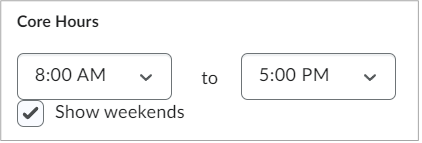
Figure: Select your Core Hours by selecting start and end time from the drop-down menus. Check Show weekends to show weekends in the Core Hours.
Calendar Feeds: Select the Enable Calendar Feeds option to obtain scheduling information such as events and to-dos via an iCal feed.
Figure: Select the box beside Enable Calendar Feeds.
- Tasks Options
- Completed Tasks: Click the drop-down button to hide or show the display of completed tasks in the Calendar.
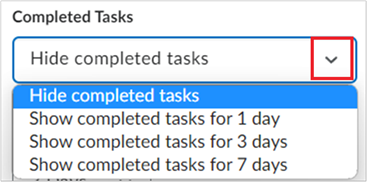
Figure: Select the desired Completed Tasks setting from the drop-down menu. Upcoming Tasks Default Duration: Click the drop-down button to change the number of days. Three days is the default duration of upcoming tasks.
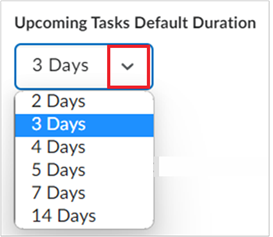
Figure: Select the desired Upcoming Tasks Default Duration setting from the drop-down menu.
Confirm Delete: Select this option to display a pop-up message to confirm the deletion of tasks.
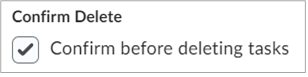
Figure: Check Confirm Delete to receive notification before deleting tasks.
- After reviewing all the details, click Save.
The new Calendar Settings takes effect immediately.