Record with your webcam
Quickly record and create content in the Media Library using your webcam. You can record video or audio within Media Library and create audio-video topics or insert them inline.
To record with your webcam
- On your course homepage, navigate to Media Library.
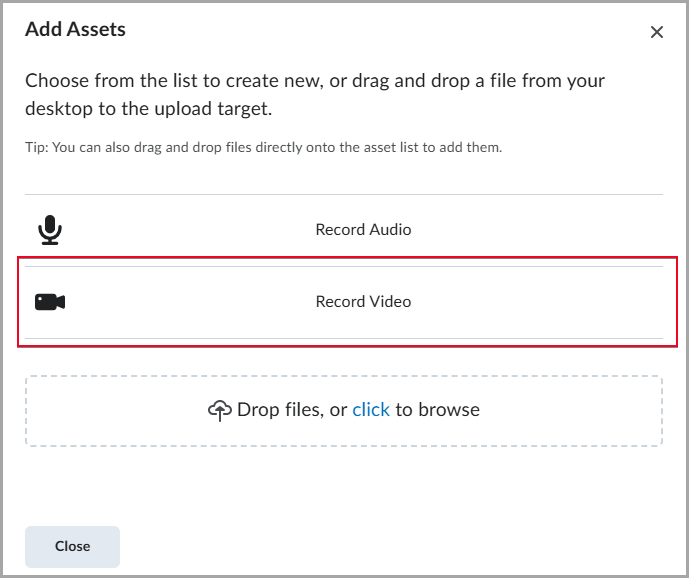
- Click Add Assets, then click Record Video.
- If your browser prompts you to allow microphone and camera access, click Allow.
- Toggle the Camera option on and click Start Recording to begin your webcam recording. If you only want to record audio, toggle the Camera option OFF.
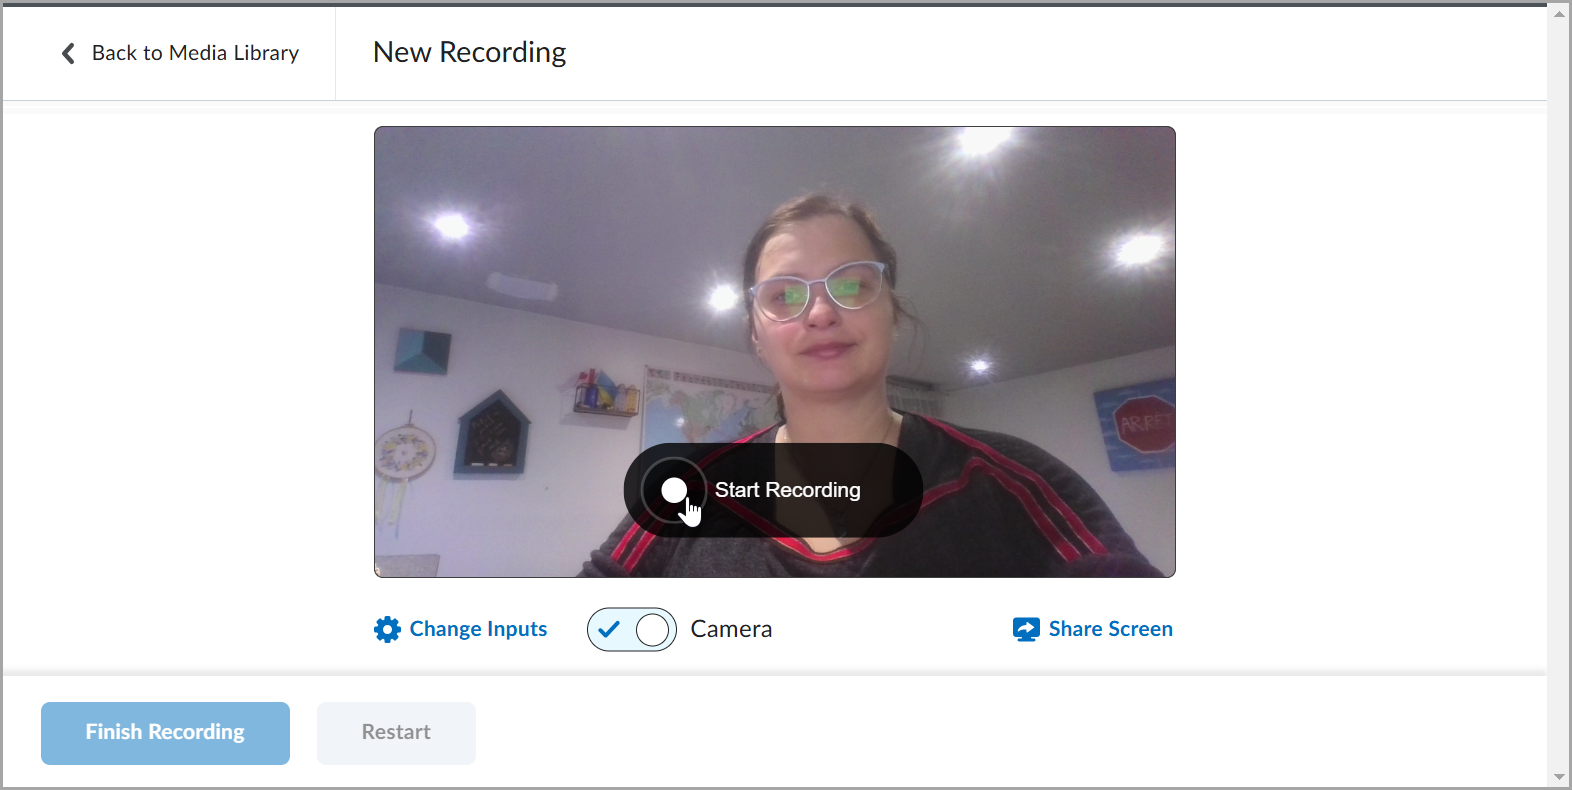
- When you finish recording, click Finish Recording.
- Enter a title and description, then proceed to Caption Settings. Select Generate Captions if you want auto-generated captions.
- Click Save and Close.

|
Note: An Uploading dialog appears at the bottom-right of the Media Library page to indicate the percentage of your video uploaded progress. |
Delete multiple audio-video content items in Media Library
You can select multiple audio-video items in Media Library and delete them.
To select multiple audio-video items and delete
- Navigate to Media Library.
- Select the check boxes next the audio-video content you wish to apply bulk actions to. Or click the top checkbox to select all content for bulk actions.
-
Click Bulk Actions > Delete.
The selected content is moved to the Recycle Bin.

|
Important: Content moved to the Recycle Bin is permanently deleted after 90 days. To restore content, select the files you want to restore and click Restore Selected.
|
Insert Stuff from the Media Library using Brightspace Editor
You can use the Insert Stuff icon in the Brightspace Editor to add audio-video content from the Media Library.
|
Note: The ability to use Media Library is controlled by a permission set by your administrator. If you do not see Media Library in the Insert Stuff window, you must ask your administrator to grant you the Content Service > Can Manage Objects role permission. |
To insert stuff from the Media Library
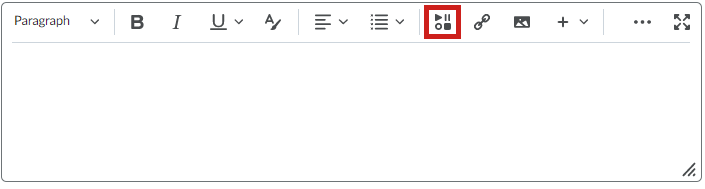
- From the Brightspace Editor, click Insert Stuff.
- Select Media Library.

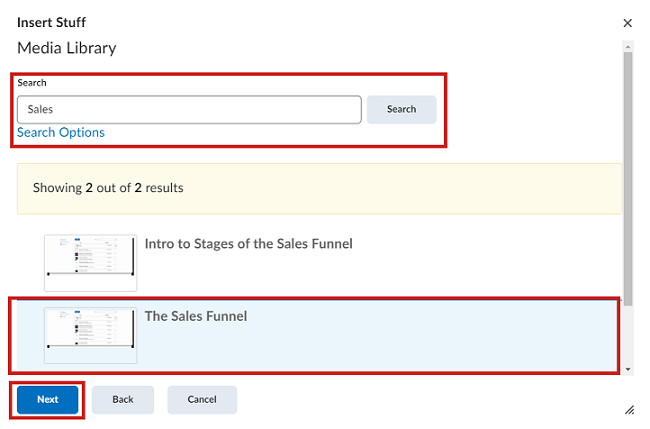
- To locate audio-video content, enter a search term and click Search. For a more refined search, click Search Options to filter your search.
- Select the content you want to add and click Next.
- Under Properties, customize the aspect ratio and maximum size of the video player.
- Click Insert.
|
Note: The player is responsive and scales to fit smaller screens if the video player size cannot maintain its maximum width or height. |
Locate and insert Media Library Quicklinks with improved filter options
You can use the Insert Quicklink icon in the Brightspace Editor to add Media Library Quicklinks to your content.
|
Important: The ability to use Media Library is controlled by a permission set by your administrator. If you do not see Media Library in the Insert Quicklinks window, you must ask your administrator to grant you the Content Service > Can Manage Objects role permissions.
|
To insert Media Library quicklinks
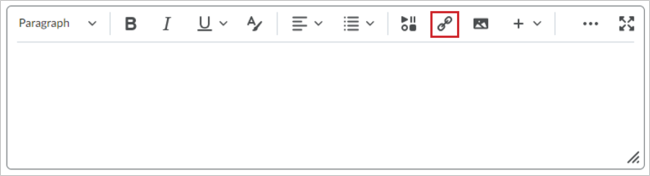
- From the Brightspace Editor, click Insert Quicklinks.
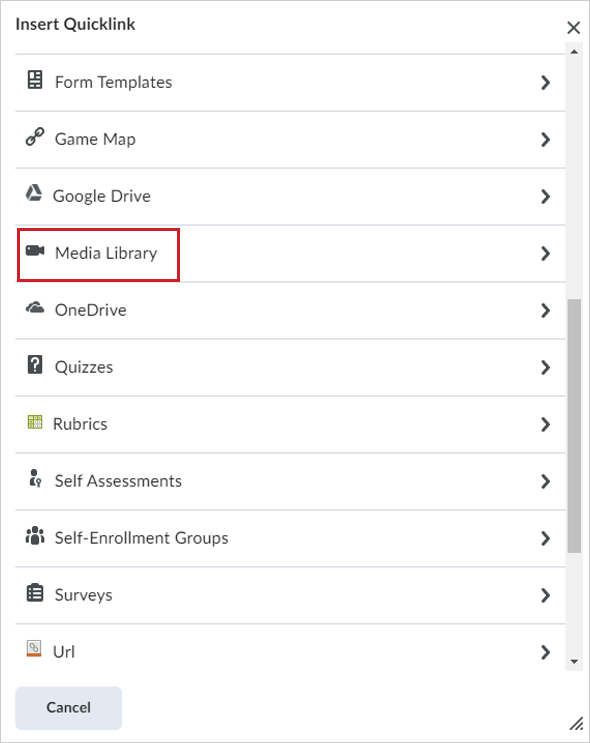
- Select Media Library.
- Click to expand Filters. You can filter Medial Library content by:
- Content Type: Filter by either audio or video content type.
- Date Modified: Filter by date modified.
- Date Created.
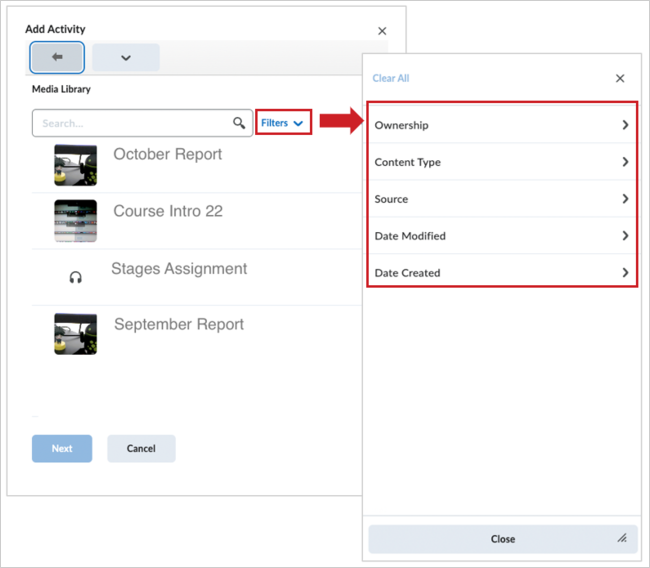
- Select the content you want to add and click Next.
- Click Insert.
Your audio-video content is added as a Quicklink.