The Email tool allows you to send emails from within Brightspace. You can also organize received mail using folders and store email addresses using your Address Book.
To email others using the Email tool
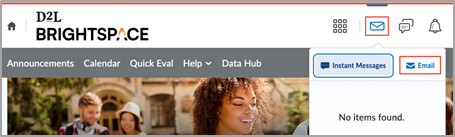
- On your organizational or course homepage, click the Message alerts (the envelope icon) and then click Email.
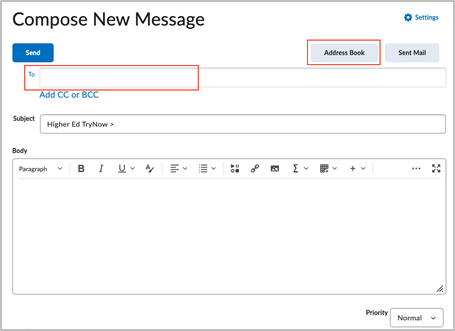
- To select your email recipients, do one of the following:
- Enter their names in the To field.
- Click Address Book and select them manually.
 | Note: The maximum number of recipients in the To and CC fields is 200. The maximum number of recipients in the BCC field is 3000. |
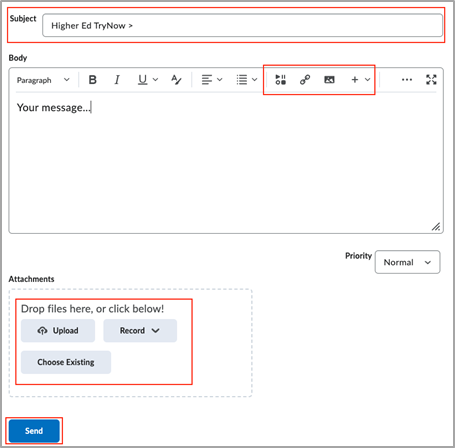
- Update the Subject field.
- Add your content in the Body field, including any images, links, or media. You can also attach files in the Attachments area.
- Upload: Add a file or other media from your device.
- Choose Existing: Add a file from your Brightspace account or other accounts like OneDrive and Google Drive.
- Record: Record video or audio content.
- Click Send.
| Note: If your email has 100 or more recipients, Brightspace processes the email as a background task. You can continue using Brightspace while your email sends. The status of your email is shown in the Sent Mail folder of the Email tool. |
Add and edit an email signature
Add an email signature to your emails to ensure that every message is personal and consistent.
To add an email signature
- On your organizational or course homepage, click the Message alerts(the envelope icon) and click Email.
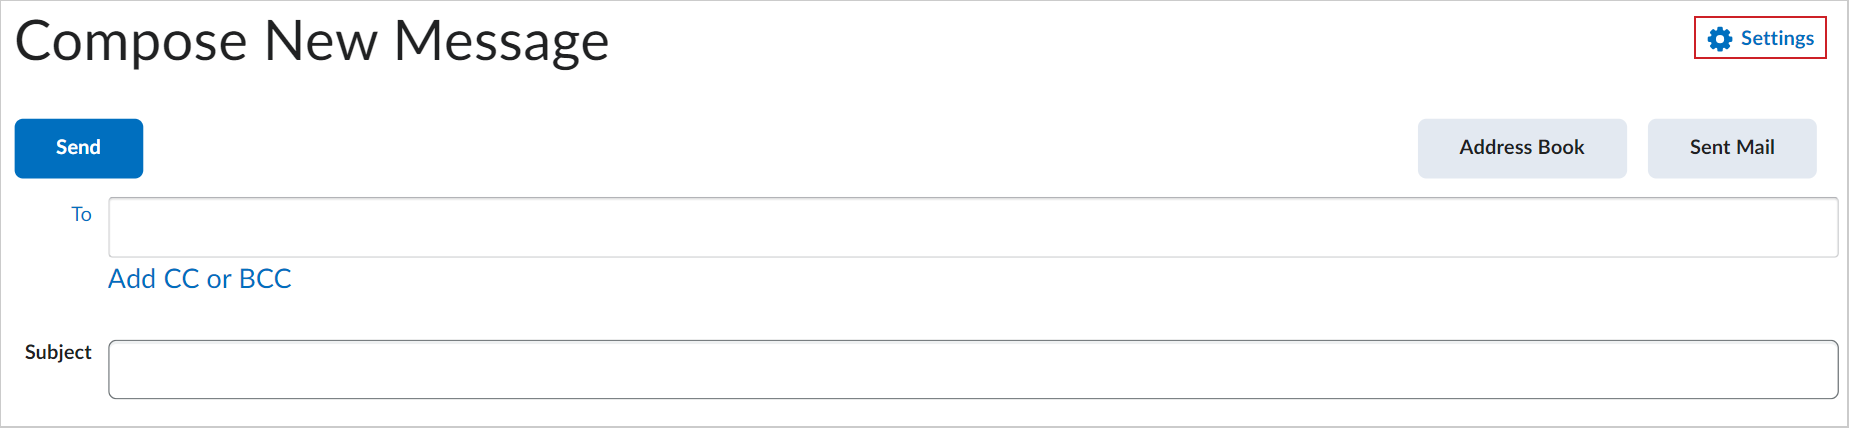
- On the Compose New Message page, click Settings.
- On the Email Settings page, in the Email Signature field, create your signature using Brightspace Editor.
| Note: The Email Signature field has a maximum character limit of 65,535 characters. |
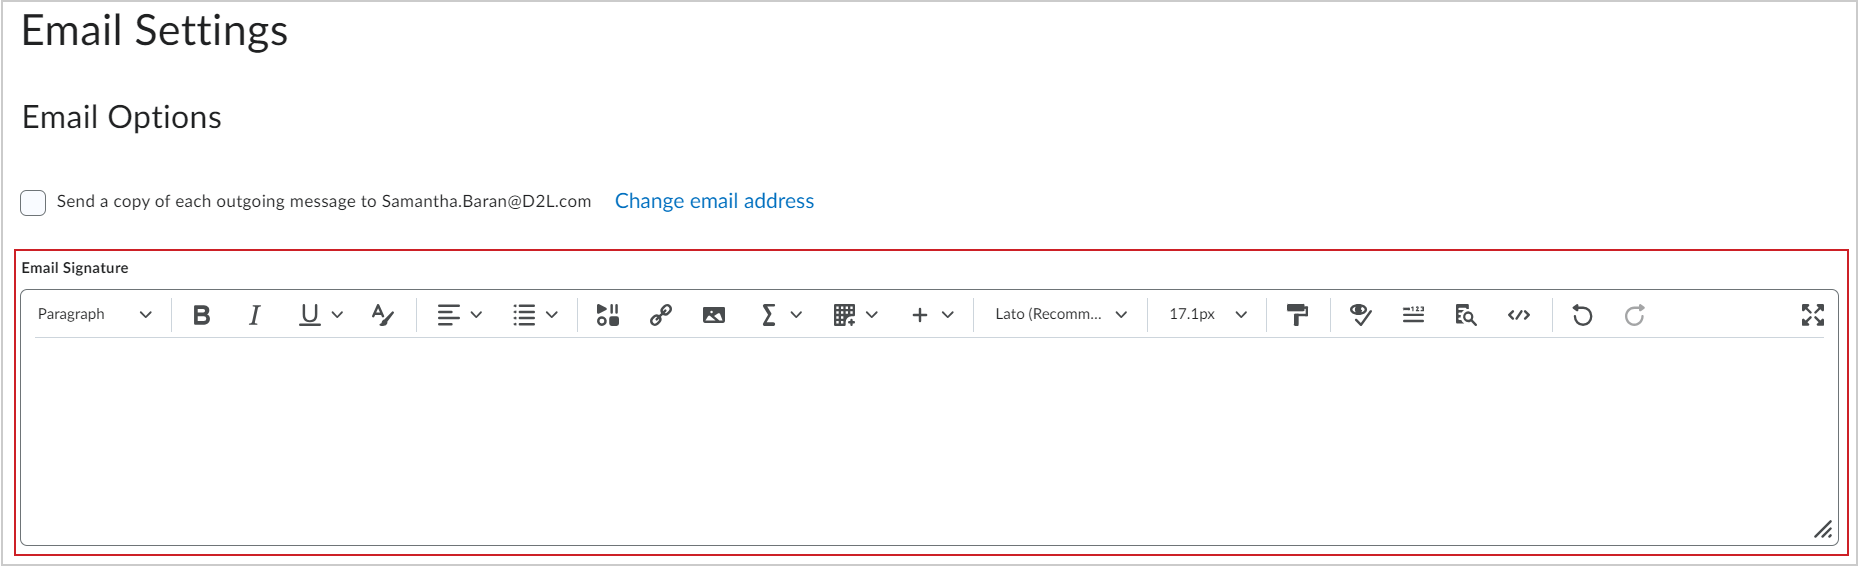
- Click Save.
You have created and added your email signature. Your signature appears at the bottom of the field when you compose a new message.
To edit an email signature
- On your organizational or course homepage, click the Message alerts icon and click Email.
- On the Compose New Message page, click Settings.
- On the Email Settings page, in the Email Signature field, change your signature using Brightspace Editor.
- Click Save.
You have edited your email signature.
Unsubscribe from Brightspace notification emails
If your organization has enabled the Unsubscribe link in notification emails, you can stop receiving instant and summary email notifications without logging in to Brightspace.
To unsubscribe from notification emails:
- Open any email notification from Brightspace.
- Click the Unsubscribe link at the bottom of the message.
- On the Unsubscribe All Notifications confirmation page, click Confirm.
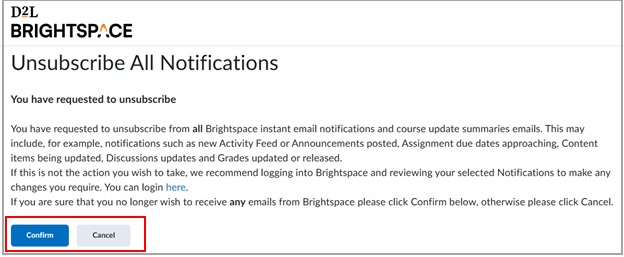
You have unsubscribed from Brightspace notification emails.
|
Note: If you unsubscribe by mistake, you must log in to Brightspace and manually update your notification settings to resume email notifications. |
Copy emails to your external email account
You can set up the Email tool to send a copy of any emails you send to your external email address. This requires validating your external email address.
If you have not yet configured an external email address for your account, refer to Change your account settings.
|
Note: An external email is considered any email outside of Brightspace, regardless of whether it is within your institution's domain or not.
|
To set up copying emails to your external email address
- Do one of the following:
- Click your username and navigate to Account Settings > Email.
- Click the Message Alerts (envelope) icon, and navigate to Email > Settings.
- Check Send a copy of each outgoing message to [external email address] and click Save. A validation email is sent to your external email address.
![The Send a copy of each outgoing message to [your external email address] on the Account Settings page.](https://us.v-cdn.net/6036482/uploads/7MA2ILLB91CF/shield-9572-account-settings-option-en-us.png)
- In your external email inbox, click the Confirm Email Address link included in your validation email.

|
Tip: If you lose or otherwise cannot find this email, click the (Not Verified - Click to Resend Verification Email) link. |
Your external email is now verified, and all sent emails in Brightspace will be copied to your specified email address.
Forward Brightspace emails to another account
You can also set up forwarding so that any emails you receive in your inbox are forwarded to another account of your choice.
To forward emails
- Navigate to the Email tool.
- Click Settings (gear icon).
- Under Forwarding Options, click the check box Forward incoming messages to an alternate email account.
- Enter the email address that you want your Brightspace emails forwarded to.

- Choose one of the following options:
- Select Forward and delete from the Inbox folder to forward any email sent to your account to the address specified. The emails will no longer be accessible through Brightspace.
- Select Forward and mark unread in the Inbox folder to forward any email sent to your account to the address specified. The email will also exist in your Brightspace account and will be marked as unread.
- Select Forward and mark read in the Inbox folder to forward any email sent to your account to the address specified. The email will also exist in your Brightspace account and will be marked as read.
- Click Save. Forwarding actions are set up and saved for all emails that you receive in your inbox. A validation email will be sent to the forwarding email address.
In your external email inbox, click the Confirm Email Address link on the validation email.
|
Note: Click Not Verfied - Click to Resend Verficiation Email link to resent the confirmation email if needed. |
FAQ
How do I contact my teacher or find my teacher's email?
To contact your teacher, email them using the Email tool in Brightspace. You can find your teacher's email address in:
- Your course syllabus. This may be posted in the Content tool.
- The Classlist tool if you have the corresponding permission to access it.
Which issues should I contact my teacher for help with?
- Extensions on assignments, quizzes, discussions, and exams.
- Requests for additional quiz attempts and technical difficulties while taking a quiz.
- Specific details or questions about course material like instructions.
- Grade inquiry for assessments like assignments and discussions.
I am unable to log in to my school's email portal (not Brightspace). What do I do?
If you are unable to log in to your school email portal, contact your school's Help Desk.
Why can I only see some emails in my inbox?
If you know you have more emails than you can see on the page:
- Ensure the email filter does not restrict the emails you are seeing. From the Filter By list, select All Messages.
- You might have multiple pages for your email. Make sure to look through all pages and expand the number of emails that appear per page.
I get a "Not Authorized" error when trying to access my Email. What do I do?
From your organizational or course homepage, click on your Message Alerts (envelope icon). If you see the message You must complete the following quizzes for alerts to be enabled: {Quiz Name}, you will be able to access your email after the quiz noted in the message has ended. While the quiz is in progress, your email access is disabled by your teacher.
I cannot access my email inbox. I can only send emails.
Your school has send-only email enabled. You cannot receive emails in Brightspace.
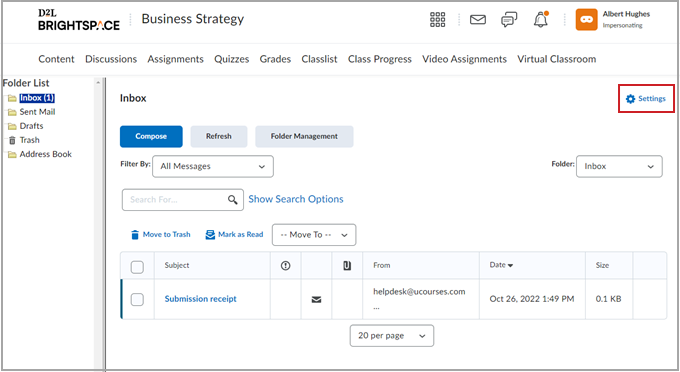
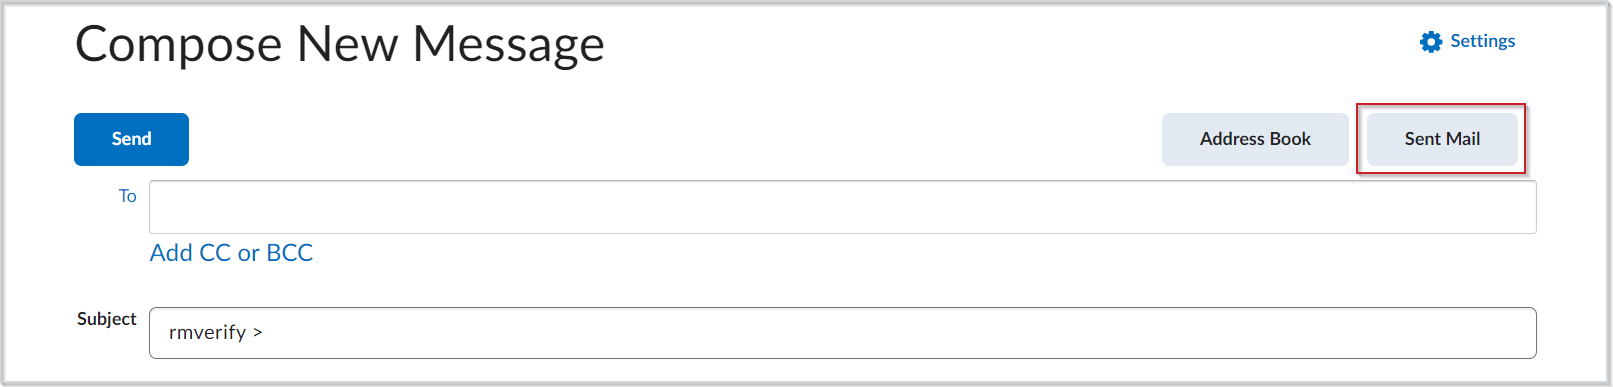
How do I see the emails I have sent?
To view your sent emails
- From your course homepage, click the Message Alerts icon and then click Email.
- Click Sent Mail.
You can now view your sent emails.