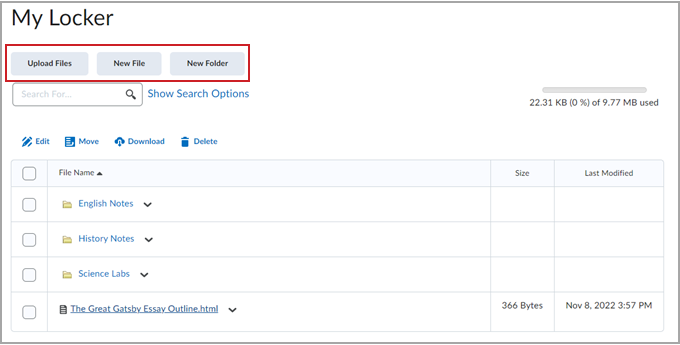
The Locker tool enables you to store your files remotely and access them anywhere, anytime. Your locker is only accessible to you.
Your personal locker area is not course specific. You can access your locker from anywhere in Brightspace and store all your files together. Group lockers are restricted locker areas where members of a group can share files. Any group member can modify files posted in group locker areas. Group lockers have the same options as regular lockers with the following exceptions:
-
The option to make locker files public is not available.
-
There is an option to Email Group Members.
-
There is a Modified By column that shows the last person to work on a file.
To upload, create, and store files with the Locker tool
-
From your course or organizational navbar, click Locker.
-
Do one of the following:
-
Click Upload Files to add files from your local device to your Brightspace locker.
-
Click New File to create a new file directly in Brightspace.
-
Click New Folder to create a new folder within your locker. You can move locker files that you upload or create folders for organizational purposes.
Note: The File Description of a file cannot have more than 4,000 characters.

Figure: You can Upload Files from you computer, create a New File, or create a New Folder.
Find other student's shared locker files
- On the navbar of a course, click Classlist.
- From the context menu of the user whose shared locker files you want to view, click View shared locker files.
- Click the file name you want to open, or specify a file type in the Files of Type drop-down list.